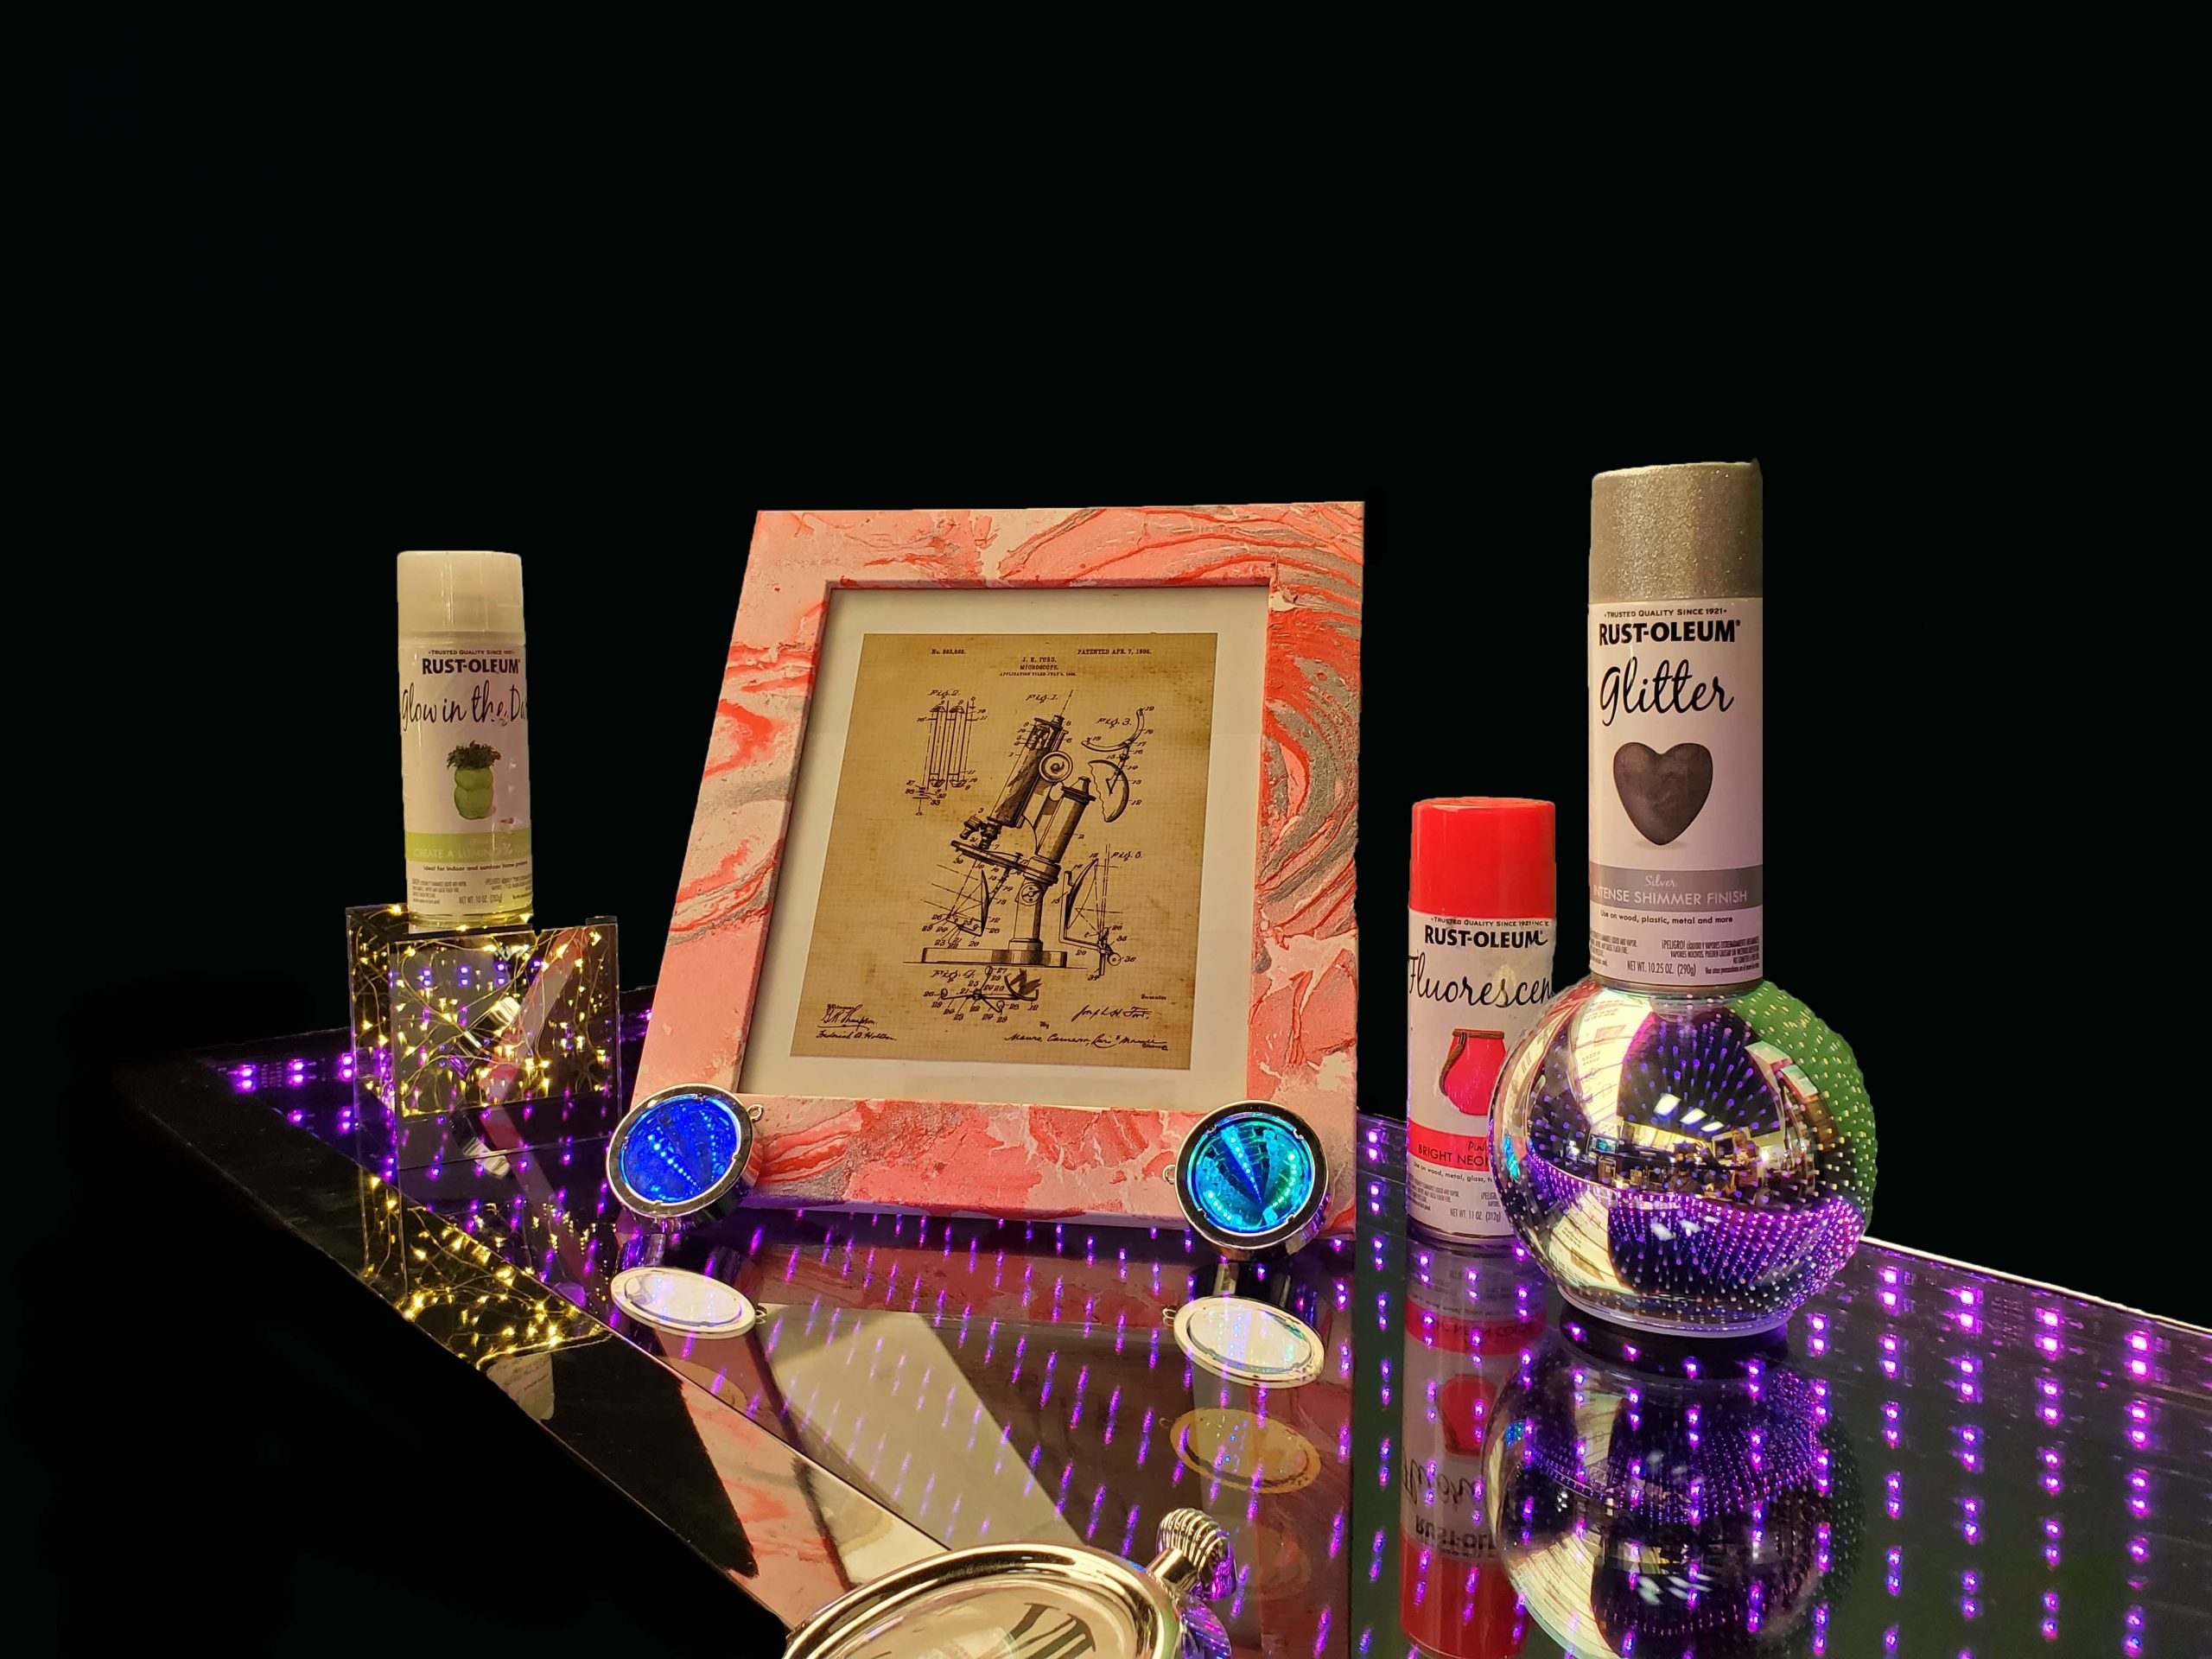
Make a Picture Frame:
Fast & Easy Instructions
Today, I am going to show you how to make your very own picture frame!
(Step-By-Step)
It is so much easier than you thought it would be.
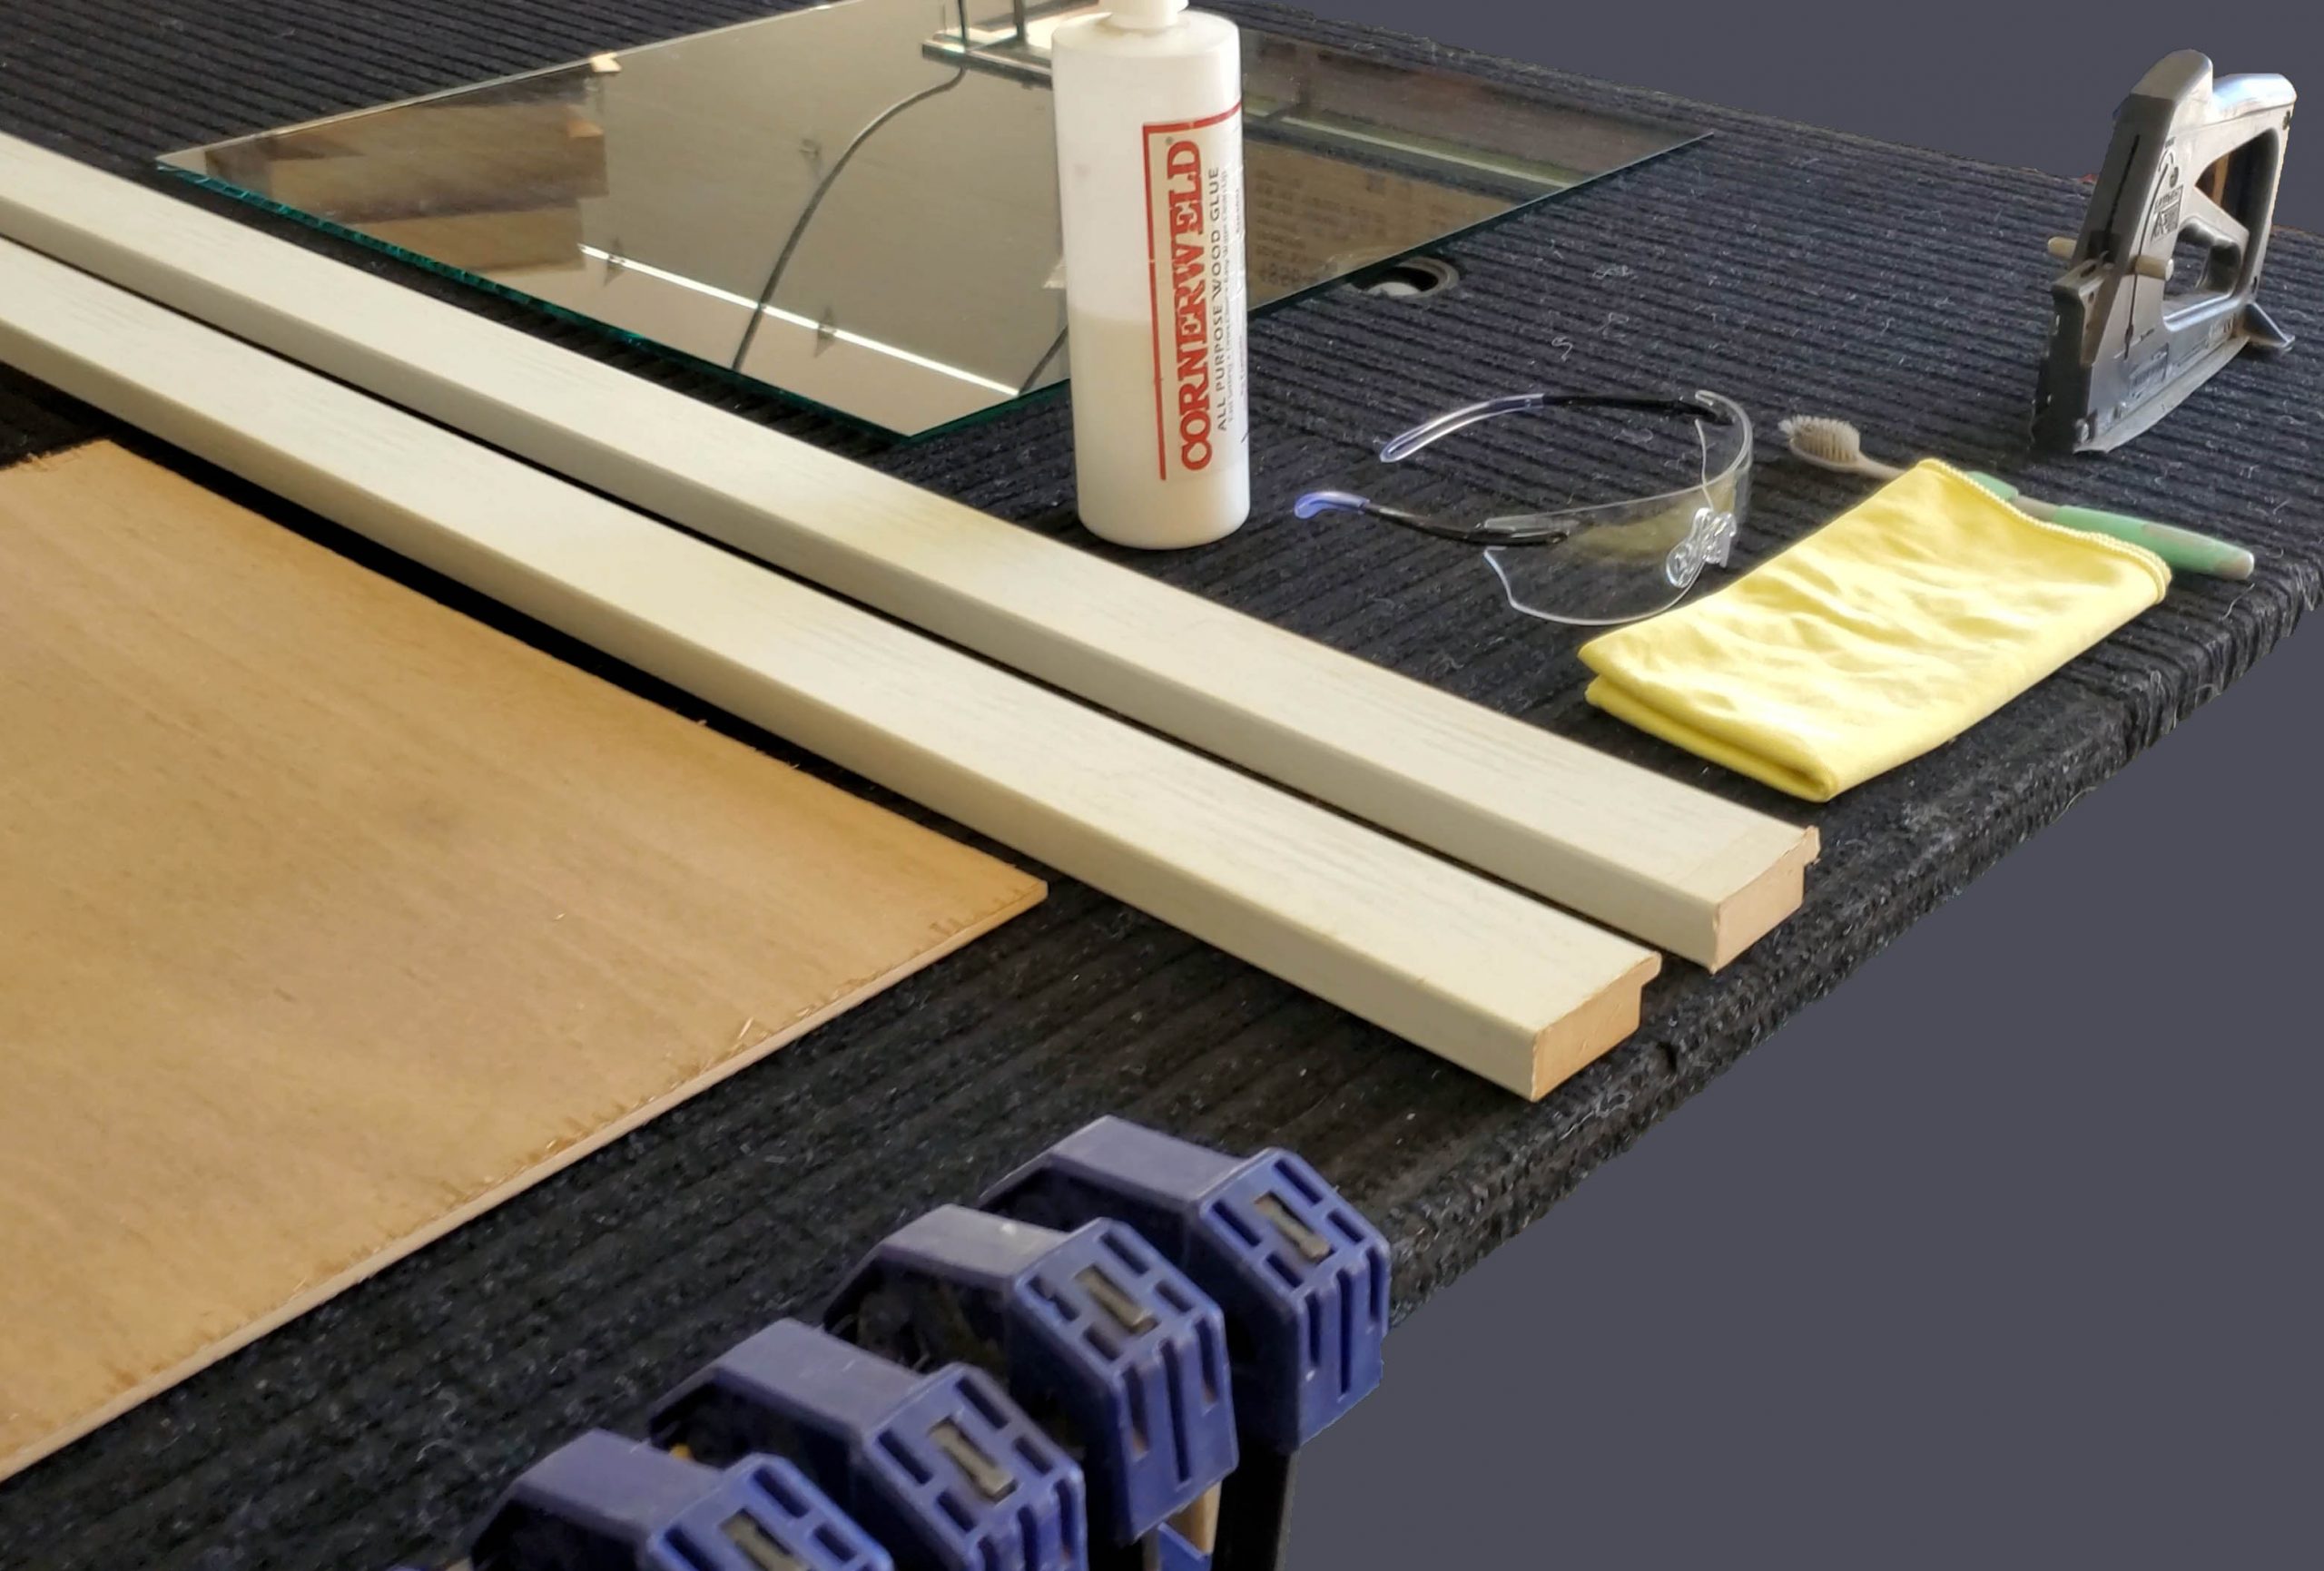
Step 1: Gather your materials to begin cutting
The materials I used for this project are thin plywood, table clamps, frame sticks, wood glue, clear glass, and a cloth. The first piece of equipment I am using is a Miter Saw. Grab your frame sticks and your eye protection to begin cutting. Cut your frame sticks a few inches bigger than the original size so they are easier to handle. The slower you go with the saw, the less of a chance you have of your frame chipping.
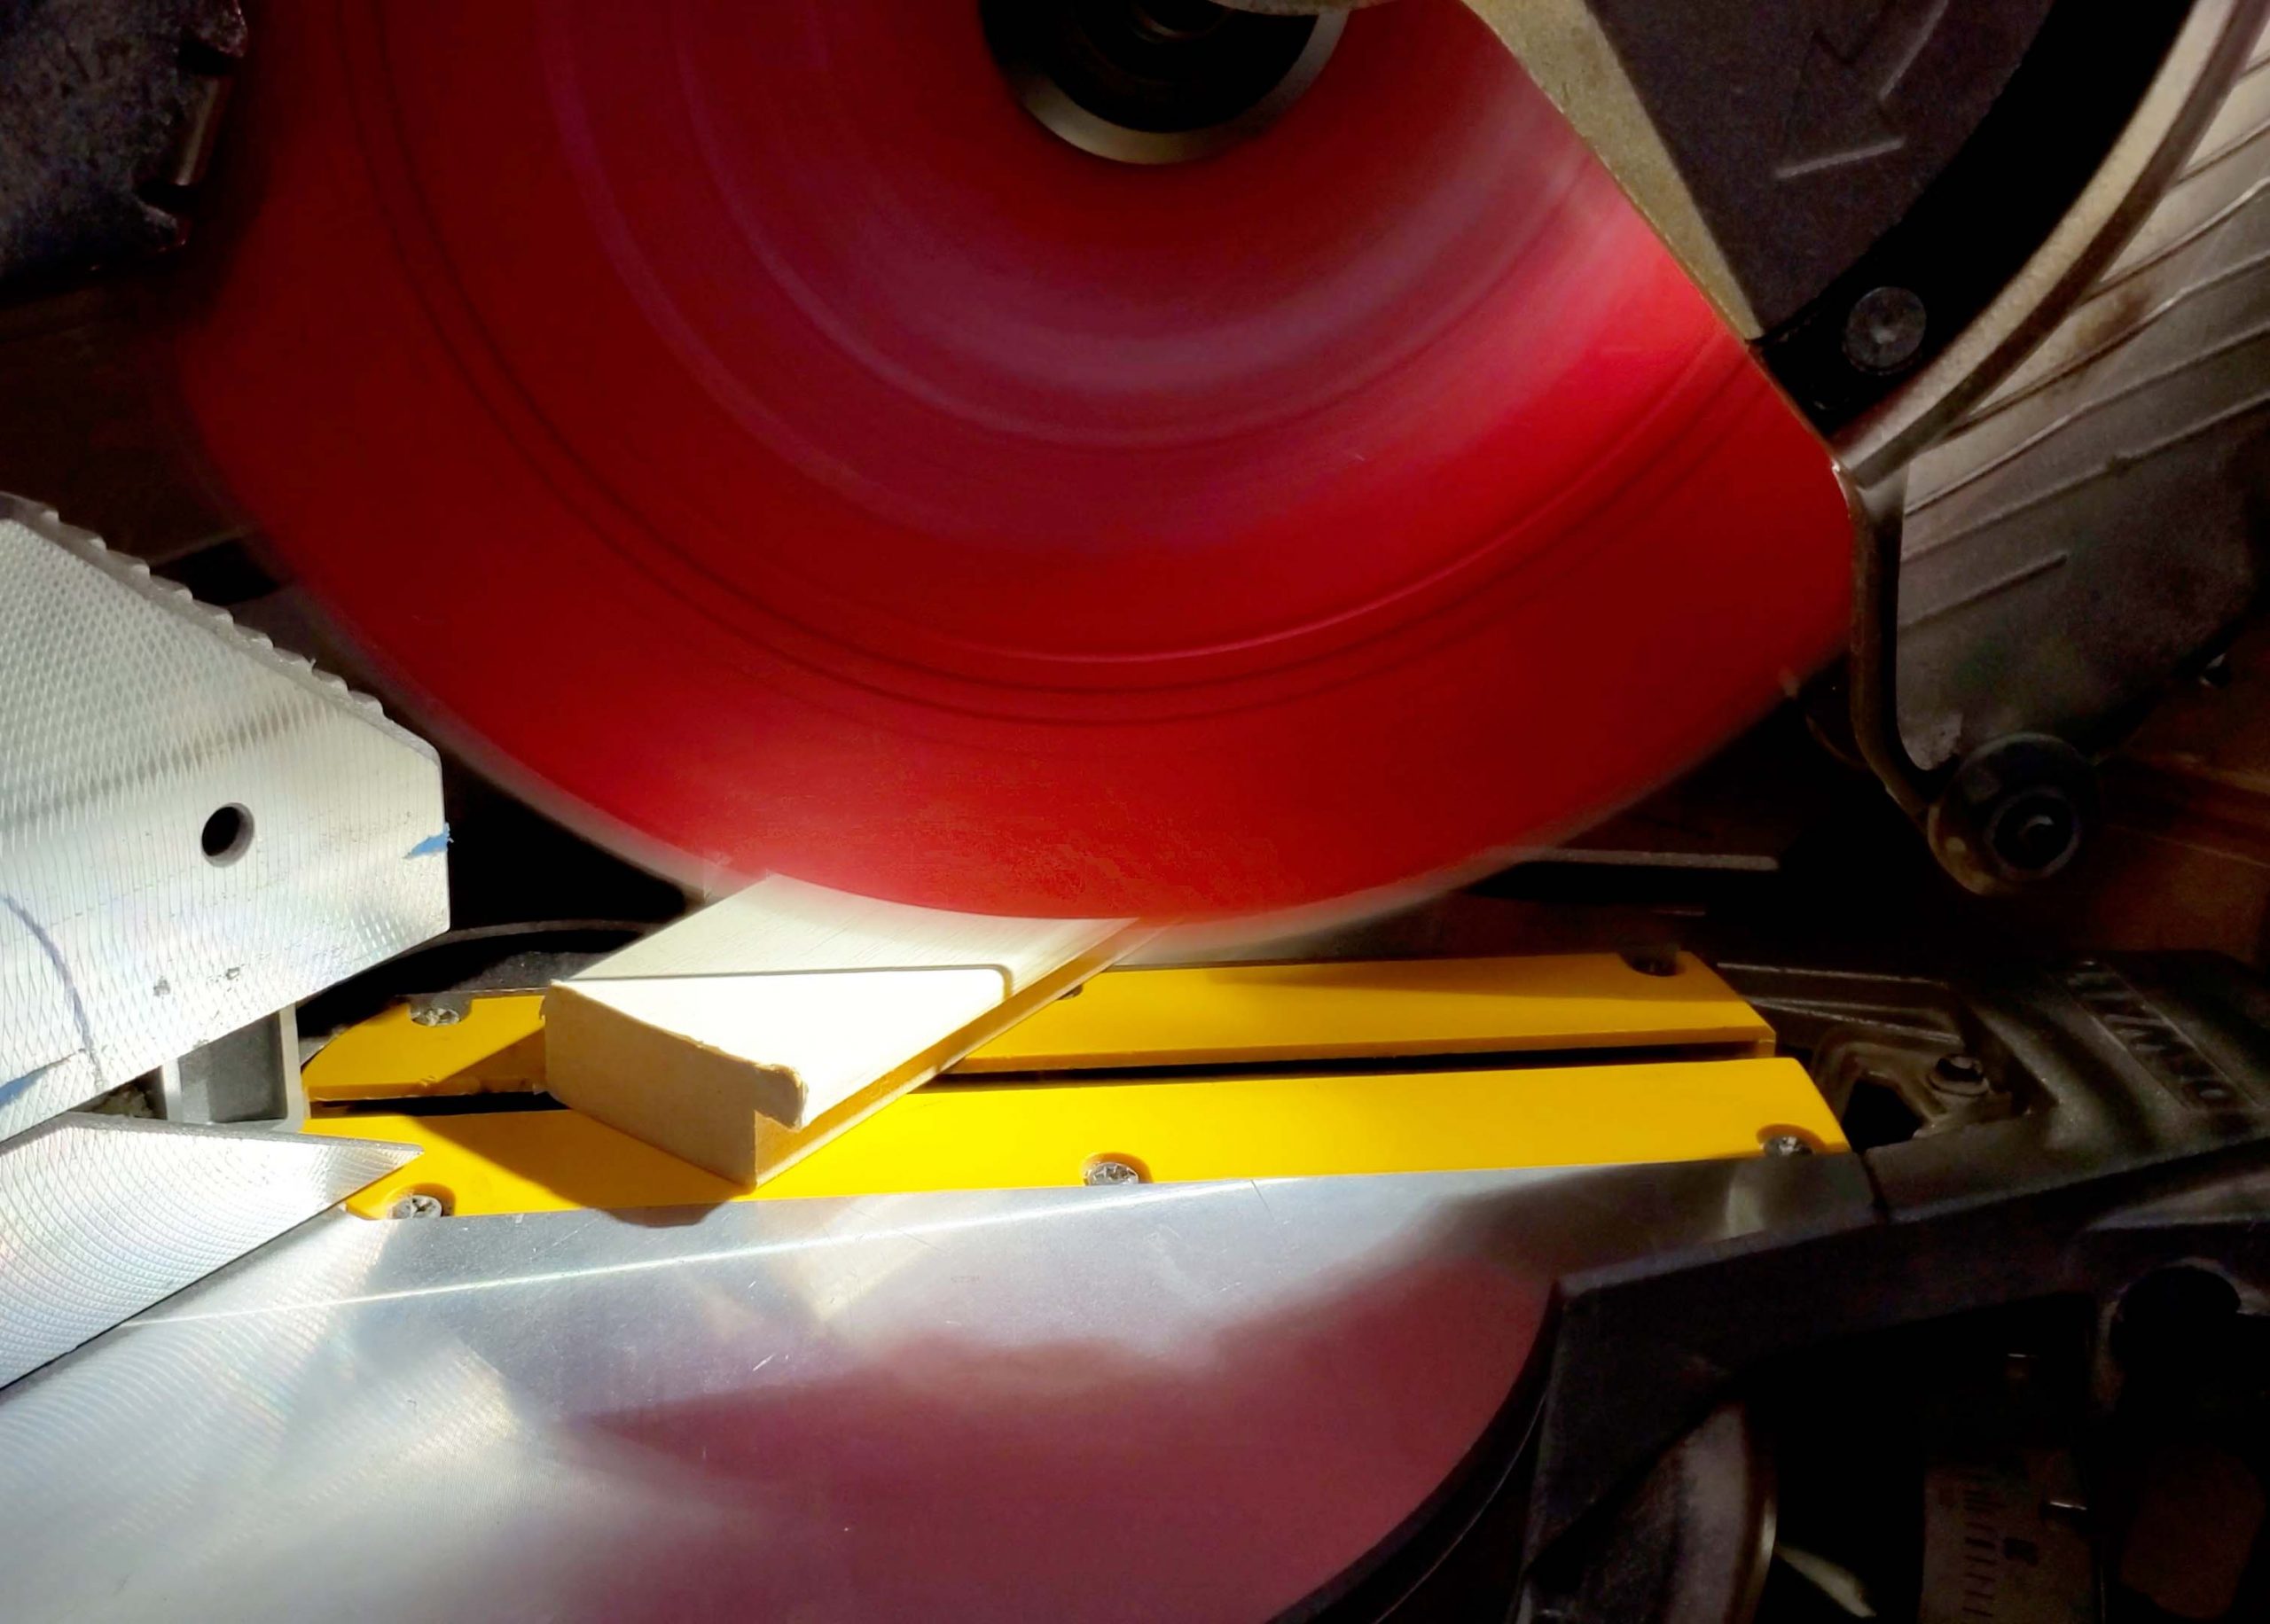
Step 2: Start Cutting the Left 45 Degree Angle
Once the frame sticks are cut, you will need to start cutting the 45 degree angles. Move the saw to cut the left 45 degree angle. When cutting the angles, the rabbet should be towards you. For the first 45 degree angle, there is no measuring needed. You can just eyeball it. Do this to all 4 frame sticks, remember to go super slow with the saw. After I make the cut, I always check the frame for any imperfections caused by the blade.
Step 3: Cut the Right 45 degree Angles
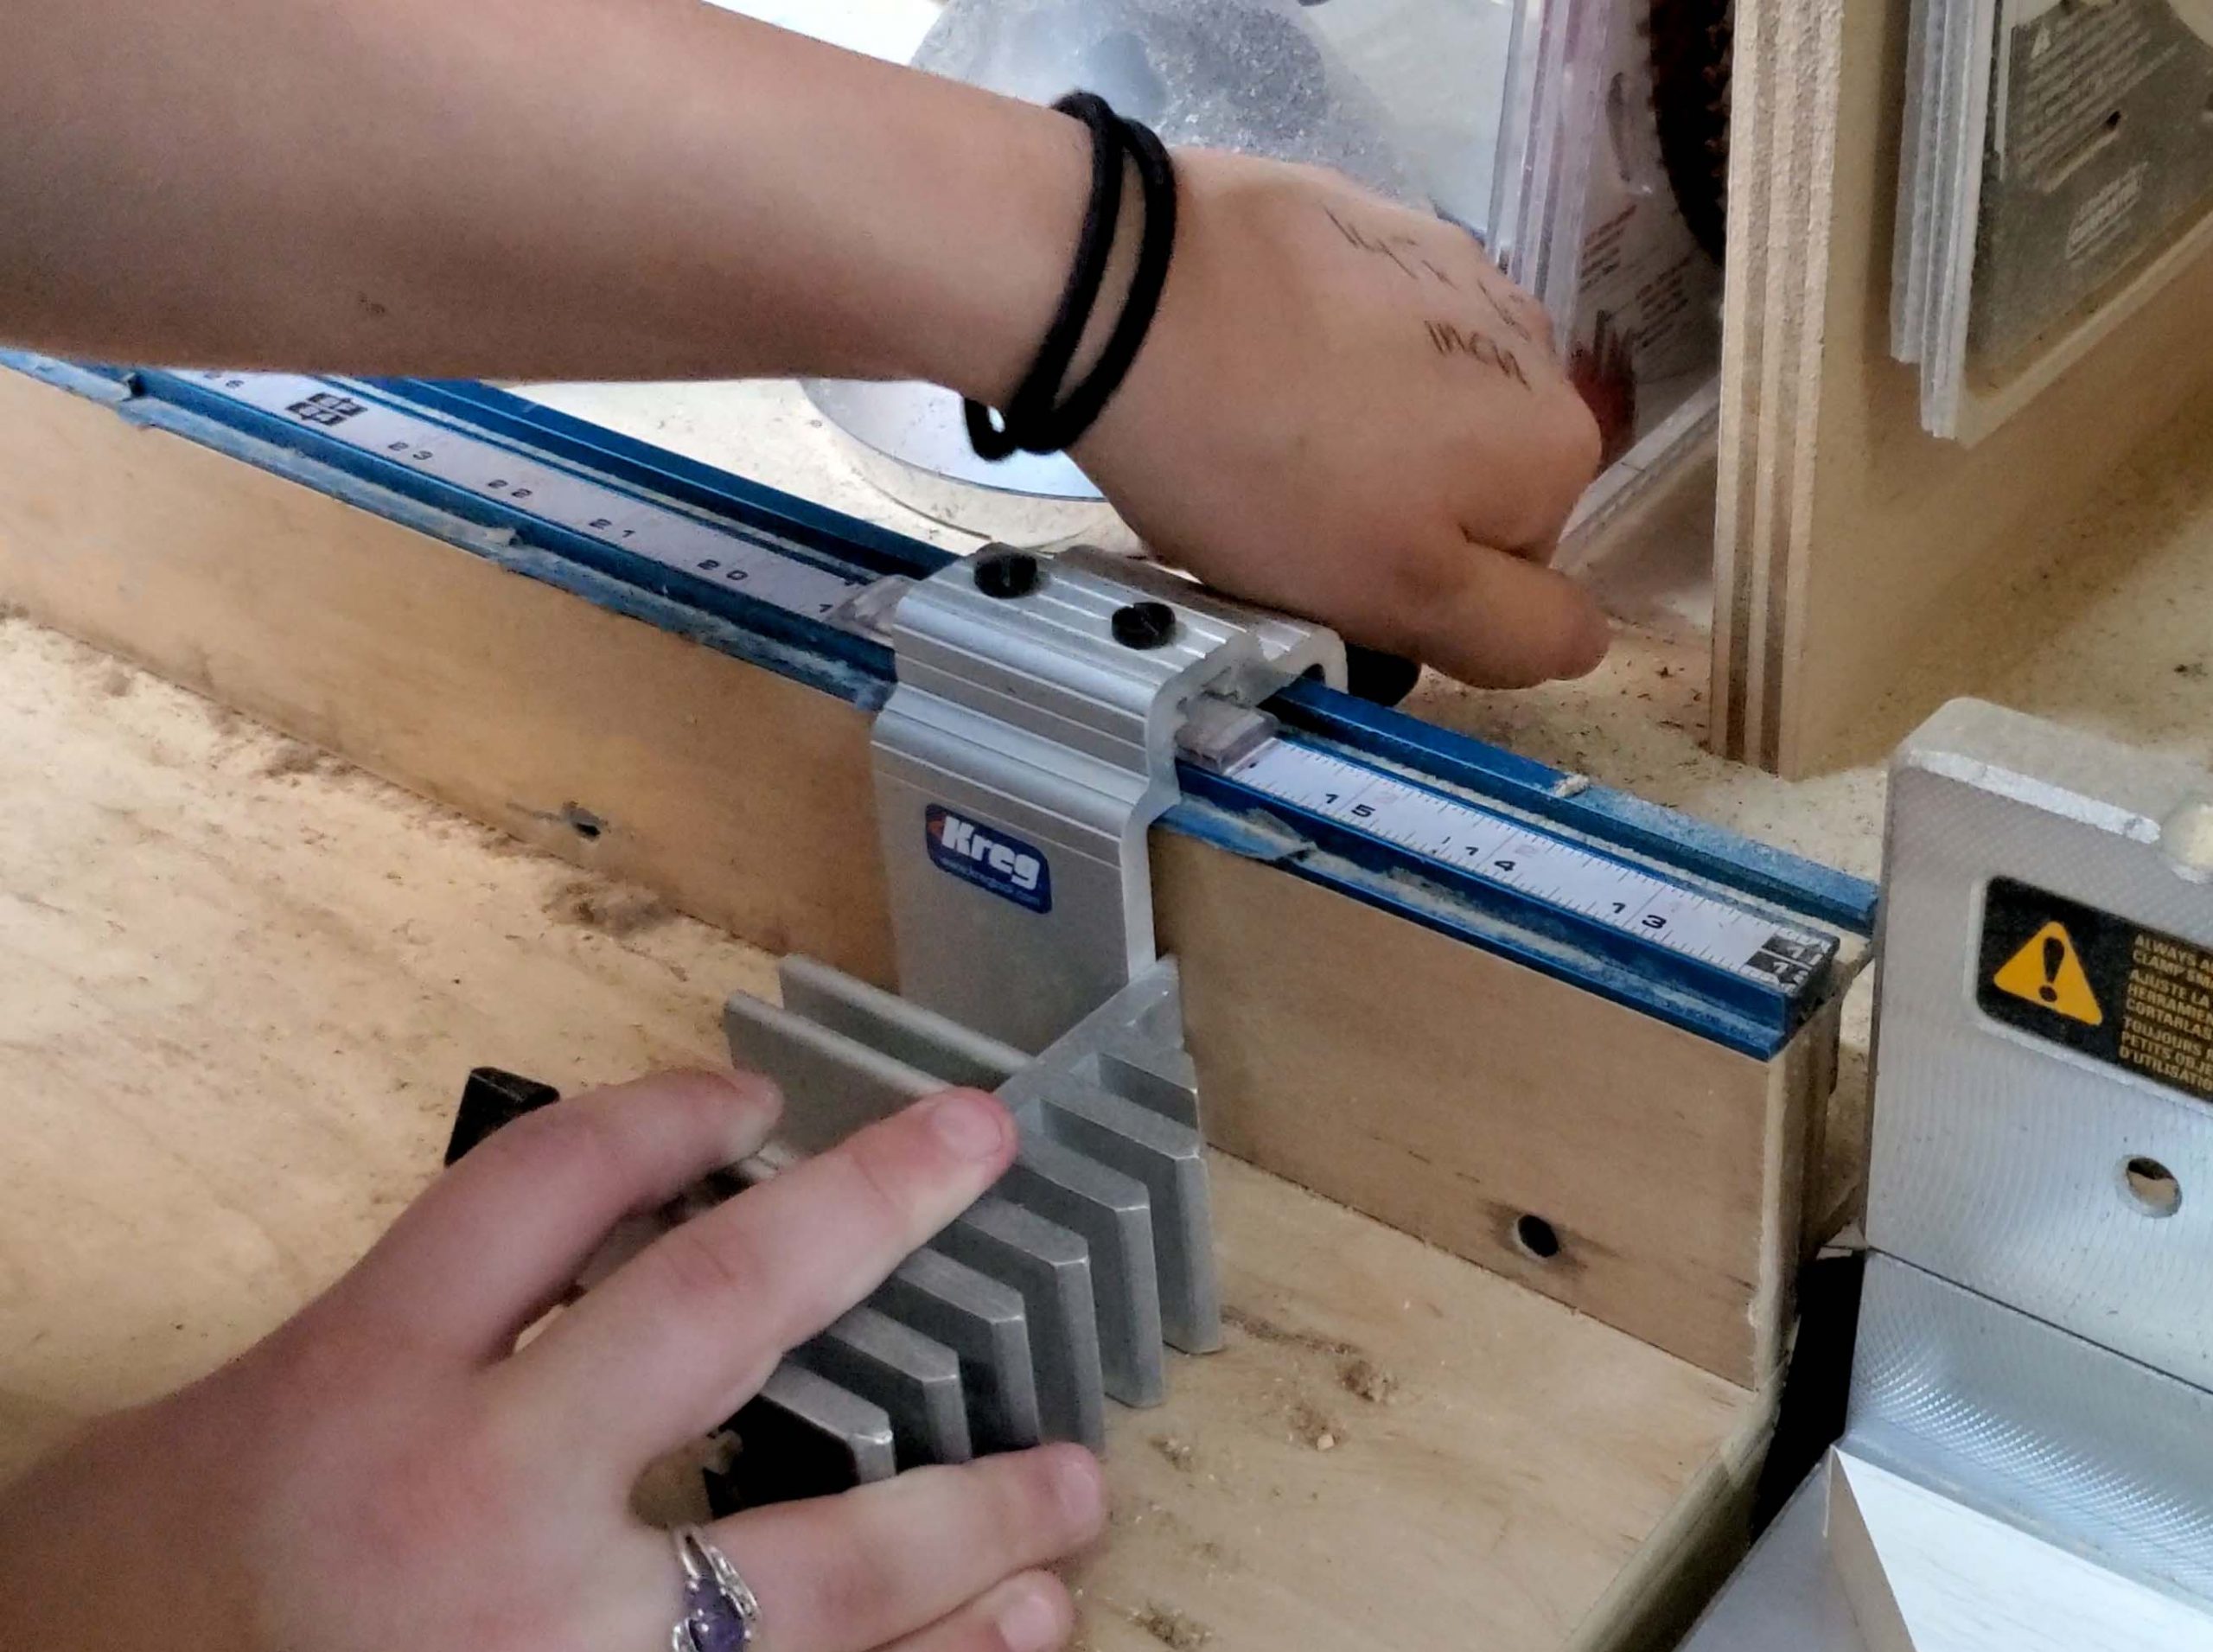
For this step, move the marker to your first measurement. Also, be sure to move the saw to a 45 angle then begin cutting.
Step 4: Cut the other 45 degree angles
Once the left angle is cut, it is time to cut the other side. For the first two frame sticks that are the same size, I moved the marker to 14. With the rabbet facing towards you, begin cutting. Remember to take your time with this. You will really be able to see the difference with the finished product!
Step 5: Place the frame together
Place all the frames together to ensure they all come together well, and find a good base to glue the frame on. We like to use plywood, either the exact size of the frame, or one or 2 inch bigger!
Step 6: Begin gluing
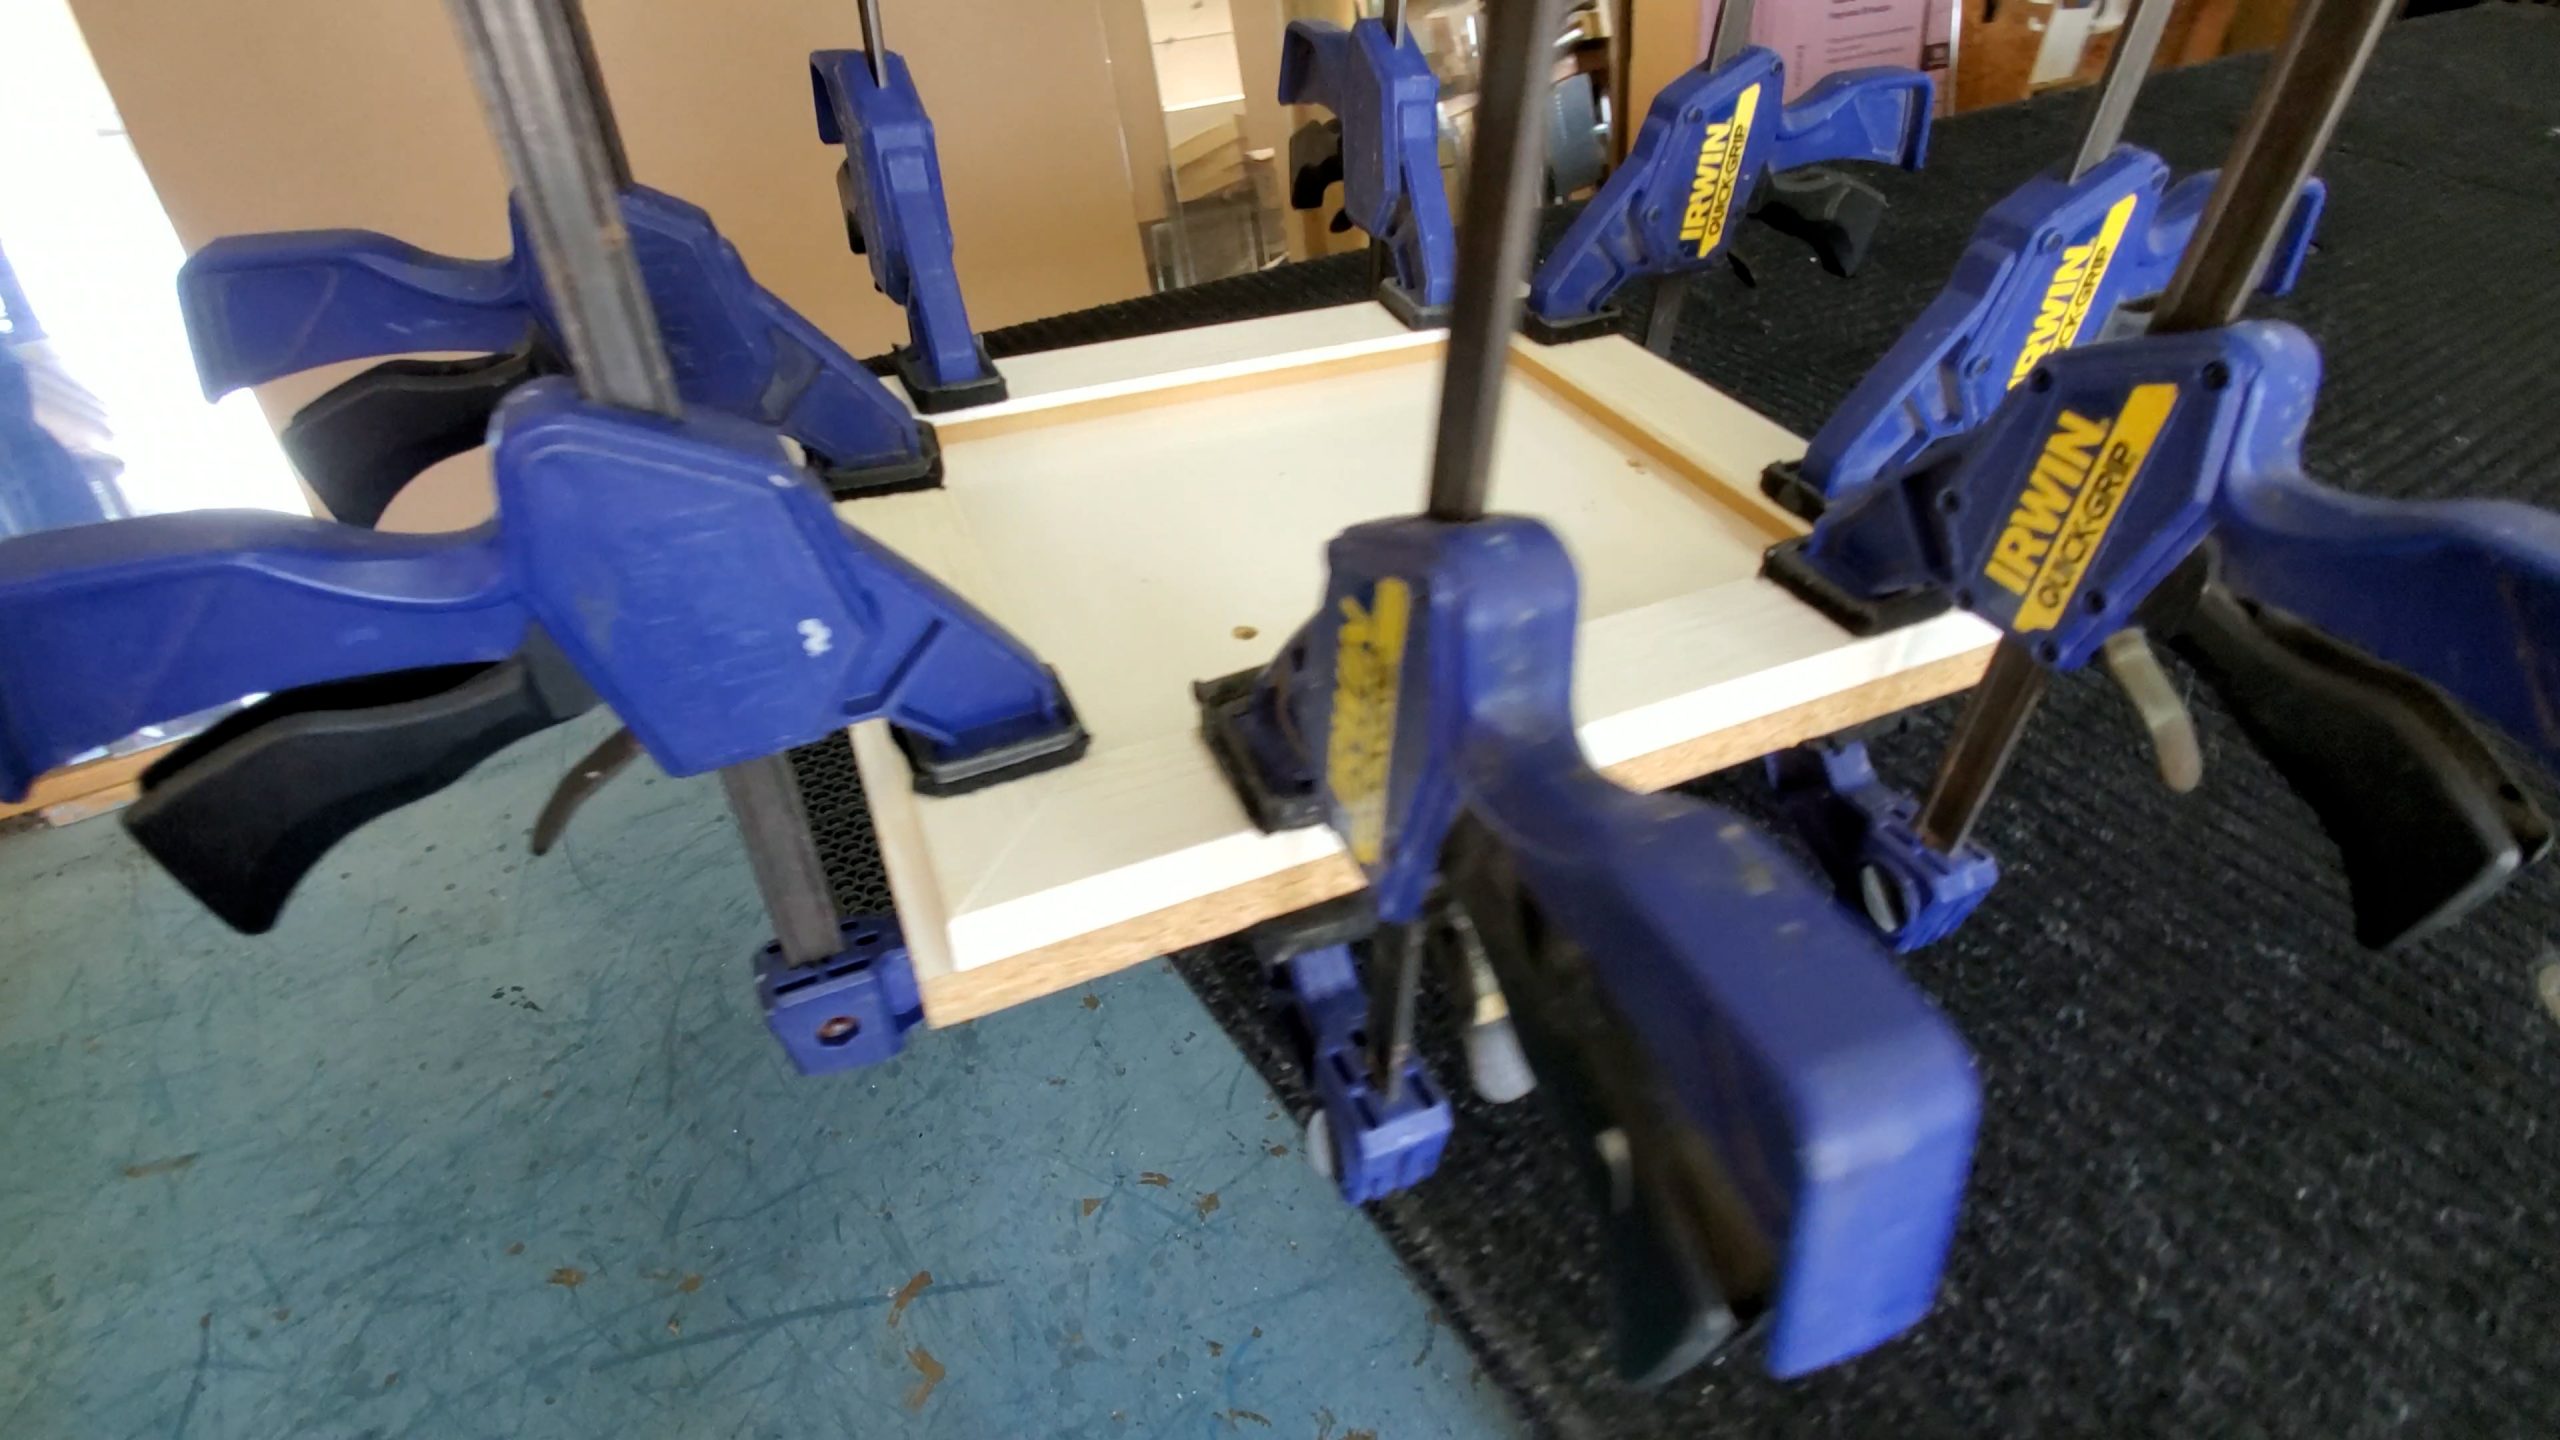
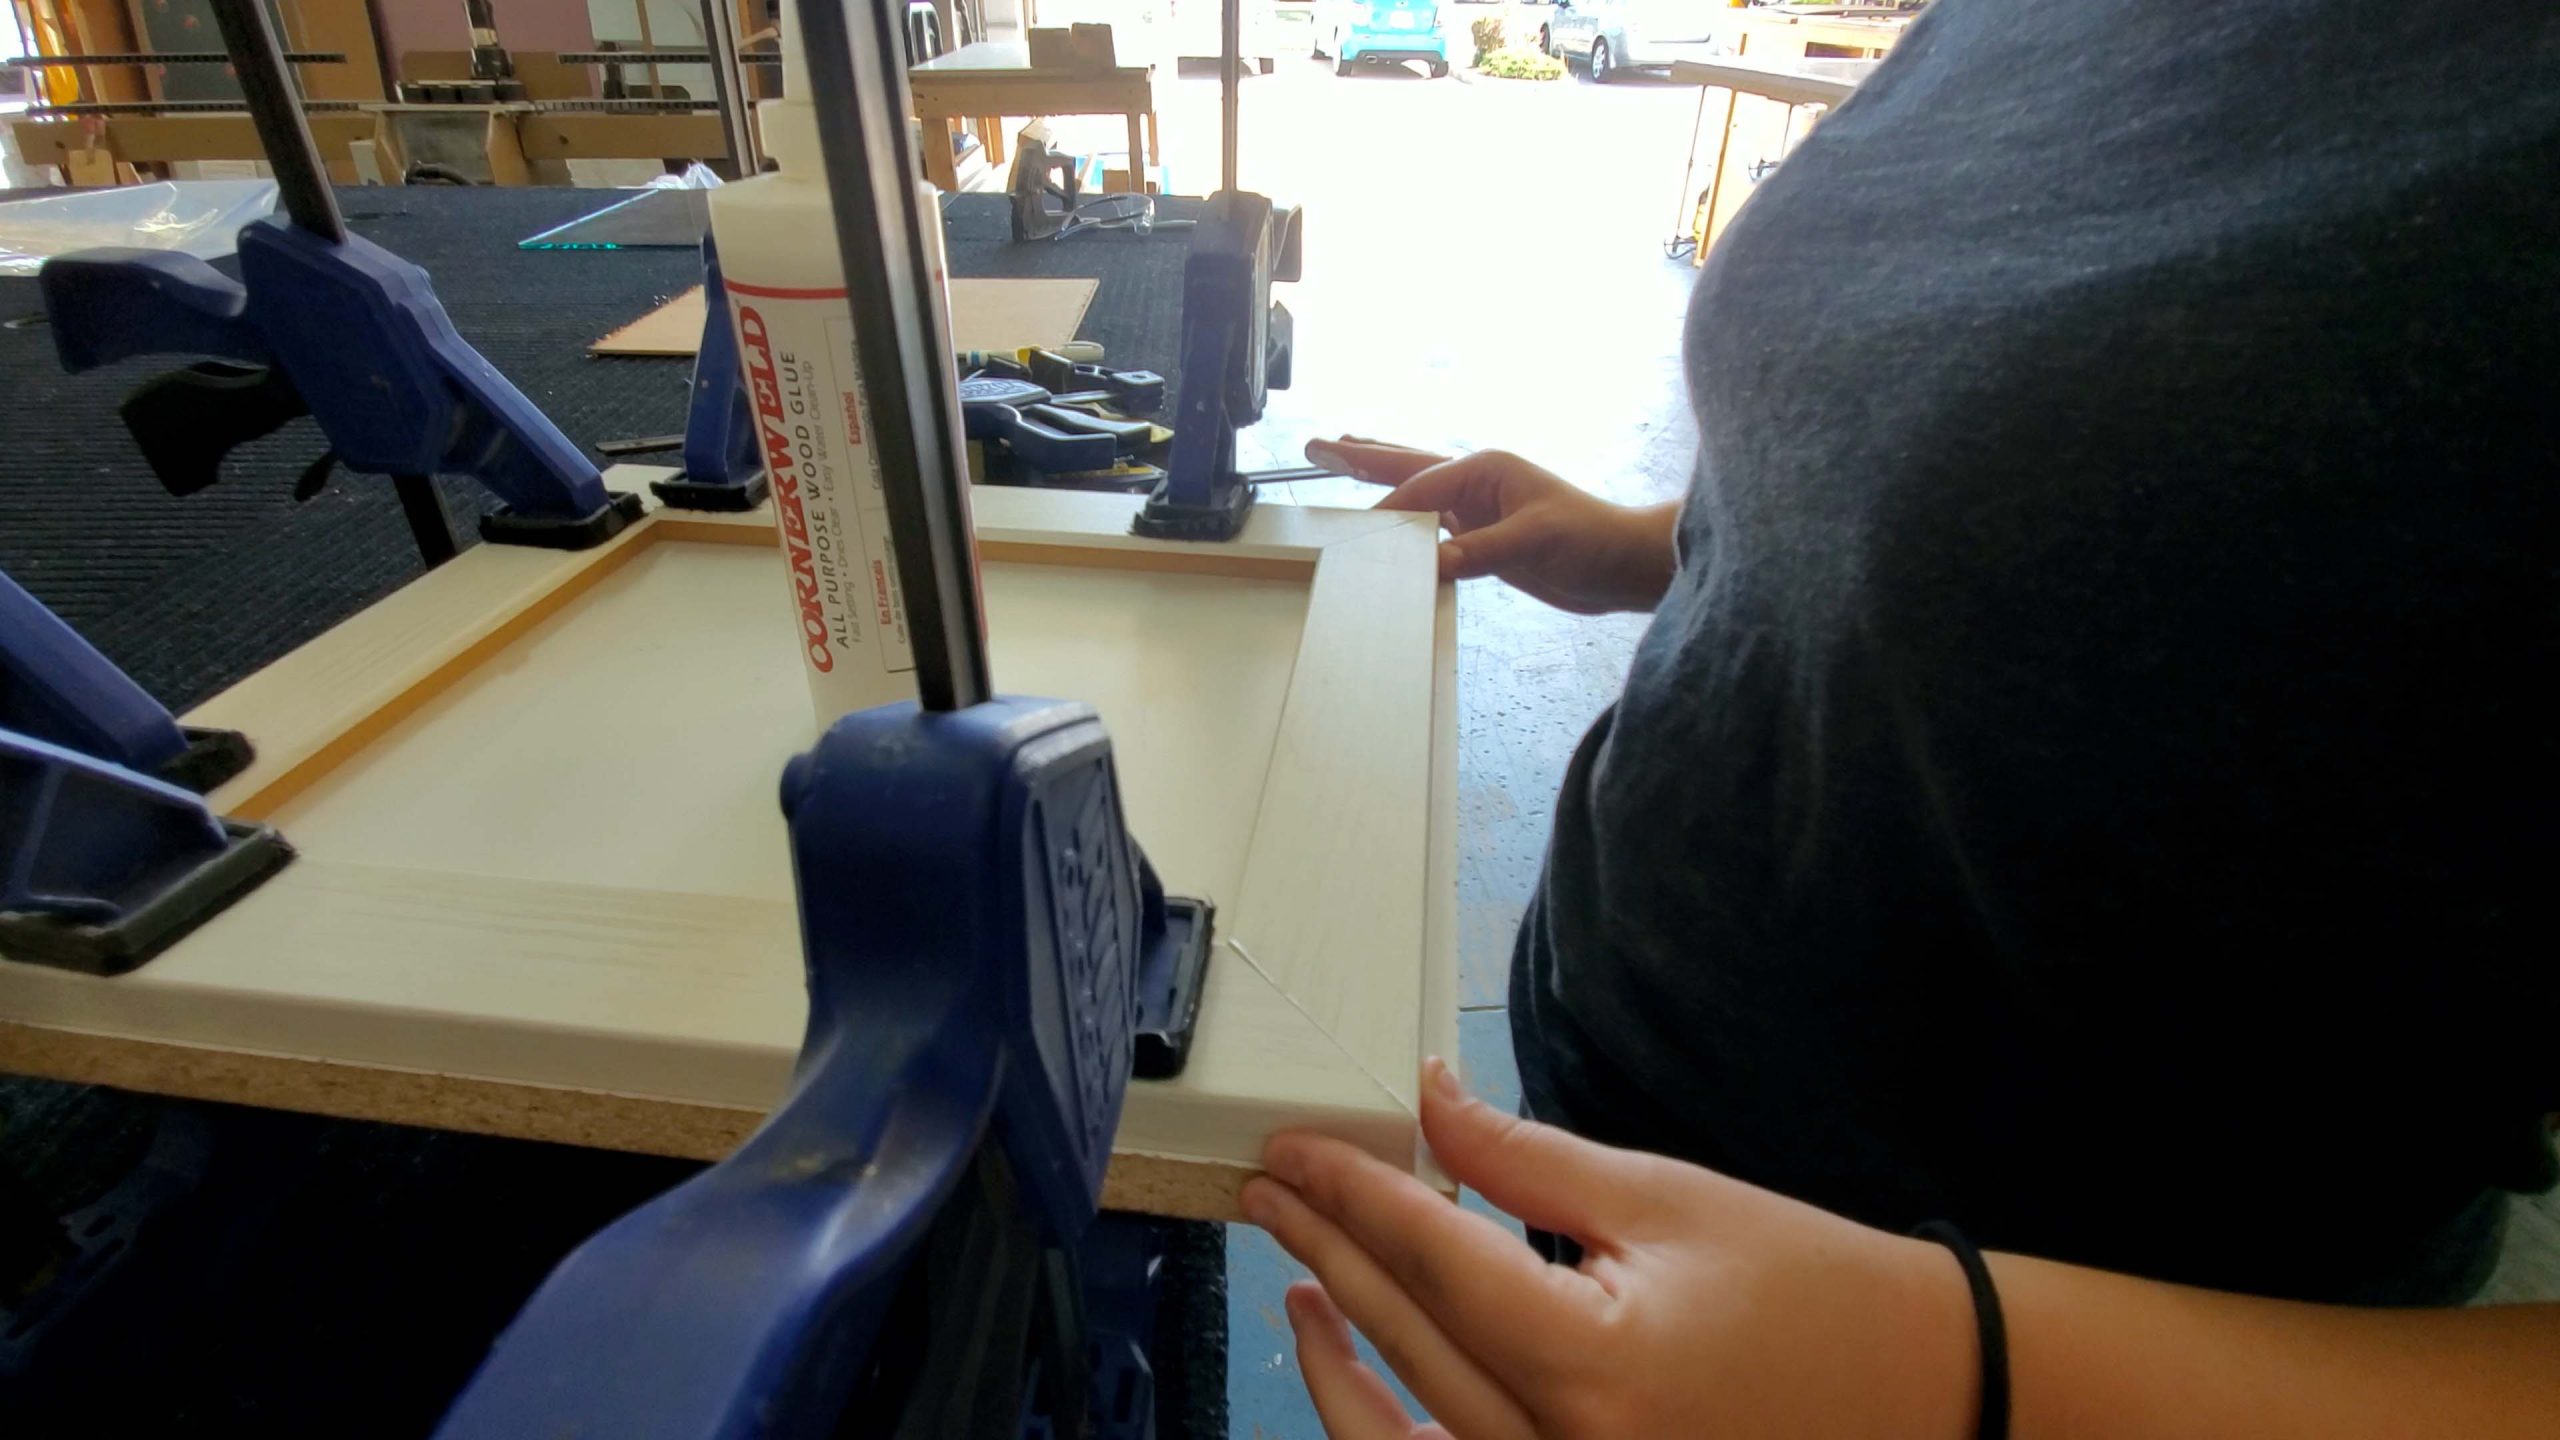
Begin gluing! For this project, I will be using the ‘Corner Weld All Purpose Wood Glue’. I like to place all the pieces together, and clamp them to the table then start gluing. Many people have different ways of doing this! I like to take the end pieces, glue those in place then do the other side. I use the table clamps to clamp the frame to the table while the glue dries. Be sure that your clamps have fabric on them, or else it could scratch your frame. During this process, take your cloth and wipe away the glue as you go! This glue dries very quickly, so be sure to work fast with it, as you wipe away the excess glue.
Step 7: Allow the frame to dry
I like to allow mine to dry for a few hours. Preferably overnight!
Step 8: Measure the inside of the frame
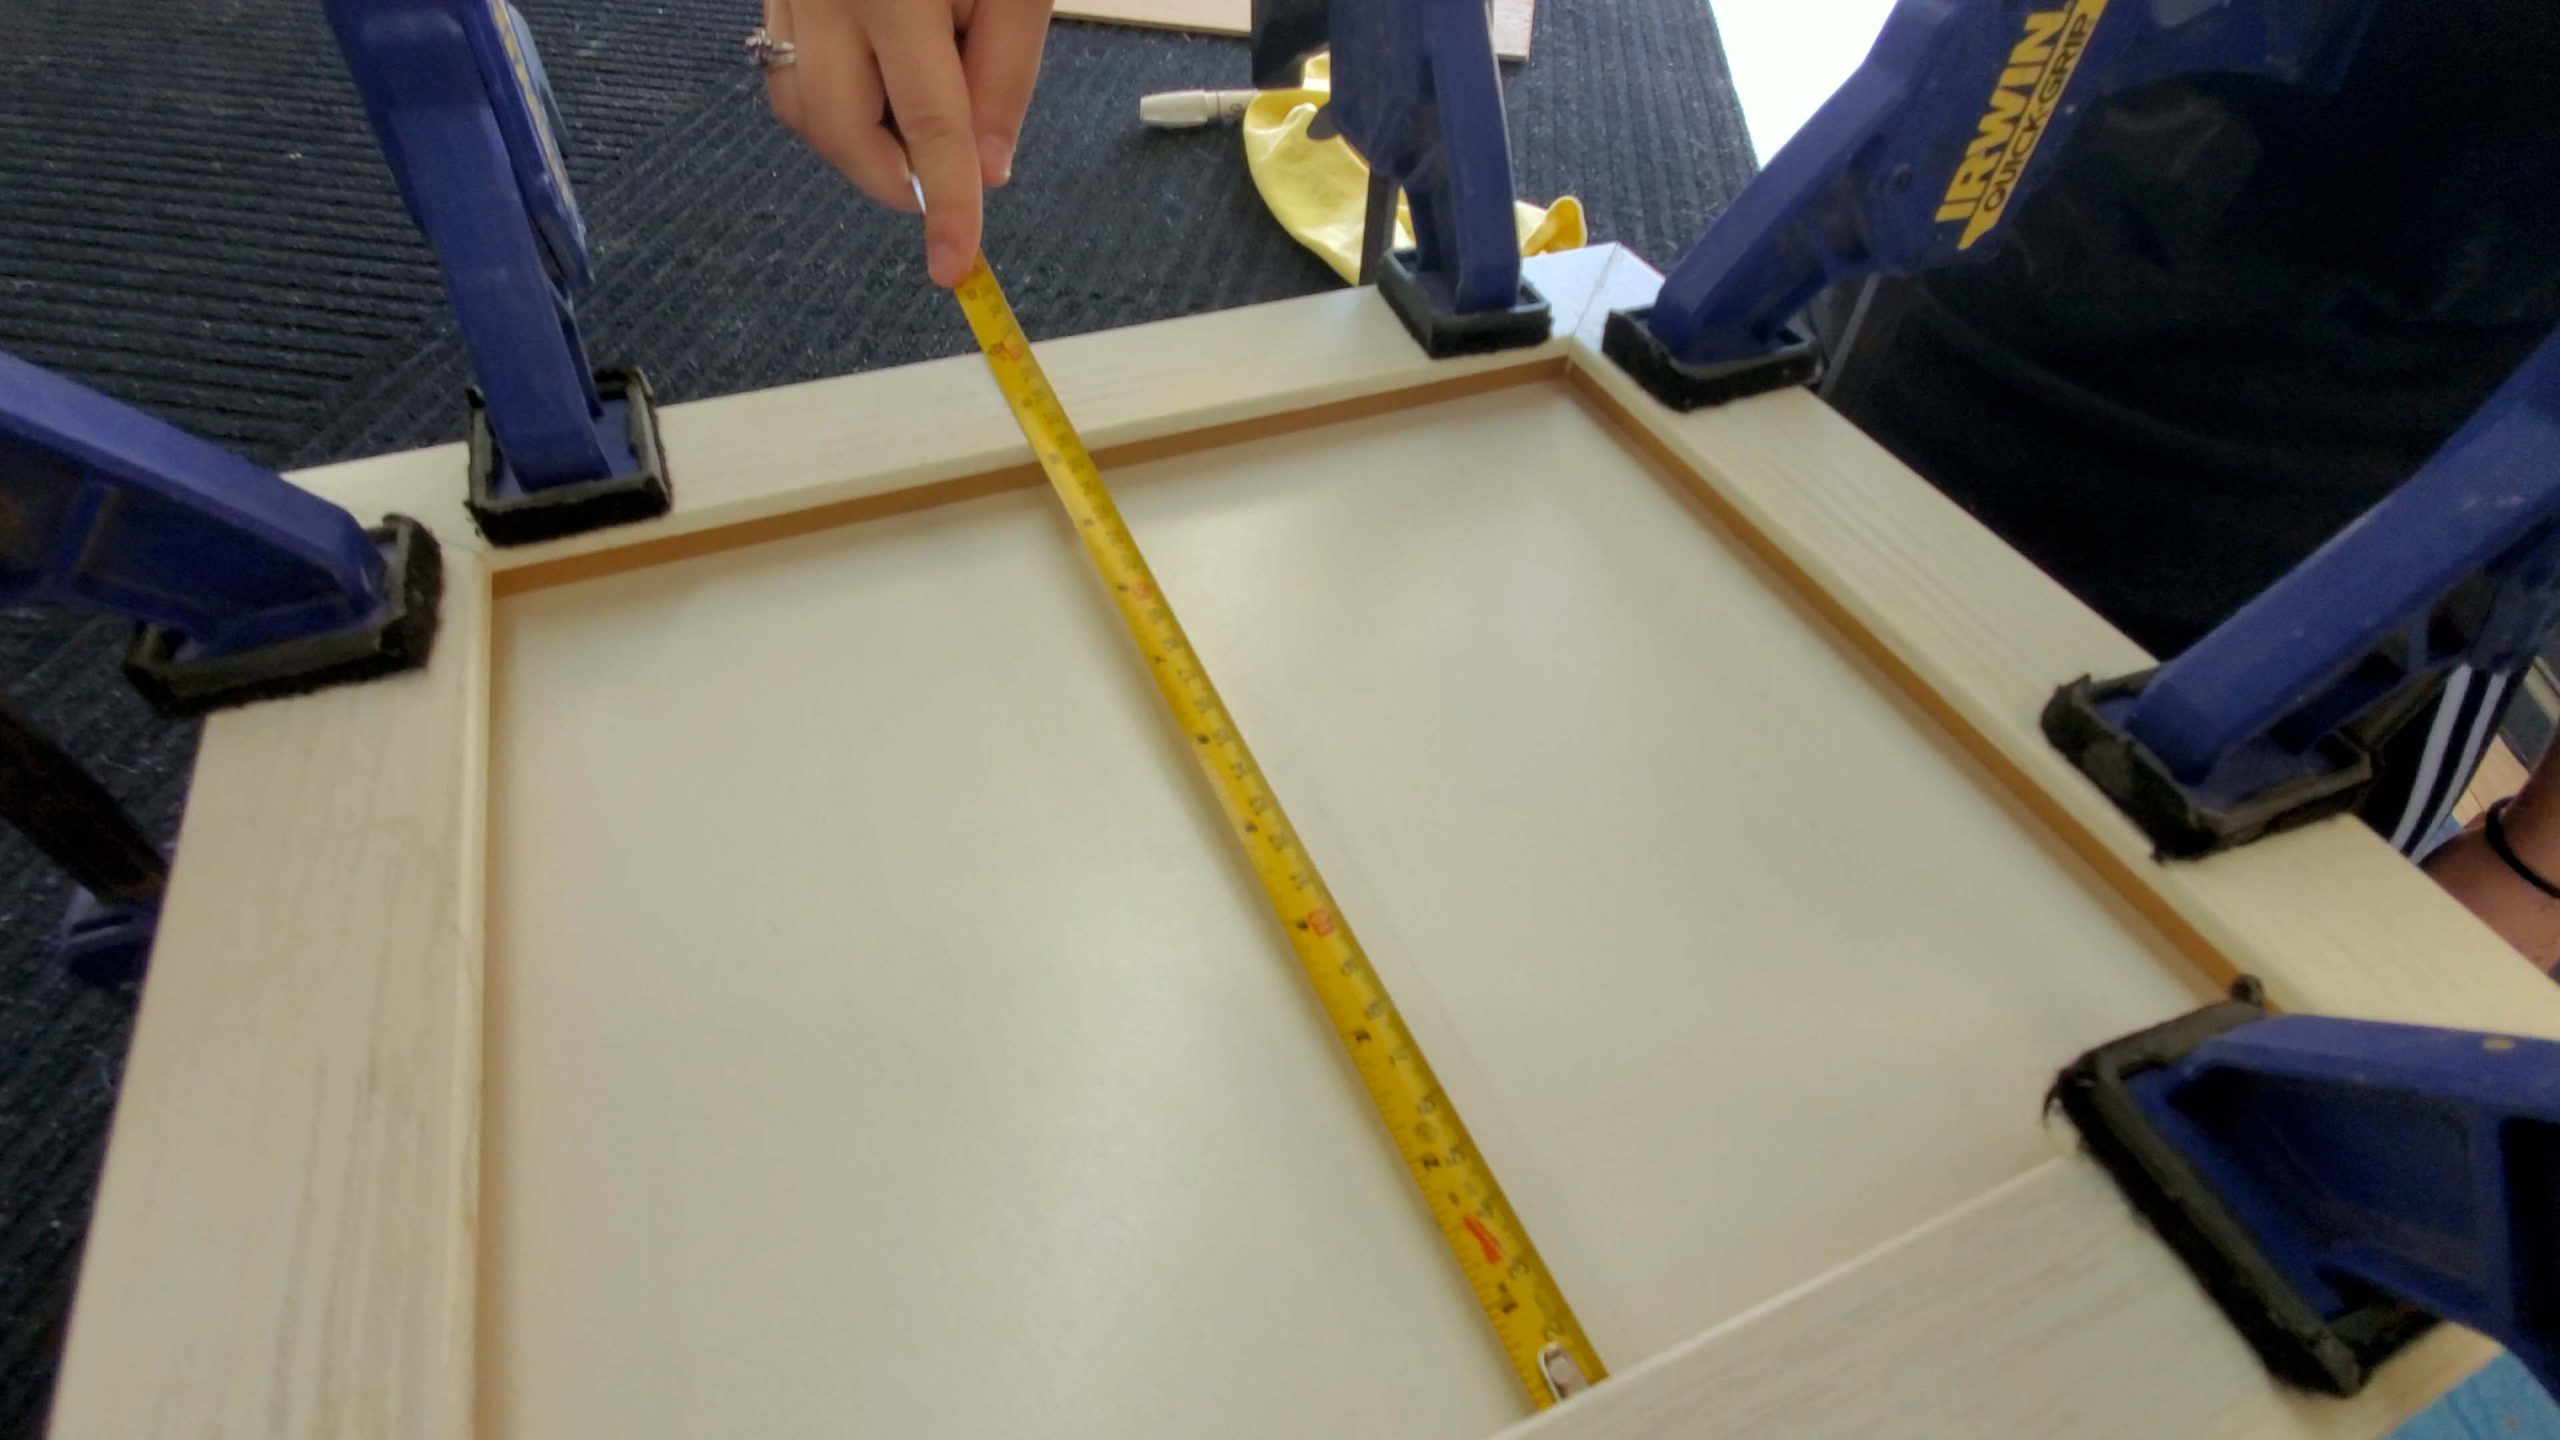
We can cut our thin plywood for the back as the glue is drying. You will need to measure the inside of the frame, this is where the wood will be placed, it will most likely be the same size of the glass.
Step 9: Cut the backboard
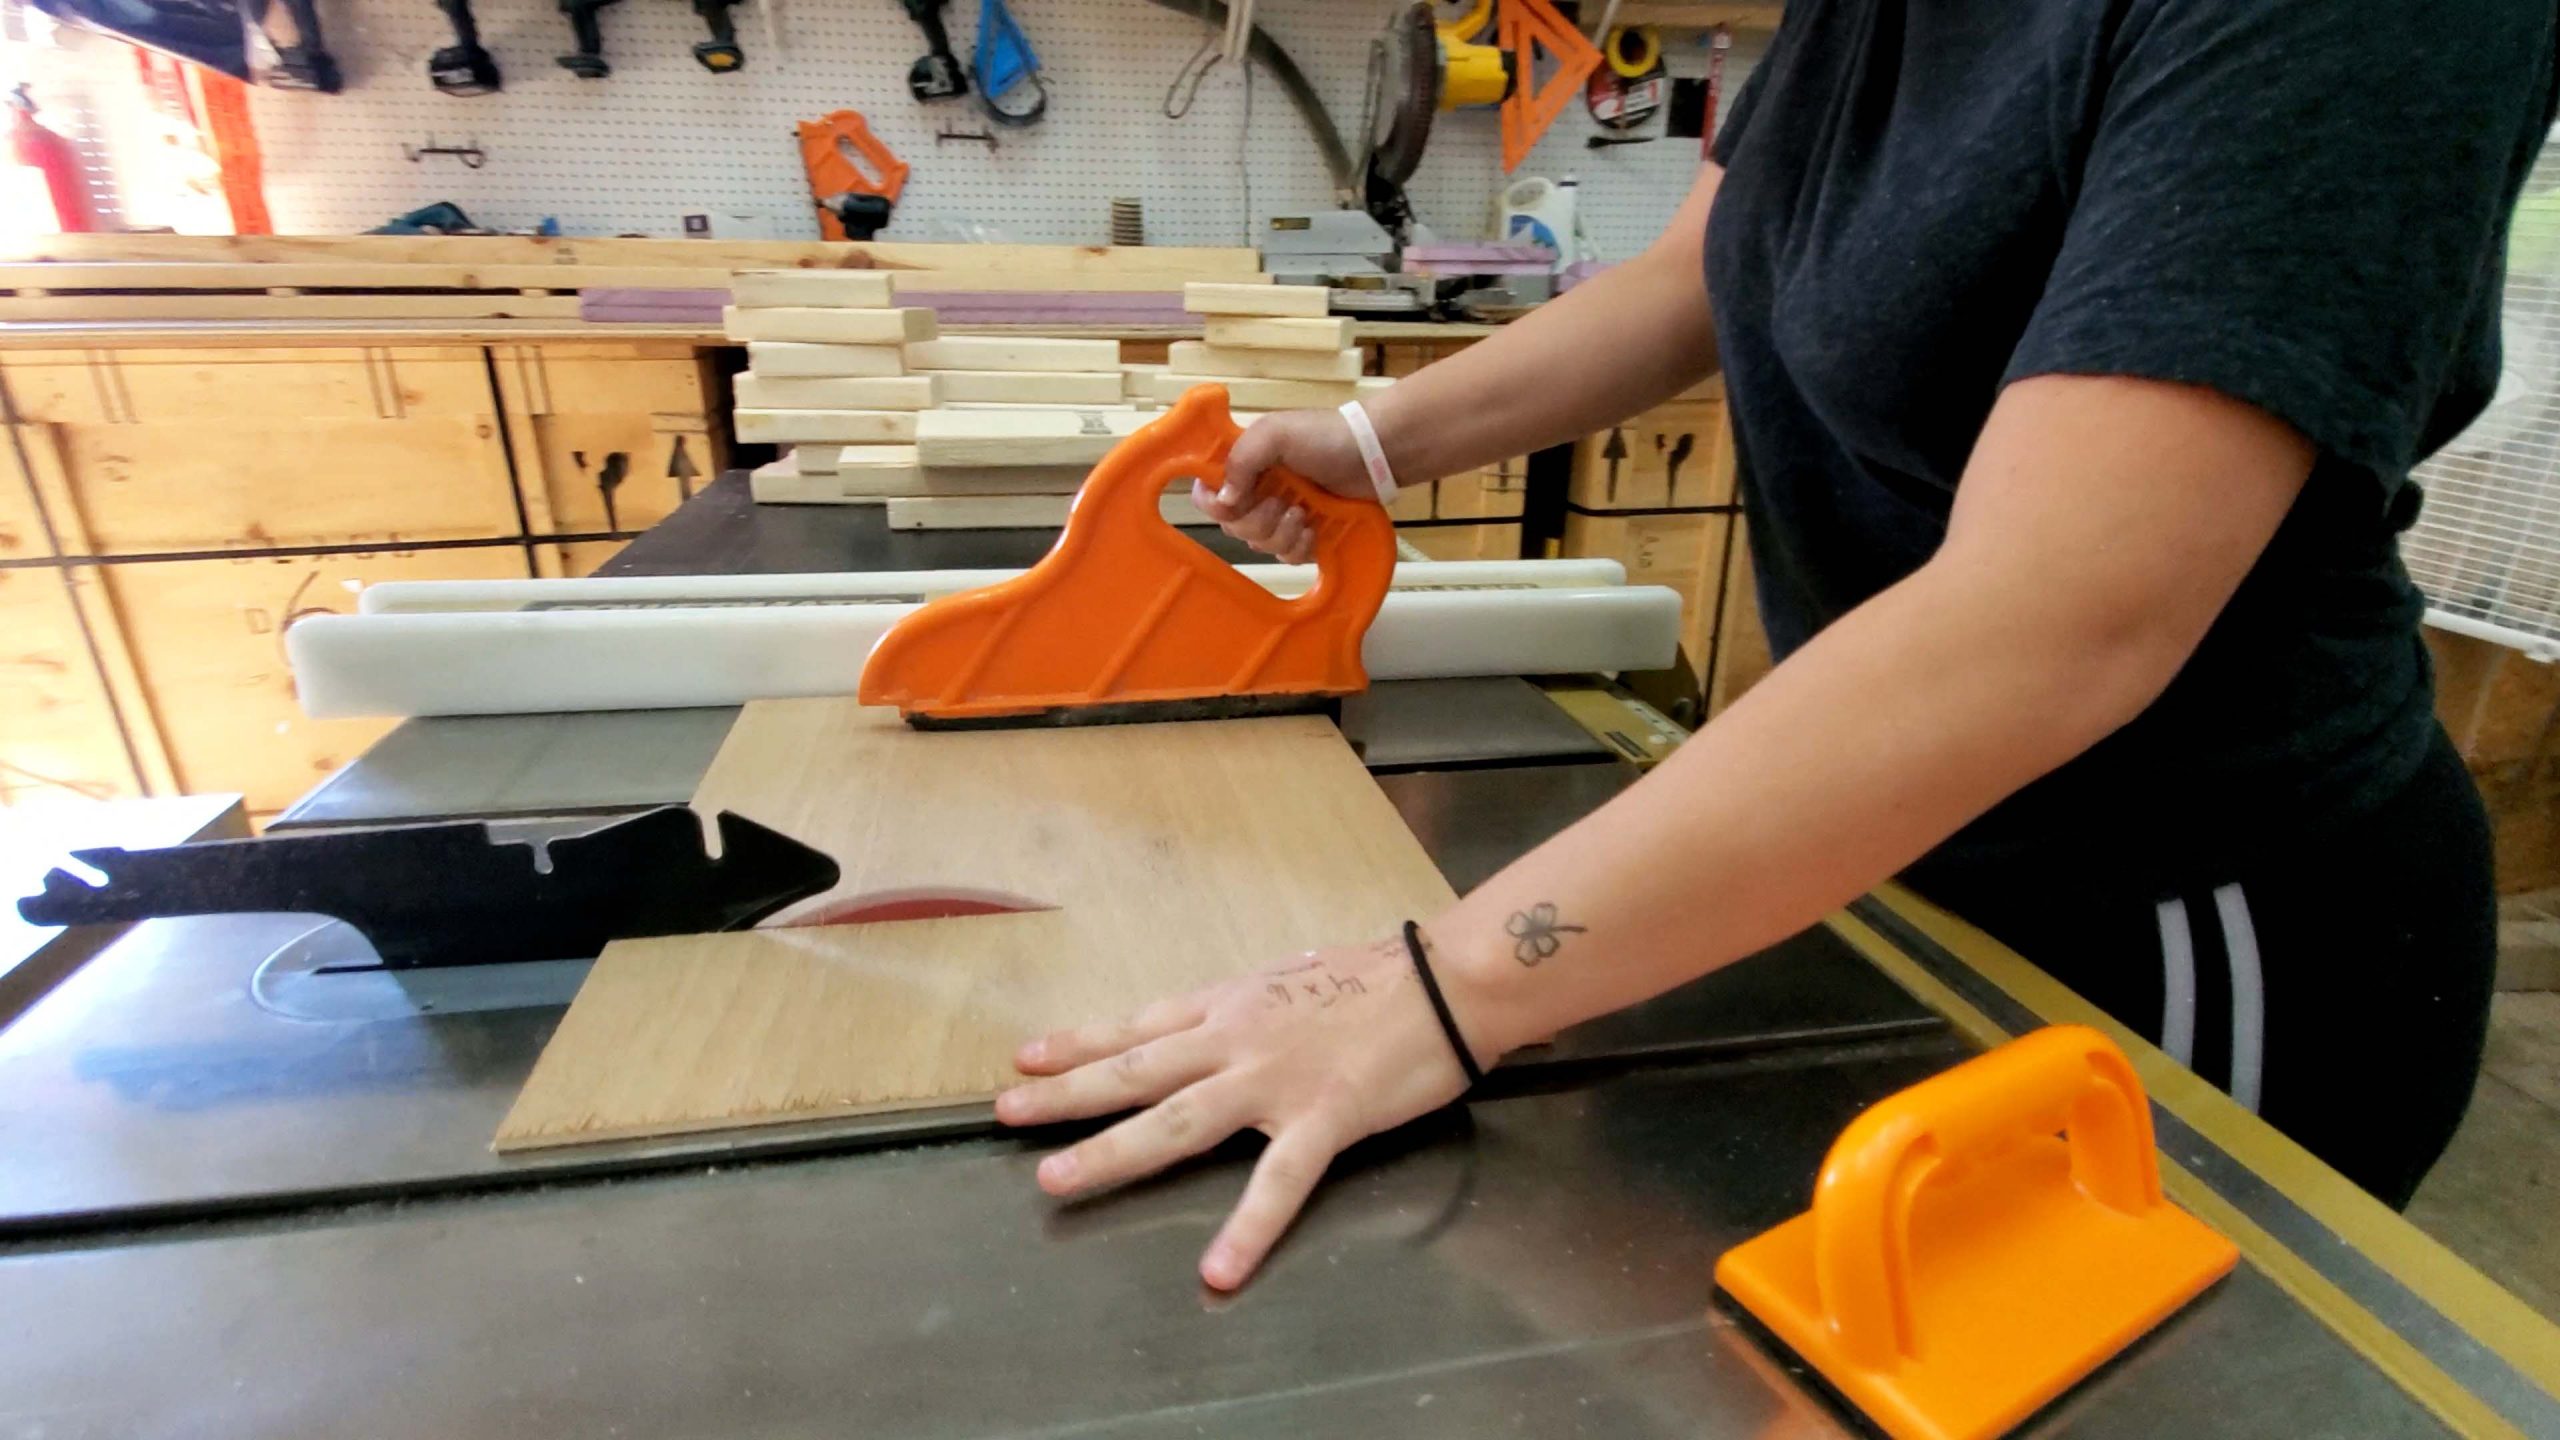
Begin cutting your wood, you can also use cardboard for this. Using our table saw to cut the wood to size, you can also use a hand powered saw for this. After I cut the wood, I just sanded the sides, front and back using a sanding block to give a smoother finish, and to prevent splinters.
Step 10: Create Mounting
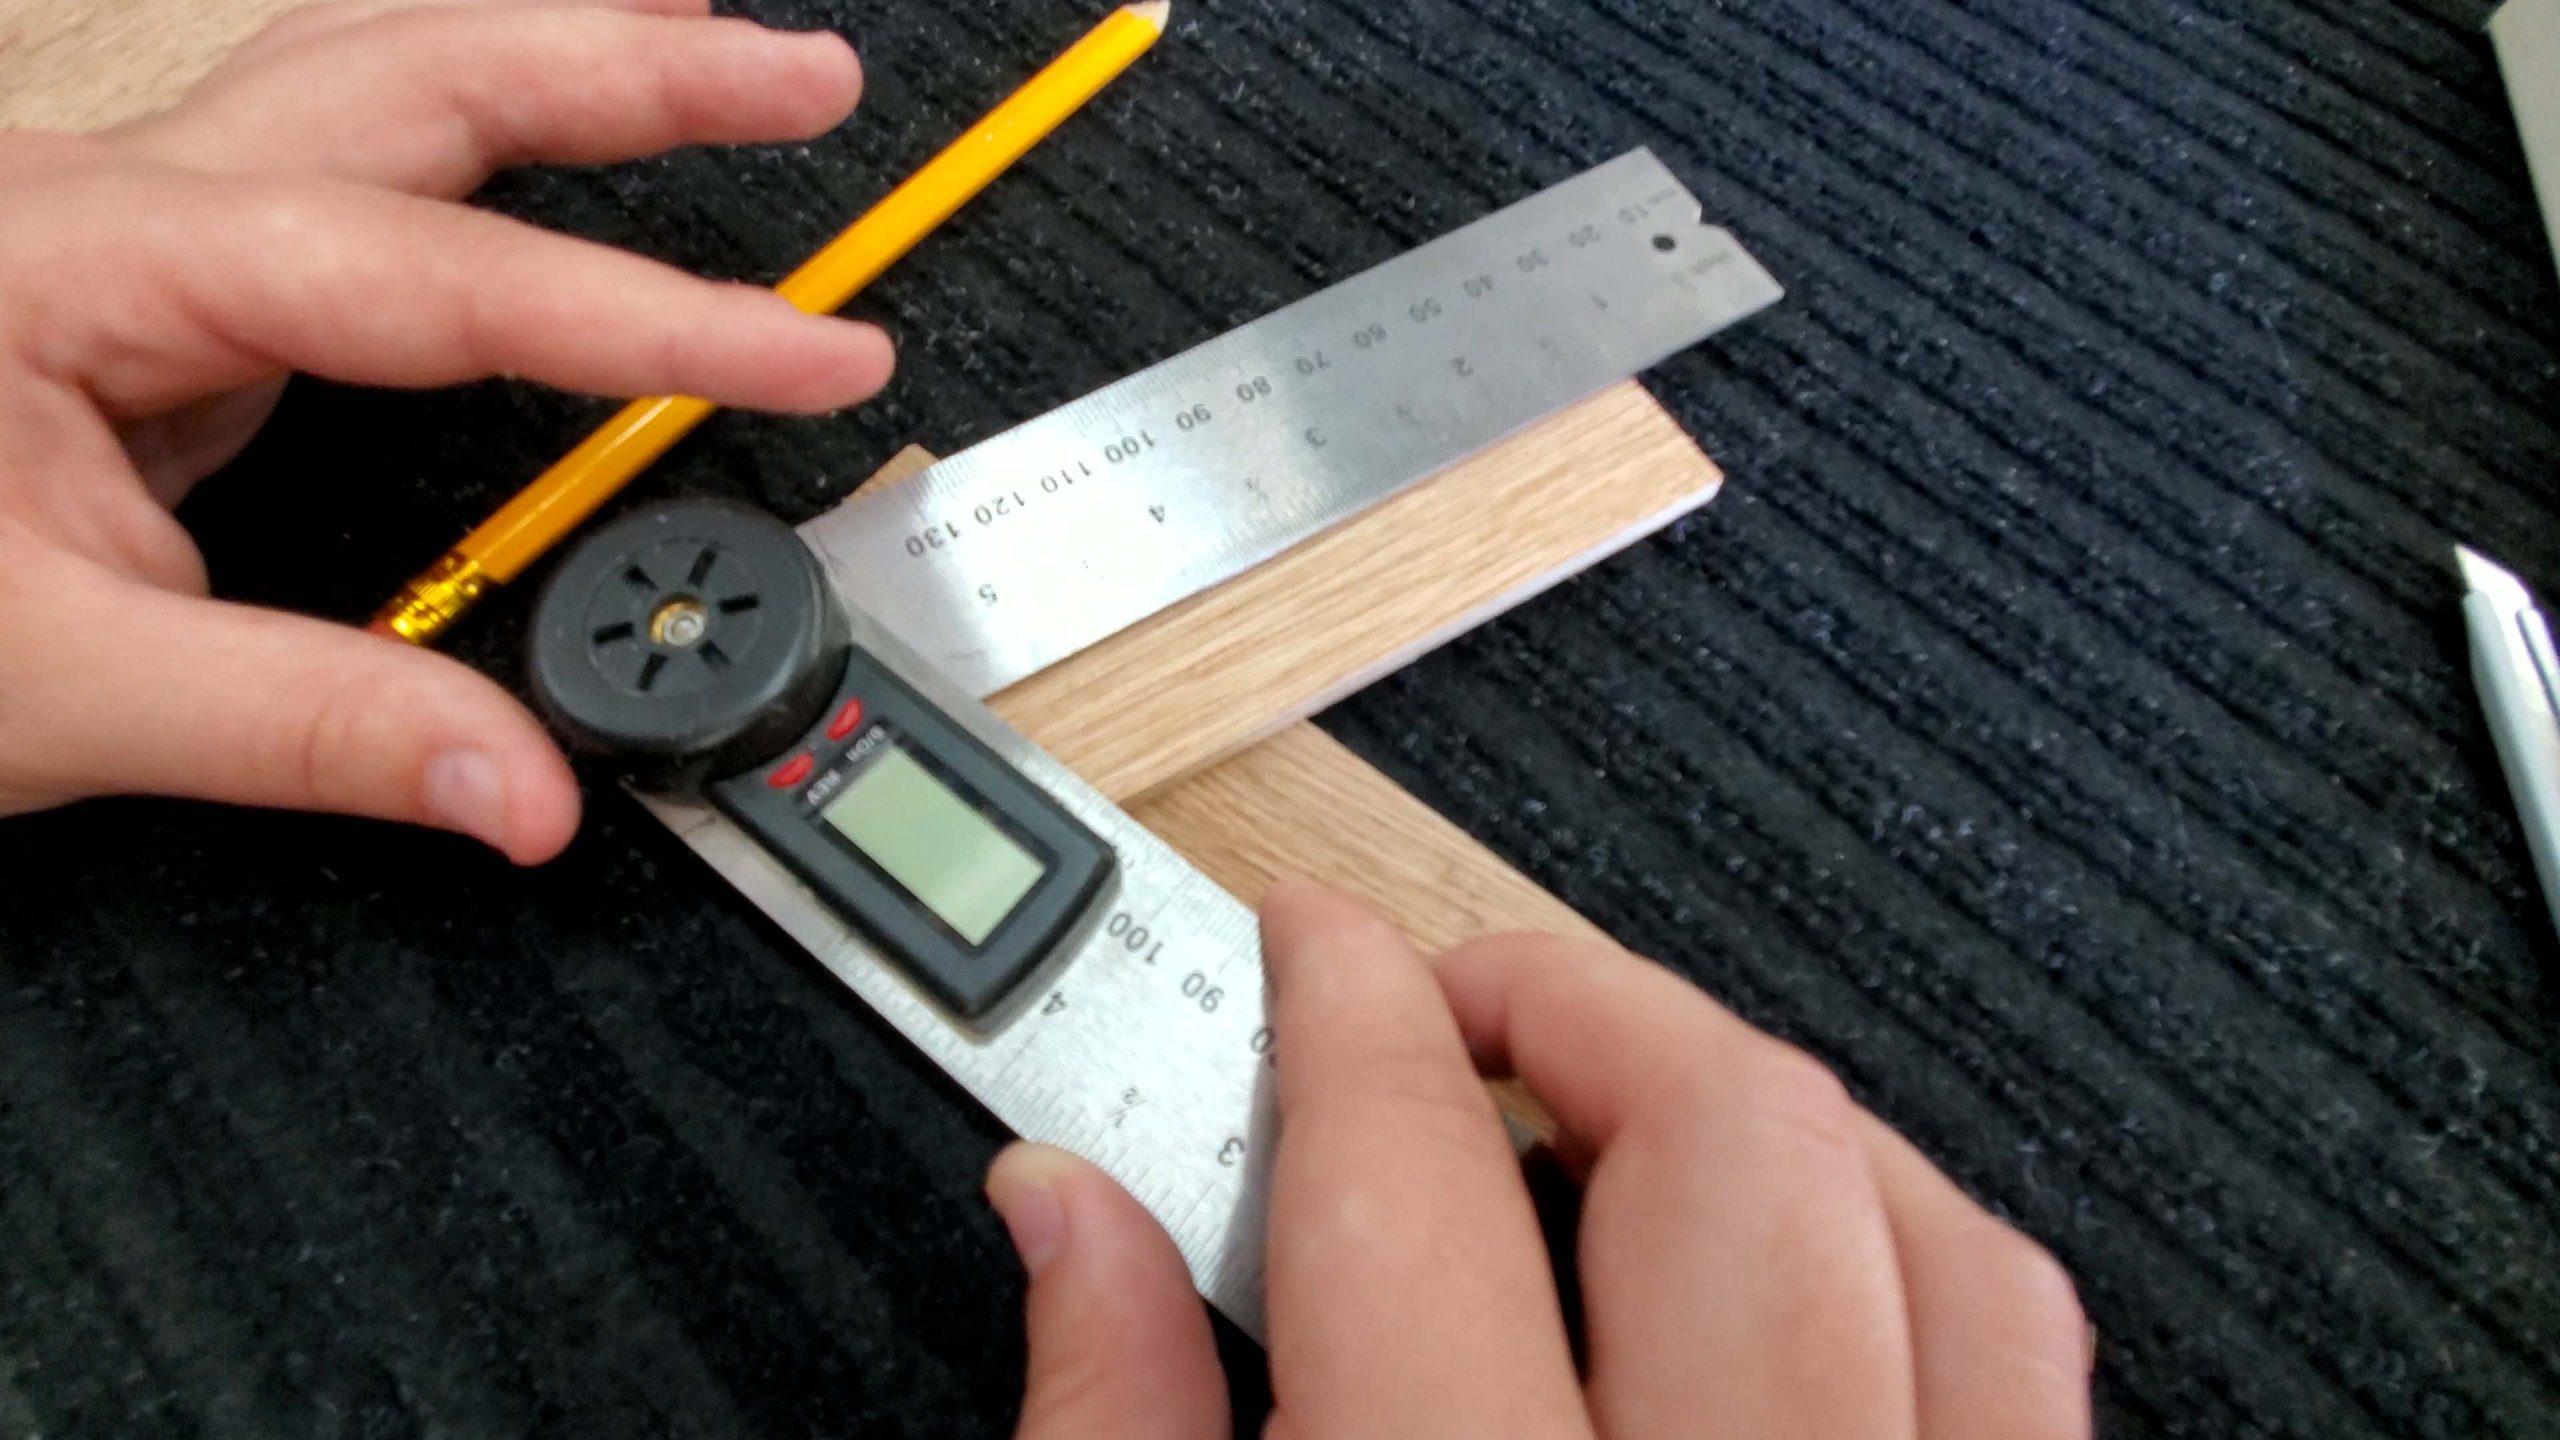
This next part is optional, depending if you will be hanging your picture frame on the wall or having it on the table. For it to sit on the table, you will need to make something so the frame can lean at an angle. For this, we took some thin plywood and used a digital angle calibrator to figure out how to make this stand on its own. There are a lot of different ways you can create this. Now, I just chipped off some of the wood so it lays flat onto the back plywood, and the table. After I was done chipping away the wood, I sanded it a bit and glued the two together. After that I placed them on top of each other with the glue, wiping away the glue as it dries. This glue doesn’t dry clear, so this is important.
Step 11: Glass
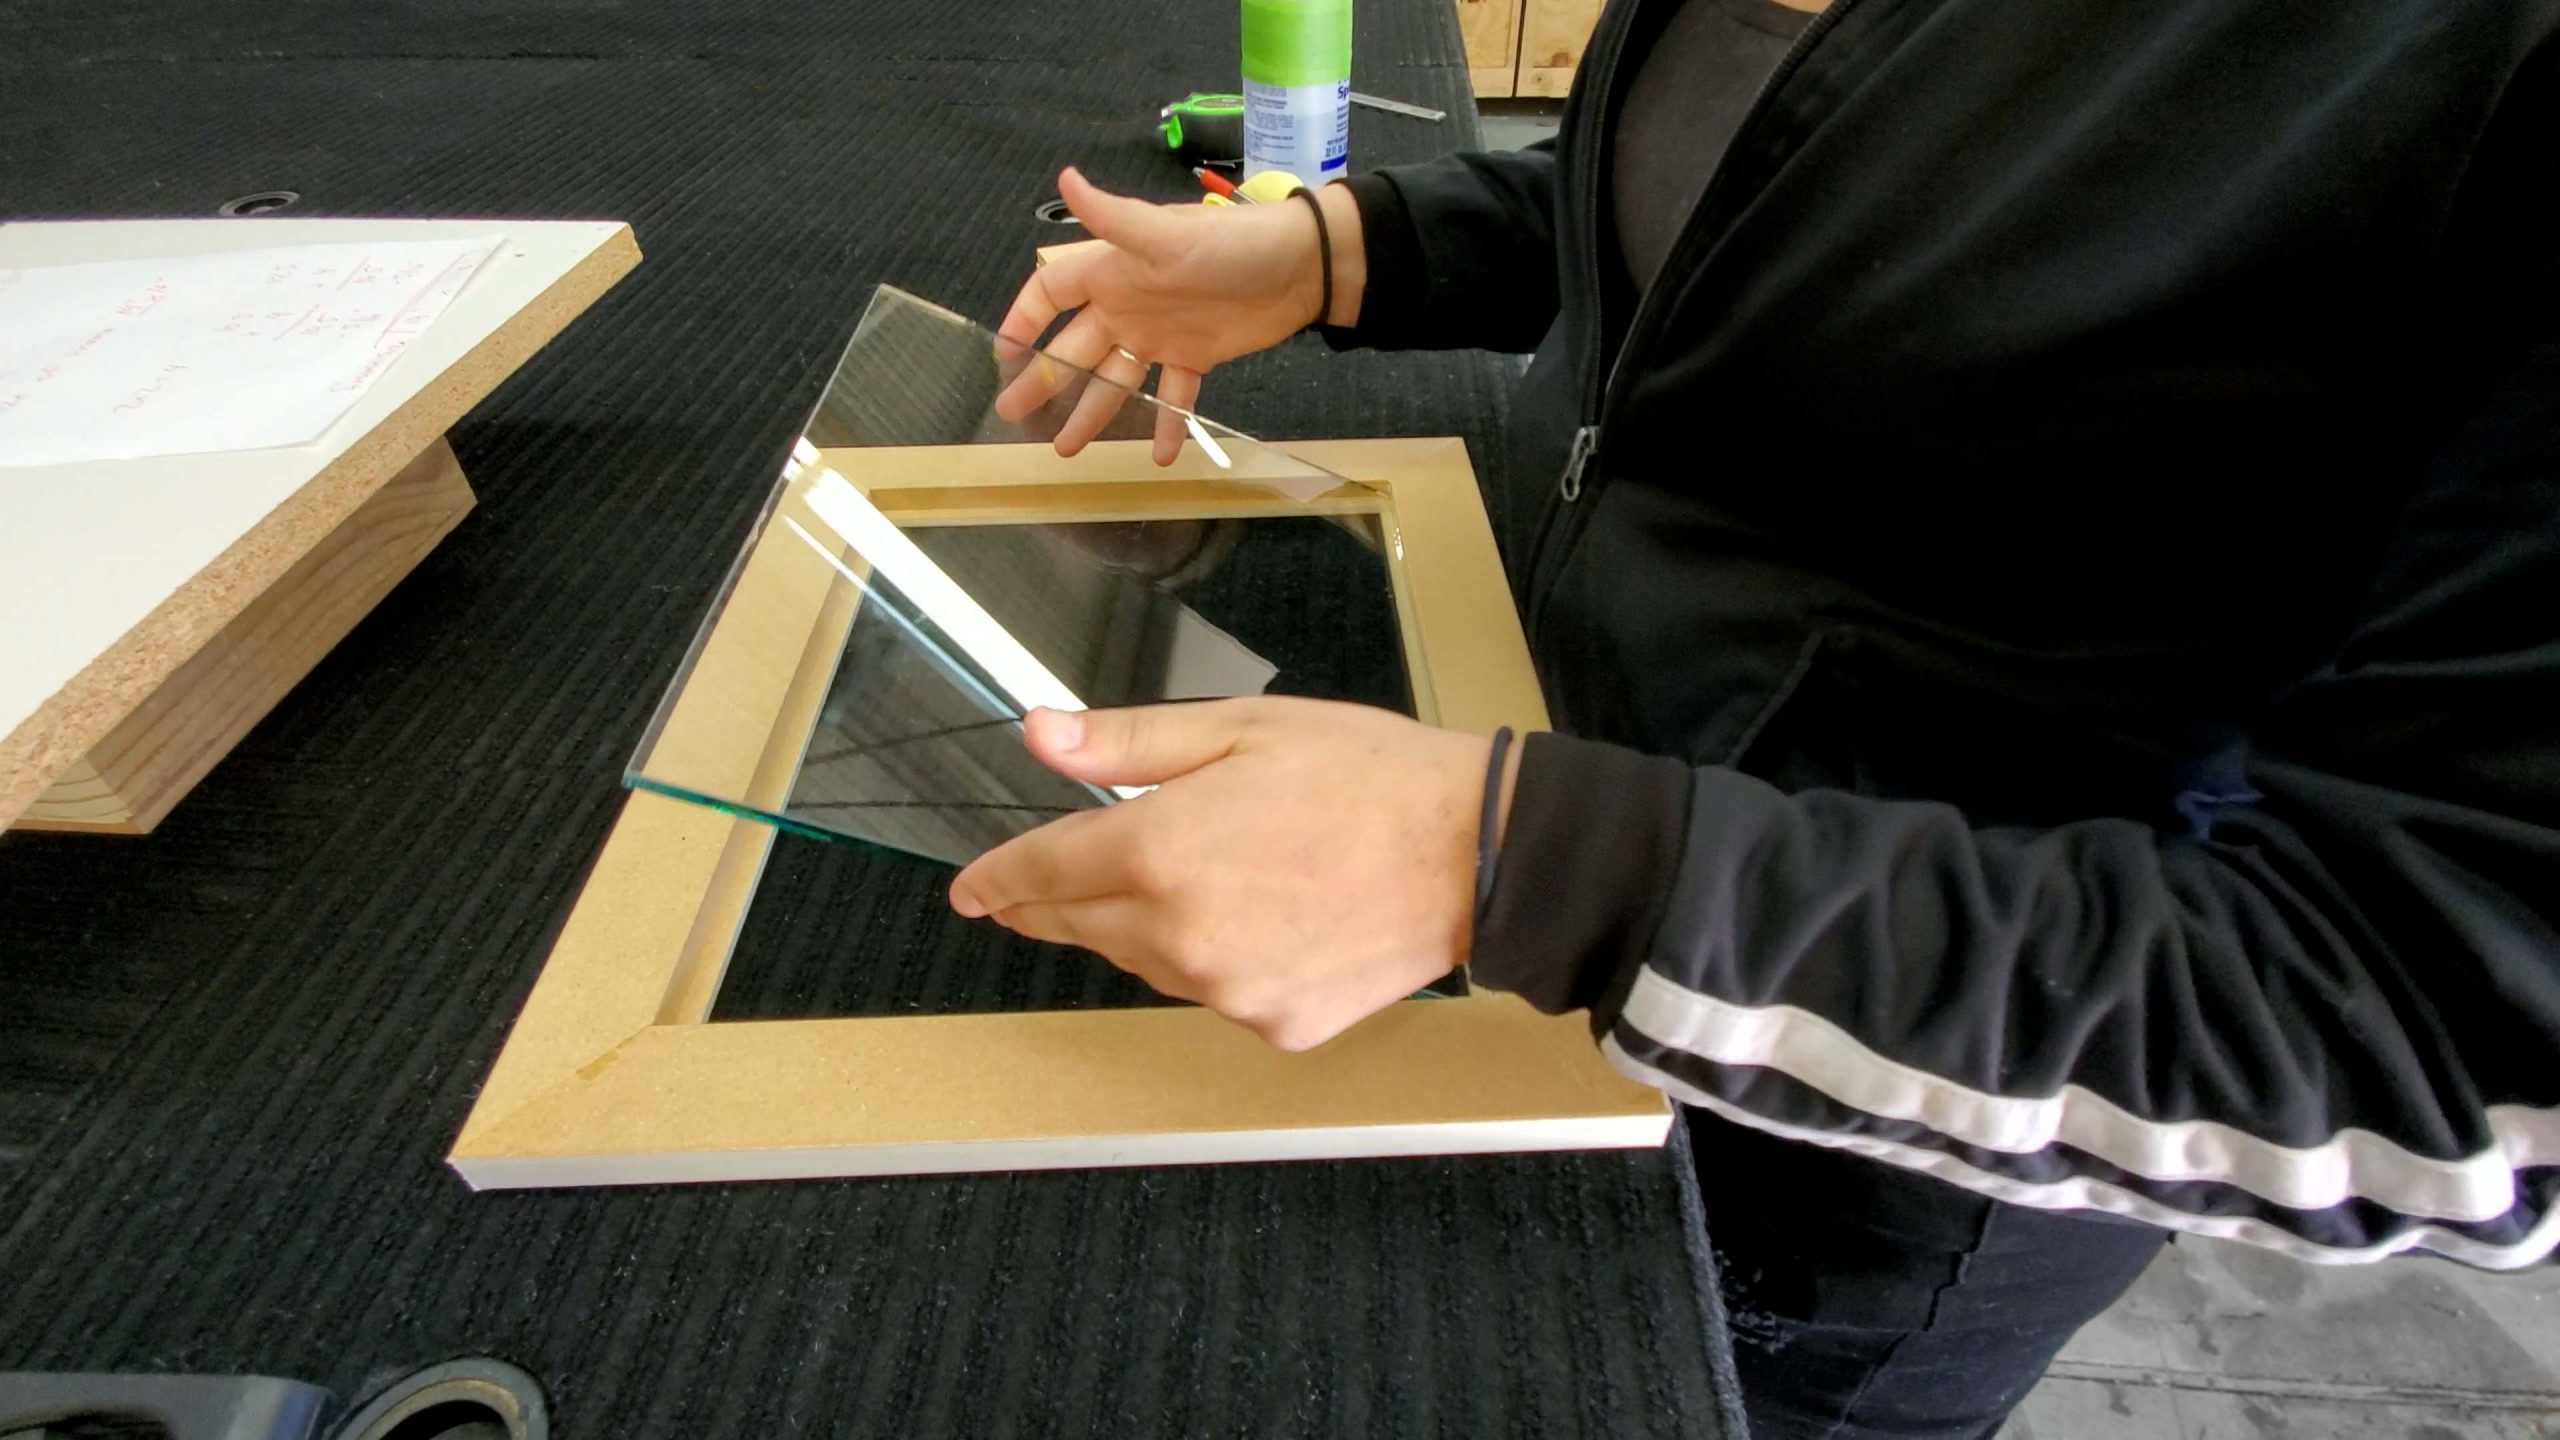
For this project, we are using clear glass. If you are looking for an anti-reflective glass, you can order it NOW on our website! Anti-reflective glass blocks out all the harmful UV rays! The glass will be the same size as your plywood for the back of the frame. If you need a specific size of glass, head over to our website to order it now! We do custom sizes!
Step 12: Gluing the Mount to the backboard
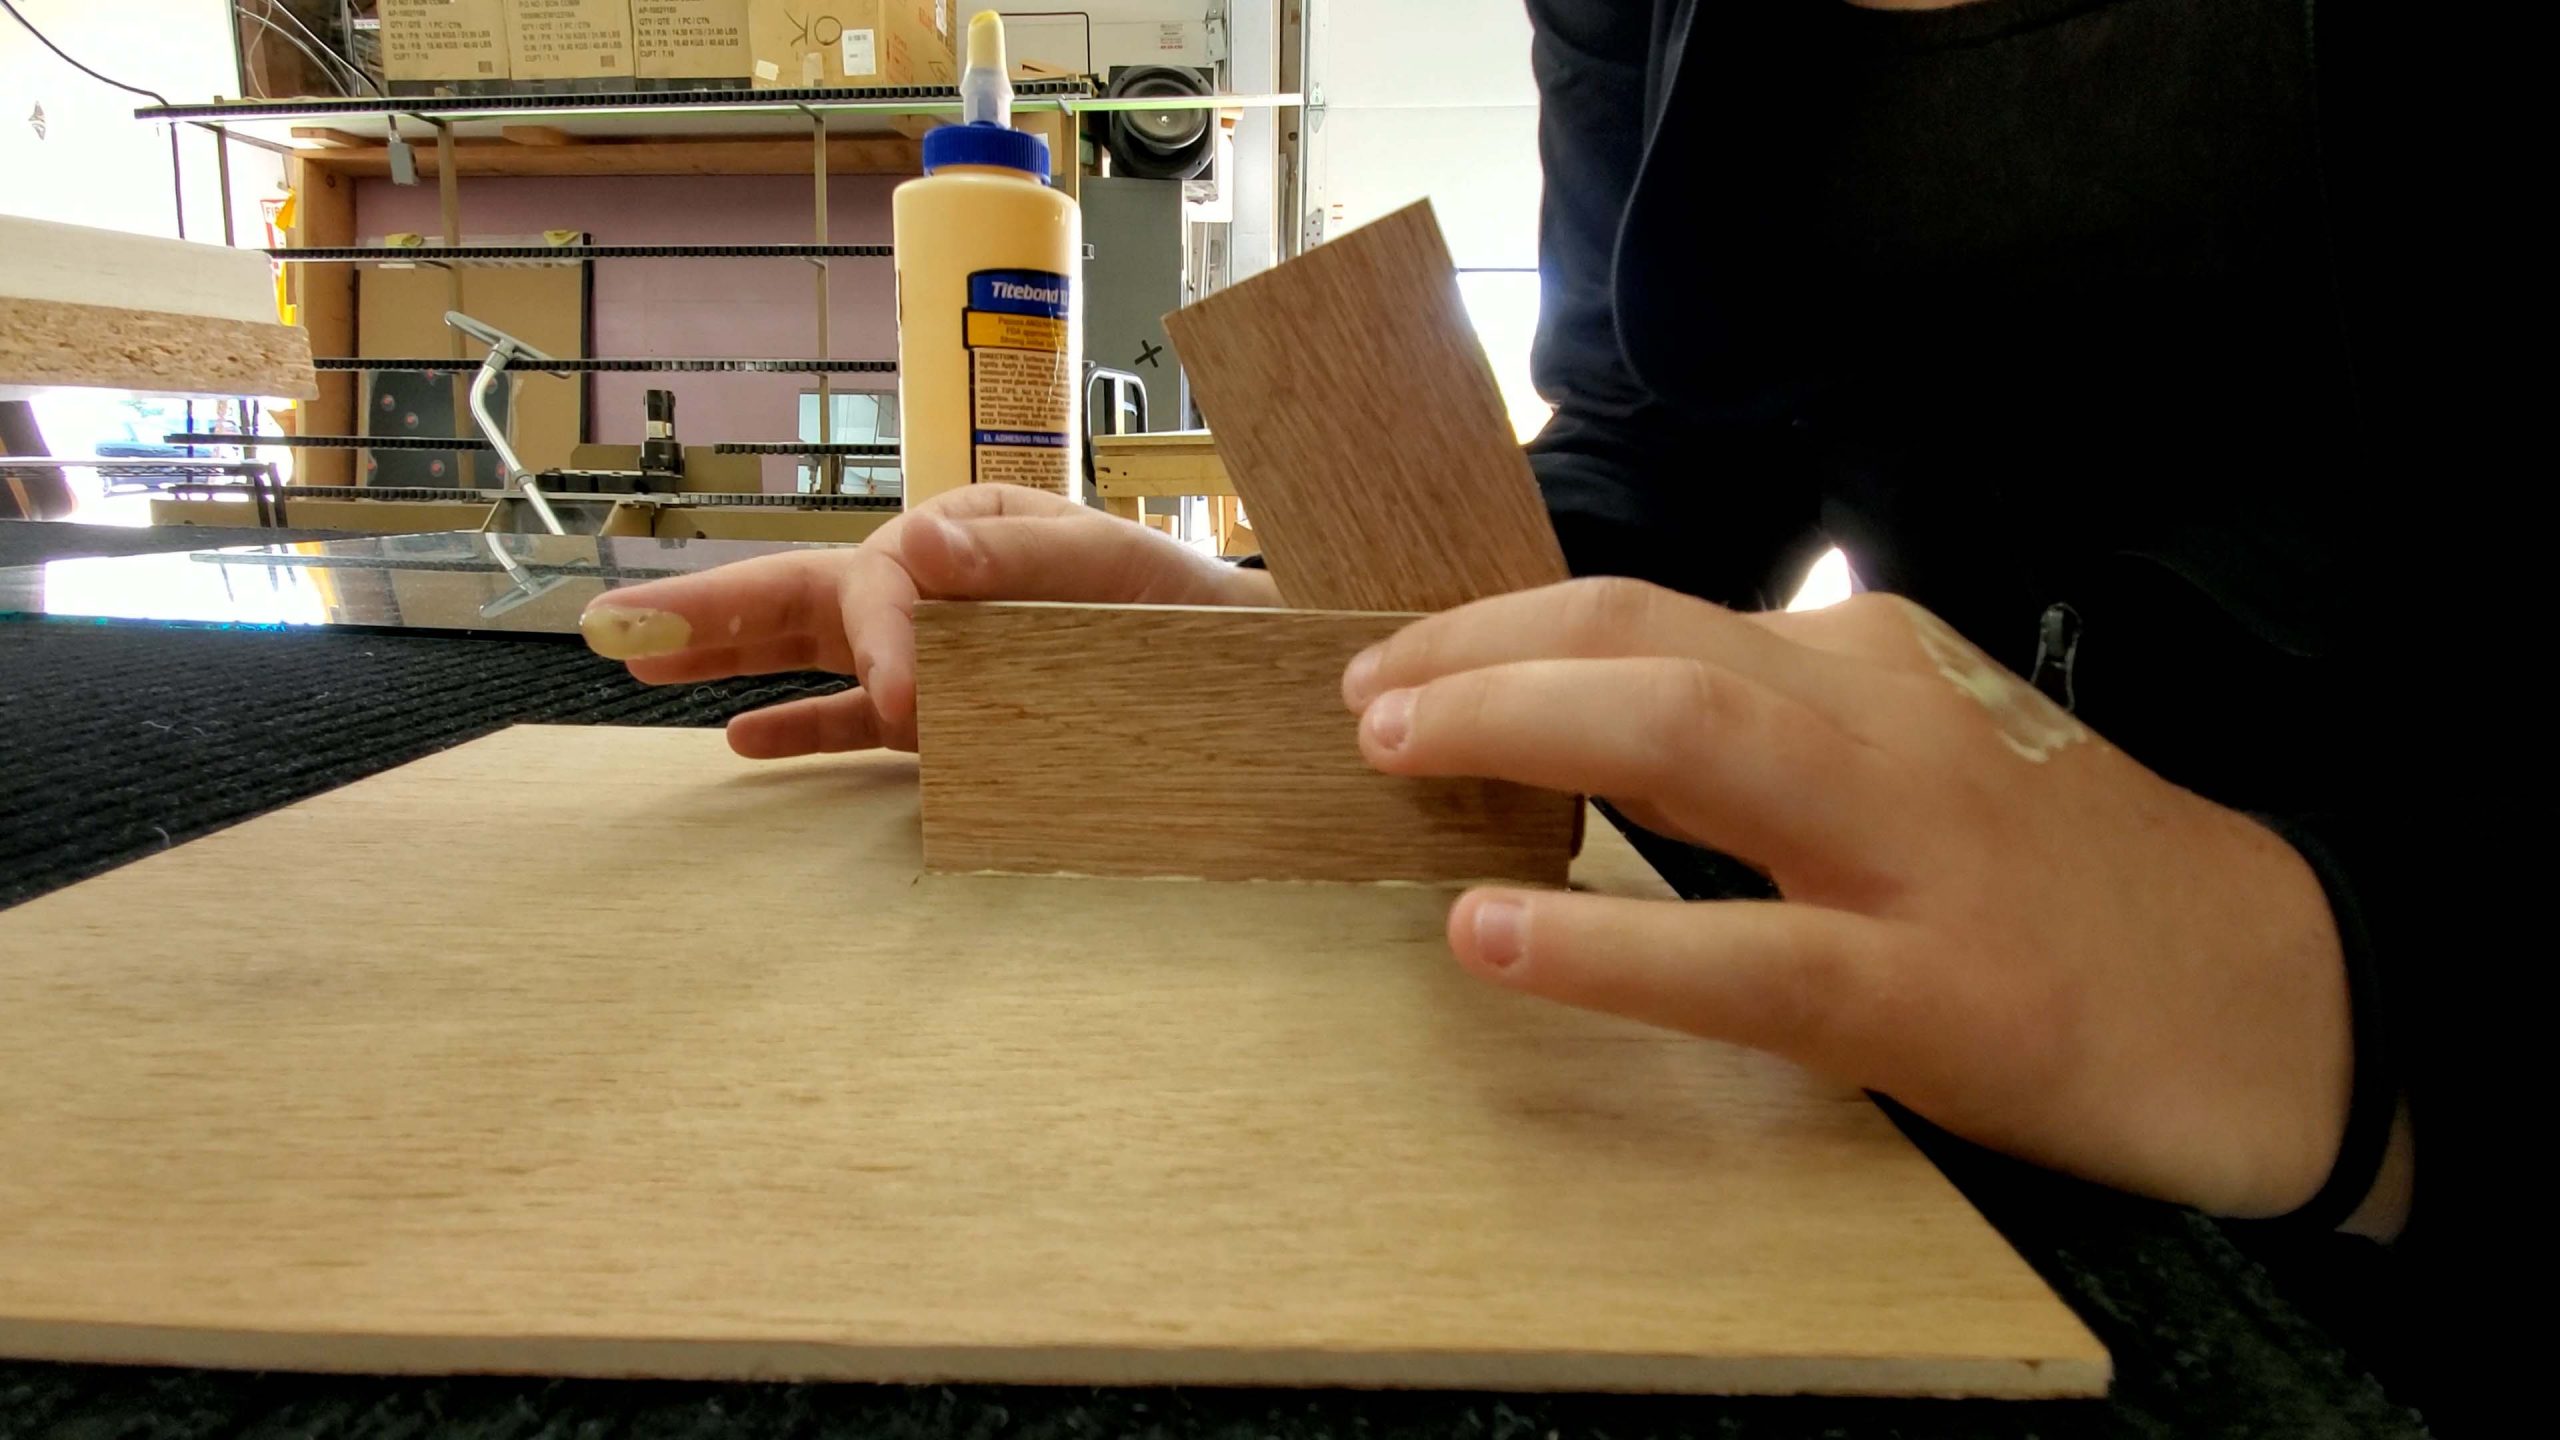
After we have let the back build dry a bit, I’m just going to glue it to the back piece of plywood. I found the middle of the back plywood to center that, then began gluing. Once that has dried together, I added a few staples in to add extra support. I‘m just using some small table clamps to make sure that it stayed in place, and straight up and down
Step 13: Glazing Points
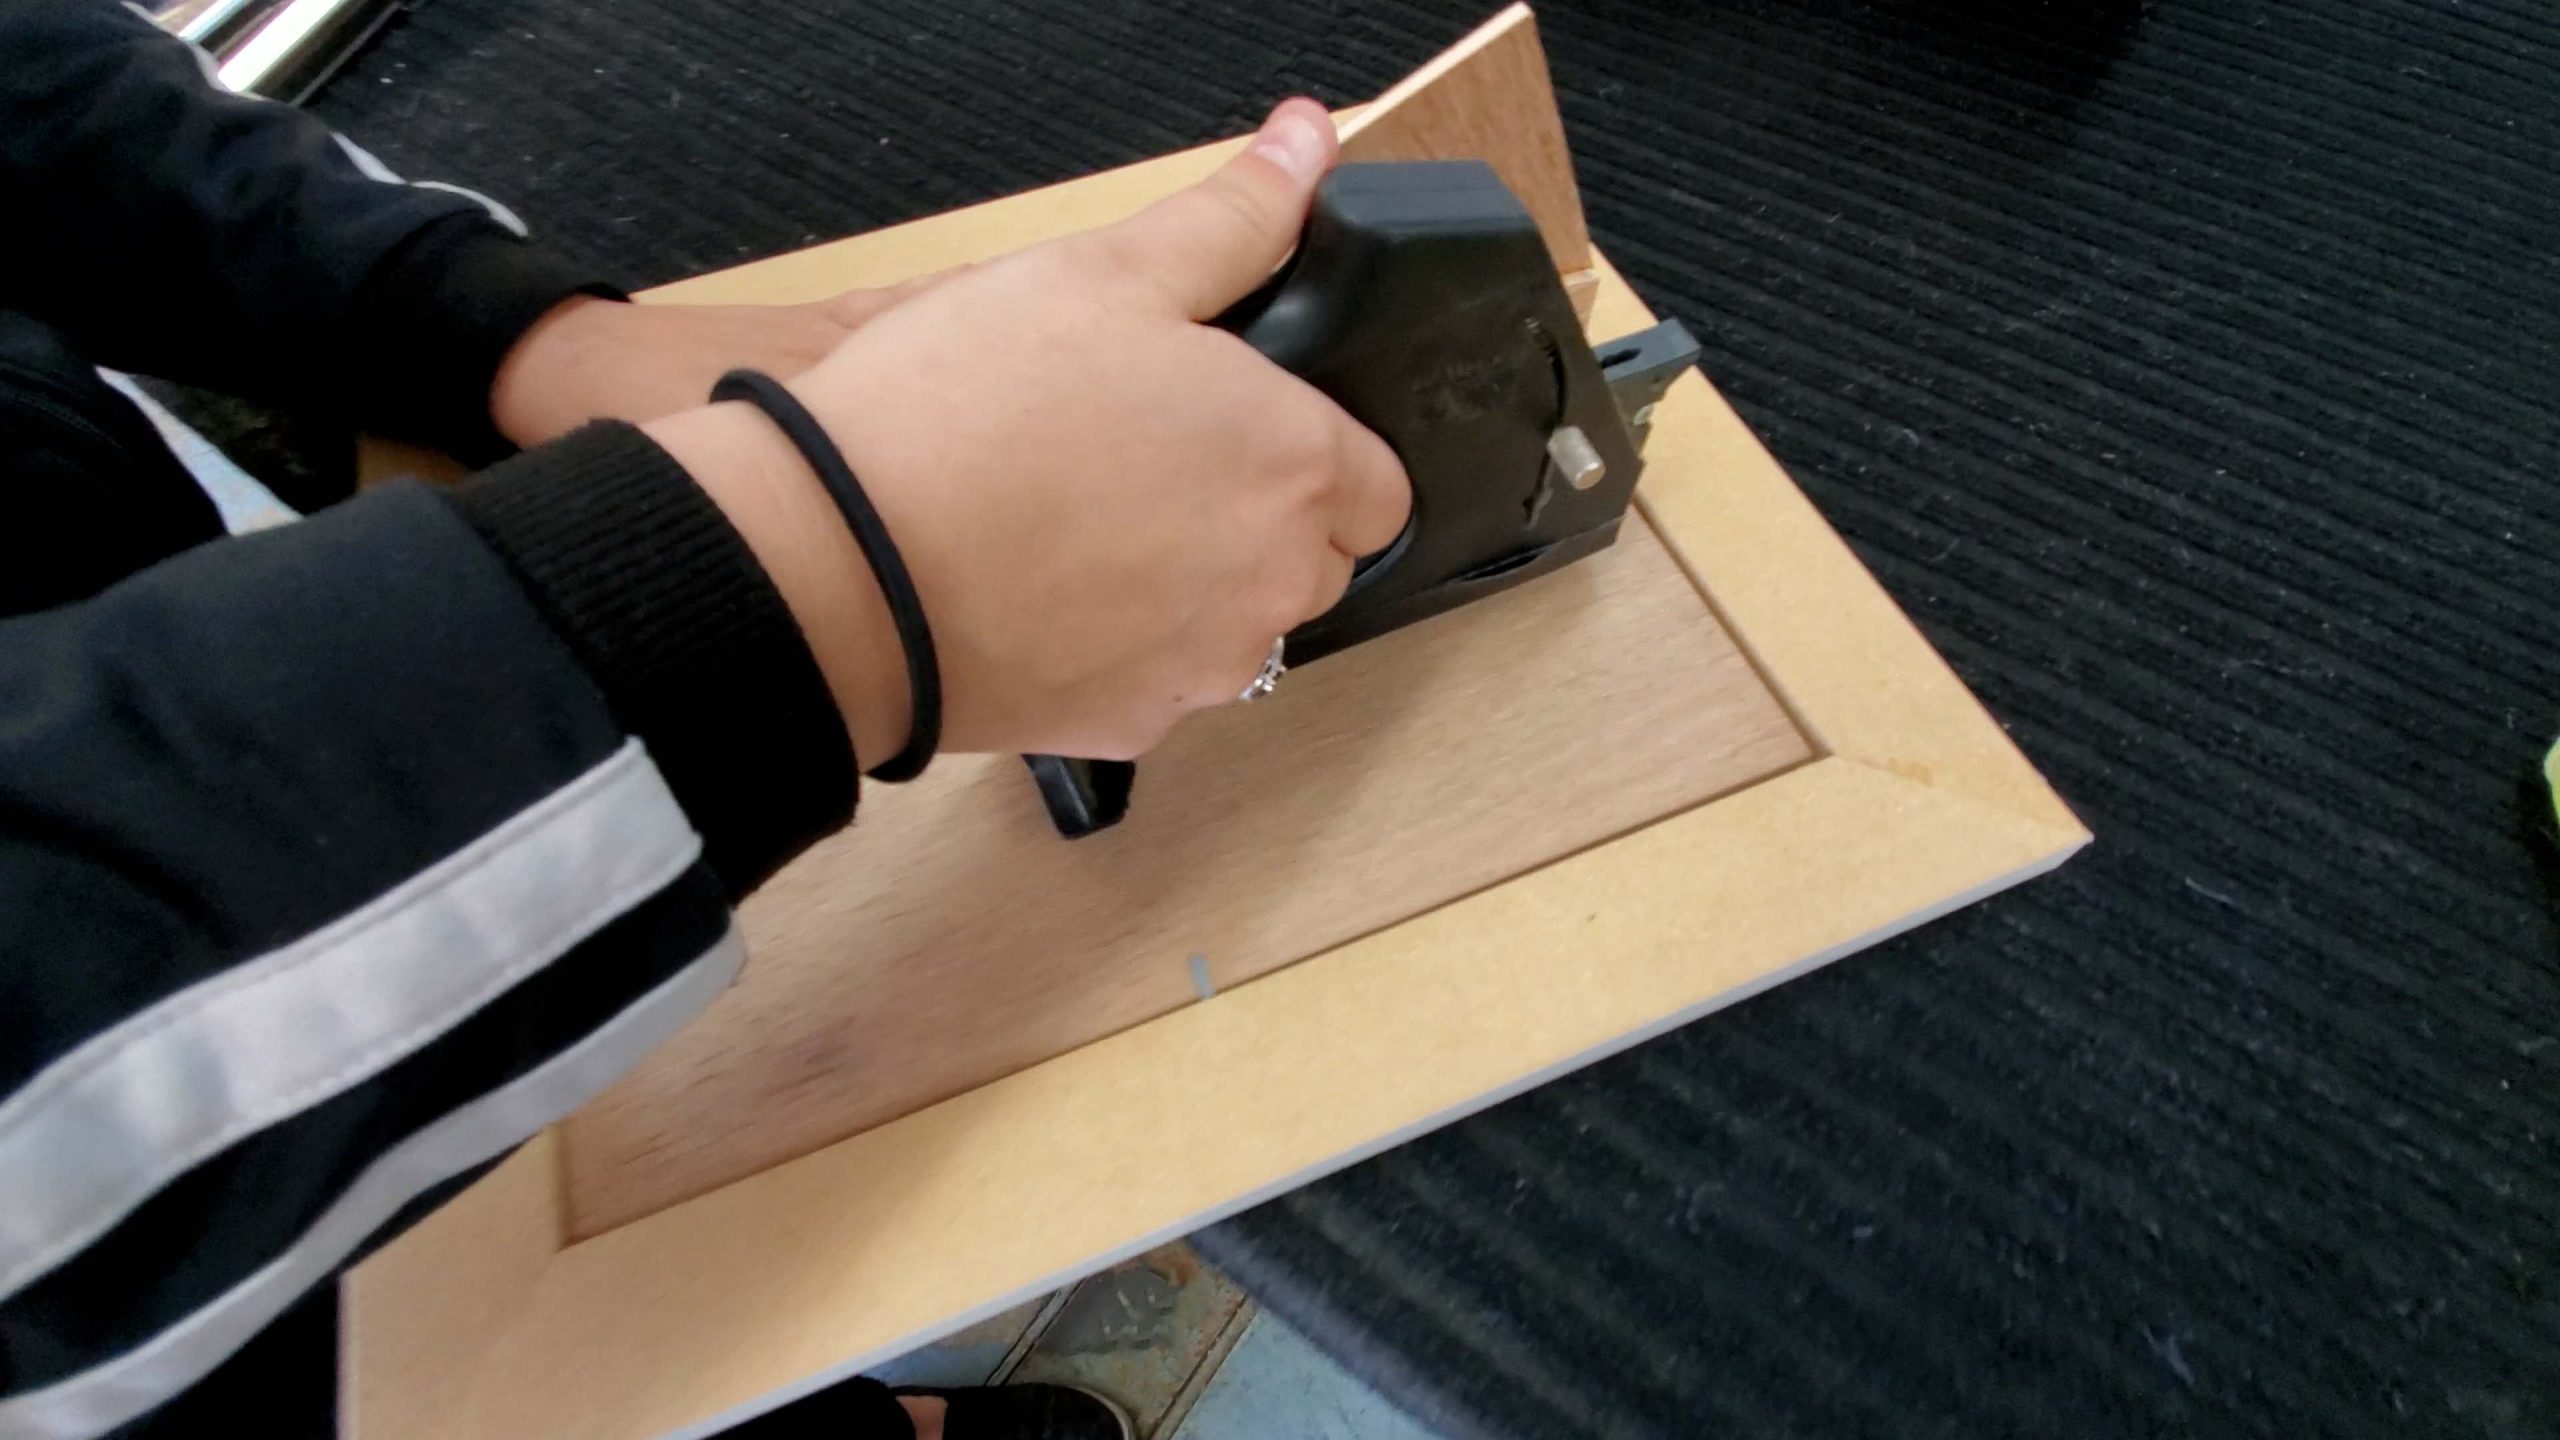
Now, we can piece the whole thing together! Just remove the frame from the platform. To keep the wood in place on the back, we are using Glazing points. To insert these, simply use a flat head, and gently push it into the wood. You can use a hammer to apply more pressure if need be. We have a glazing point tool that does all the work for us! If you will be building a lot of frames, then this may be a good tool to invest in!
Step 14: Put everything together
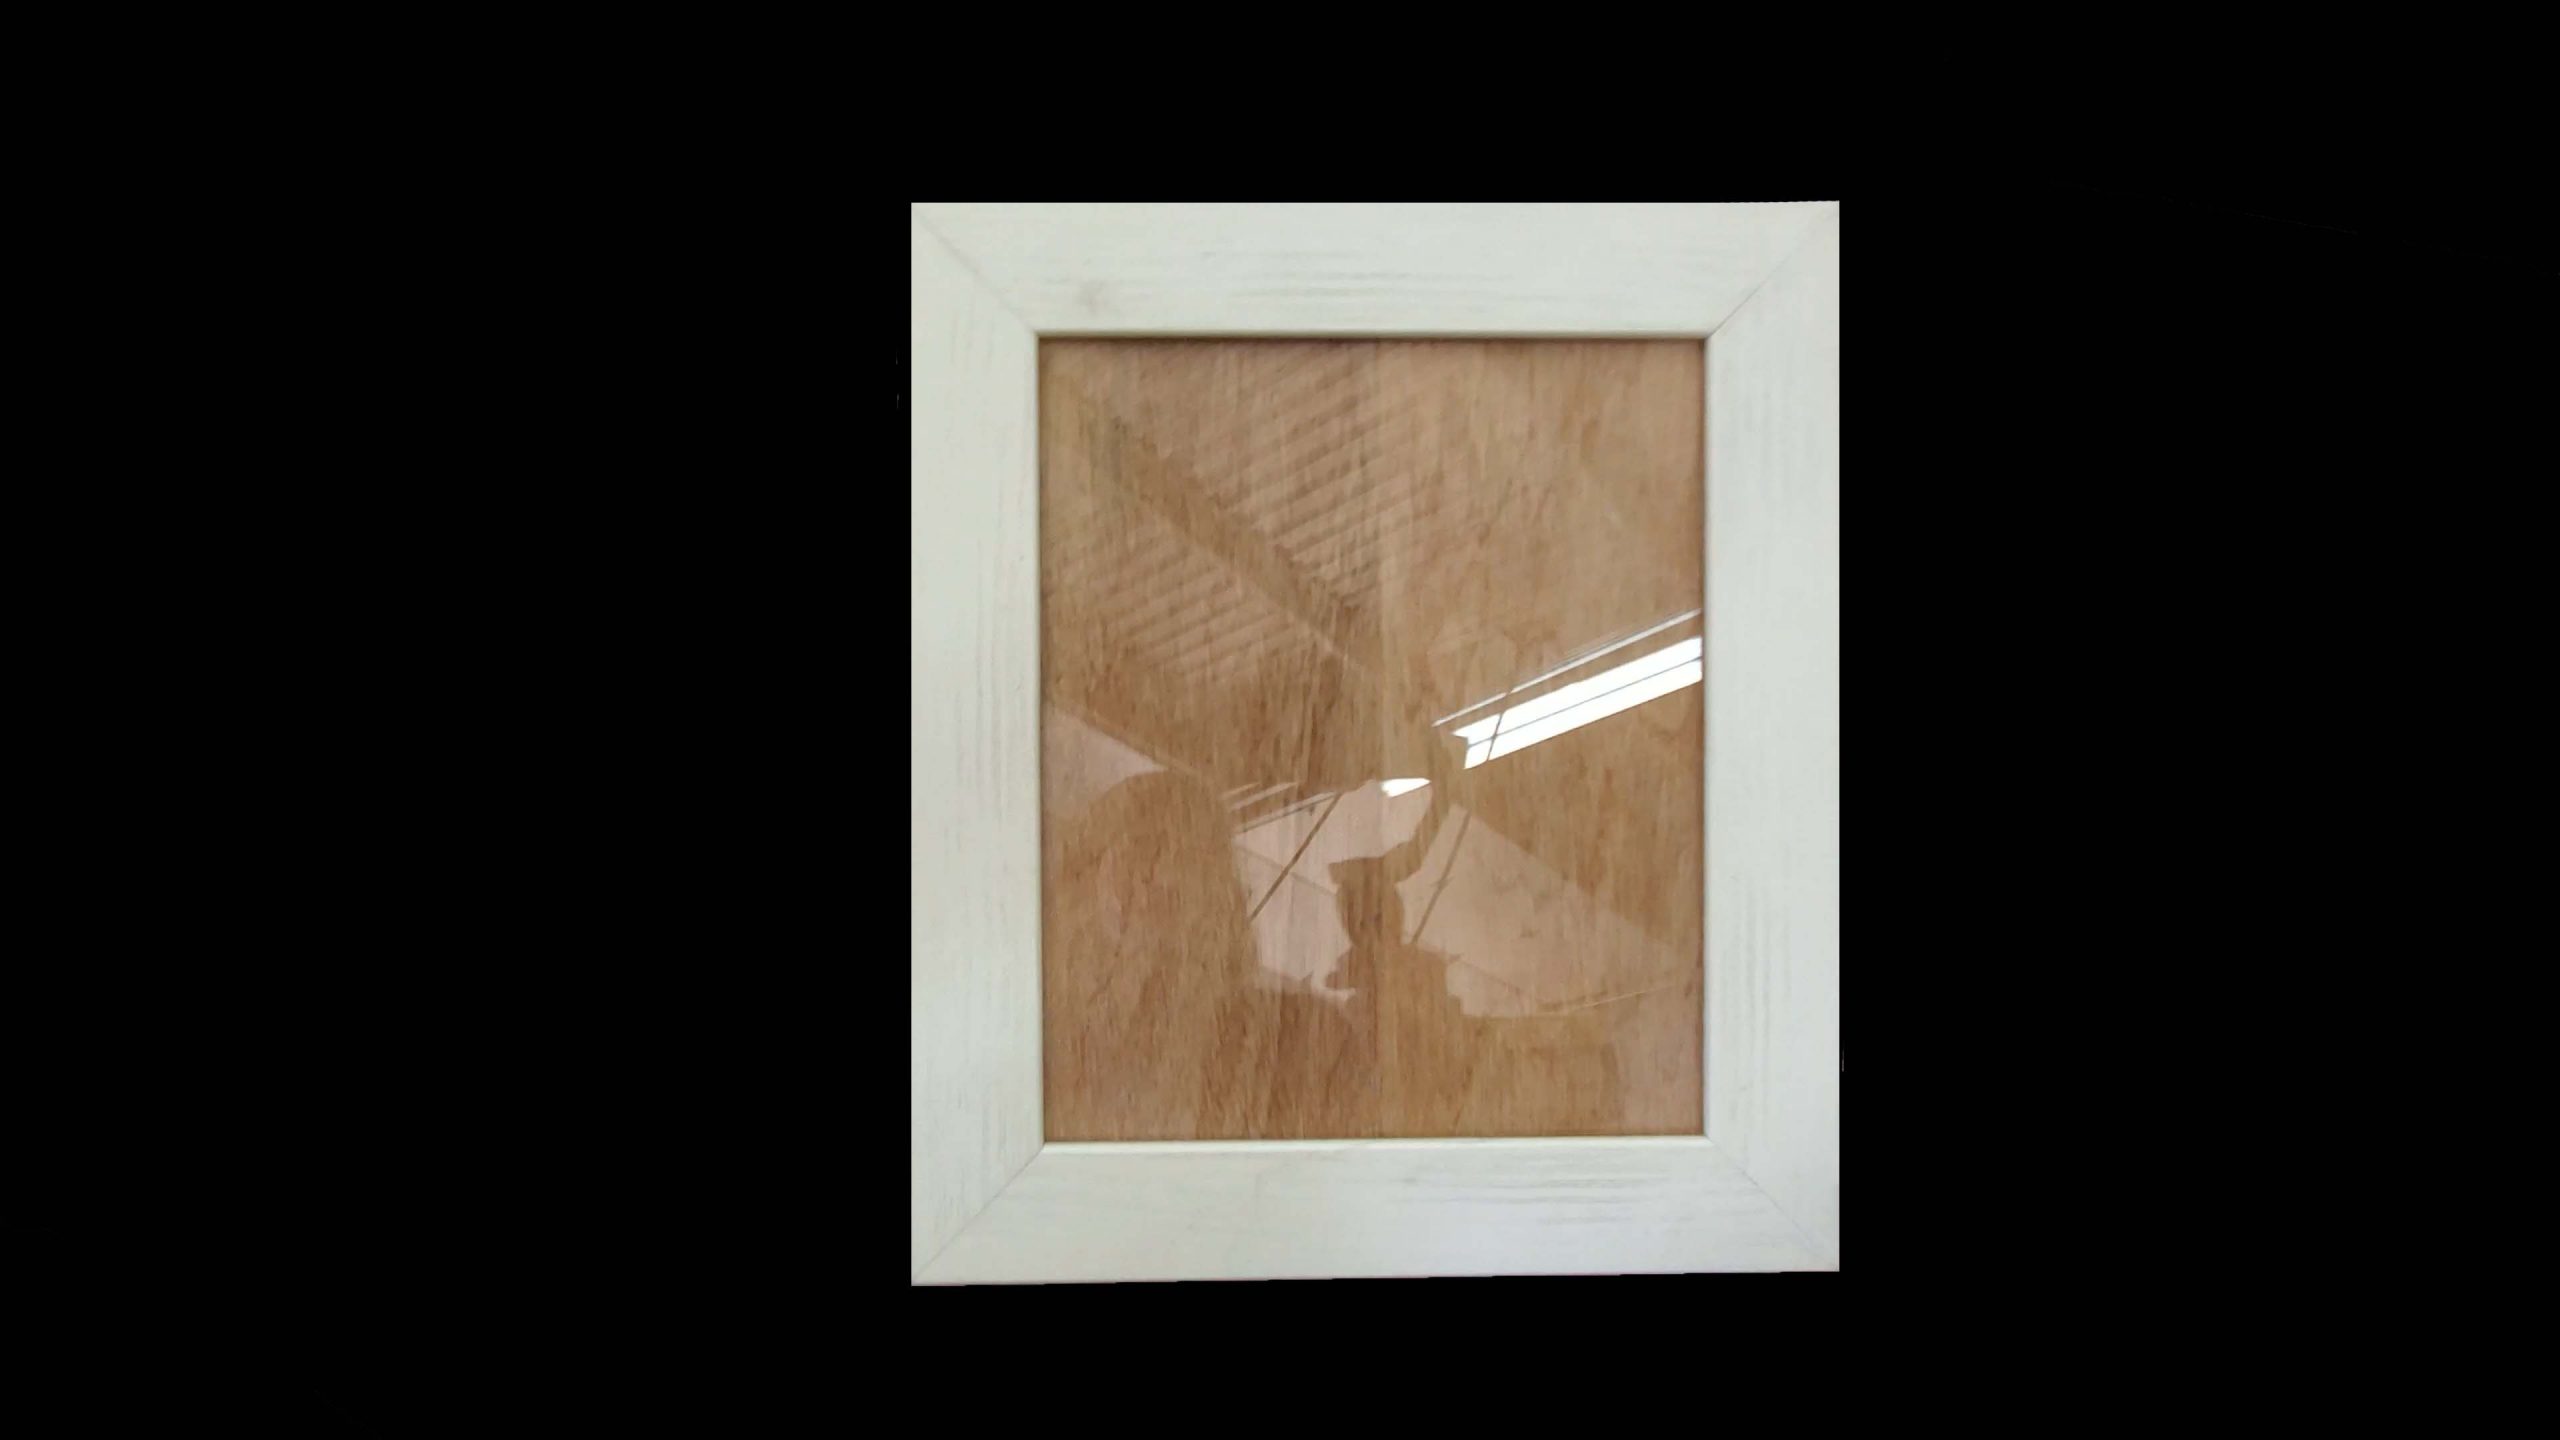
Now that we have everything, we can put it all together! For the back where the photo sits, I simply used regular printer paper. You can paint the back white or black if you would like, or just keep the wood for a nice earthy finish!
Bonus Tips:
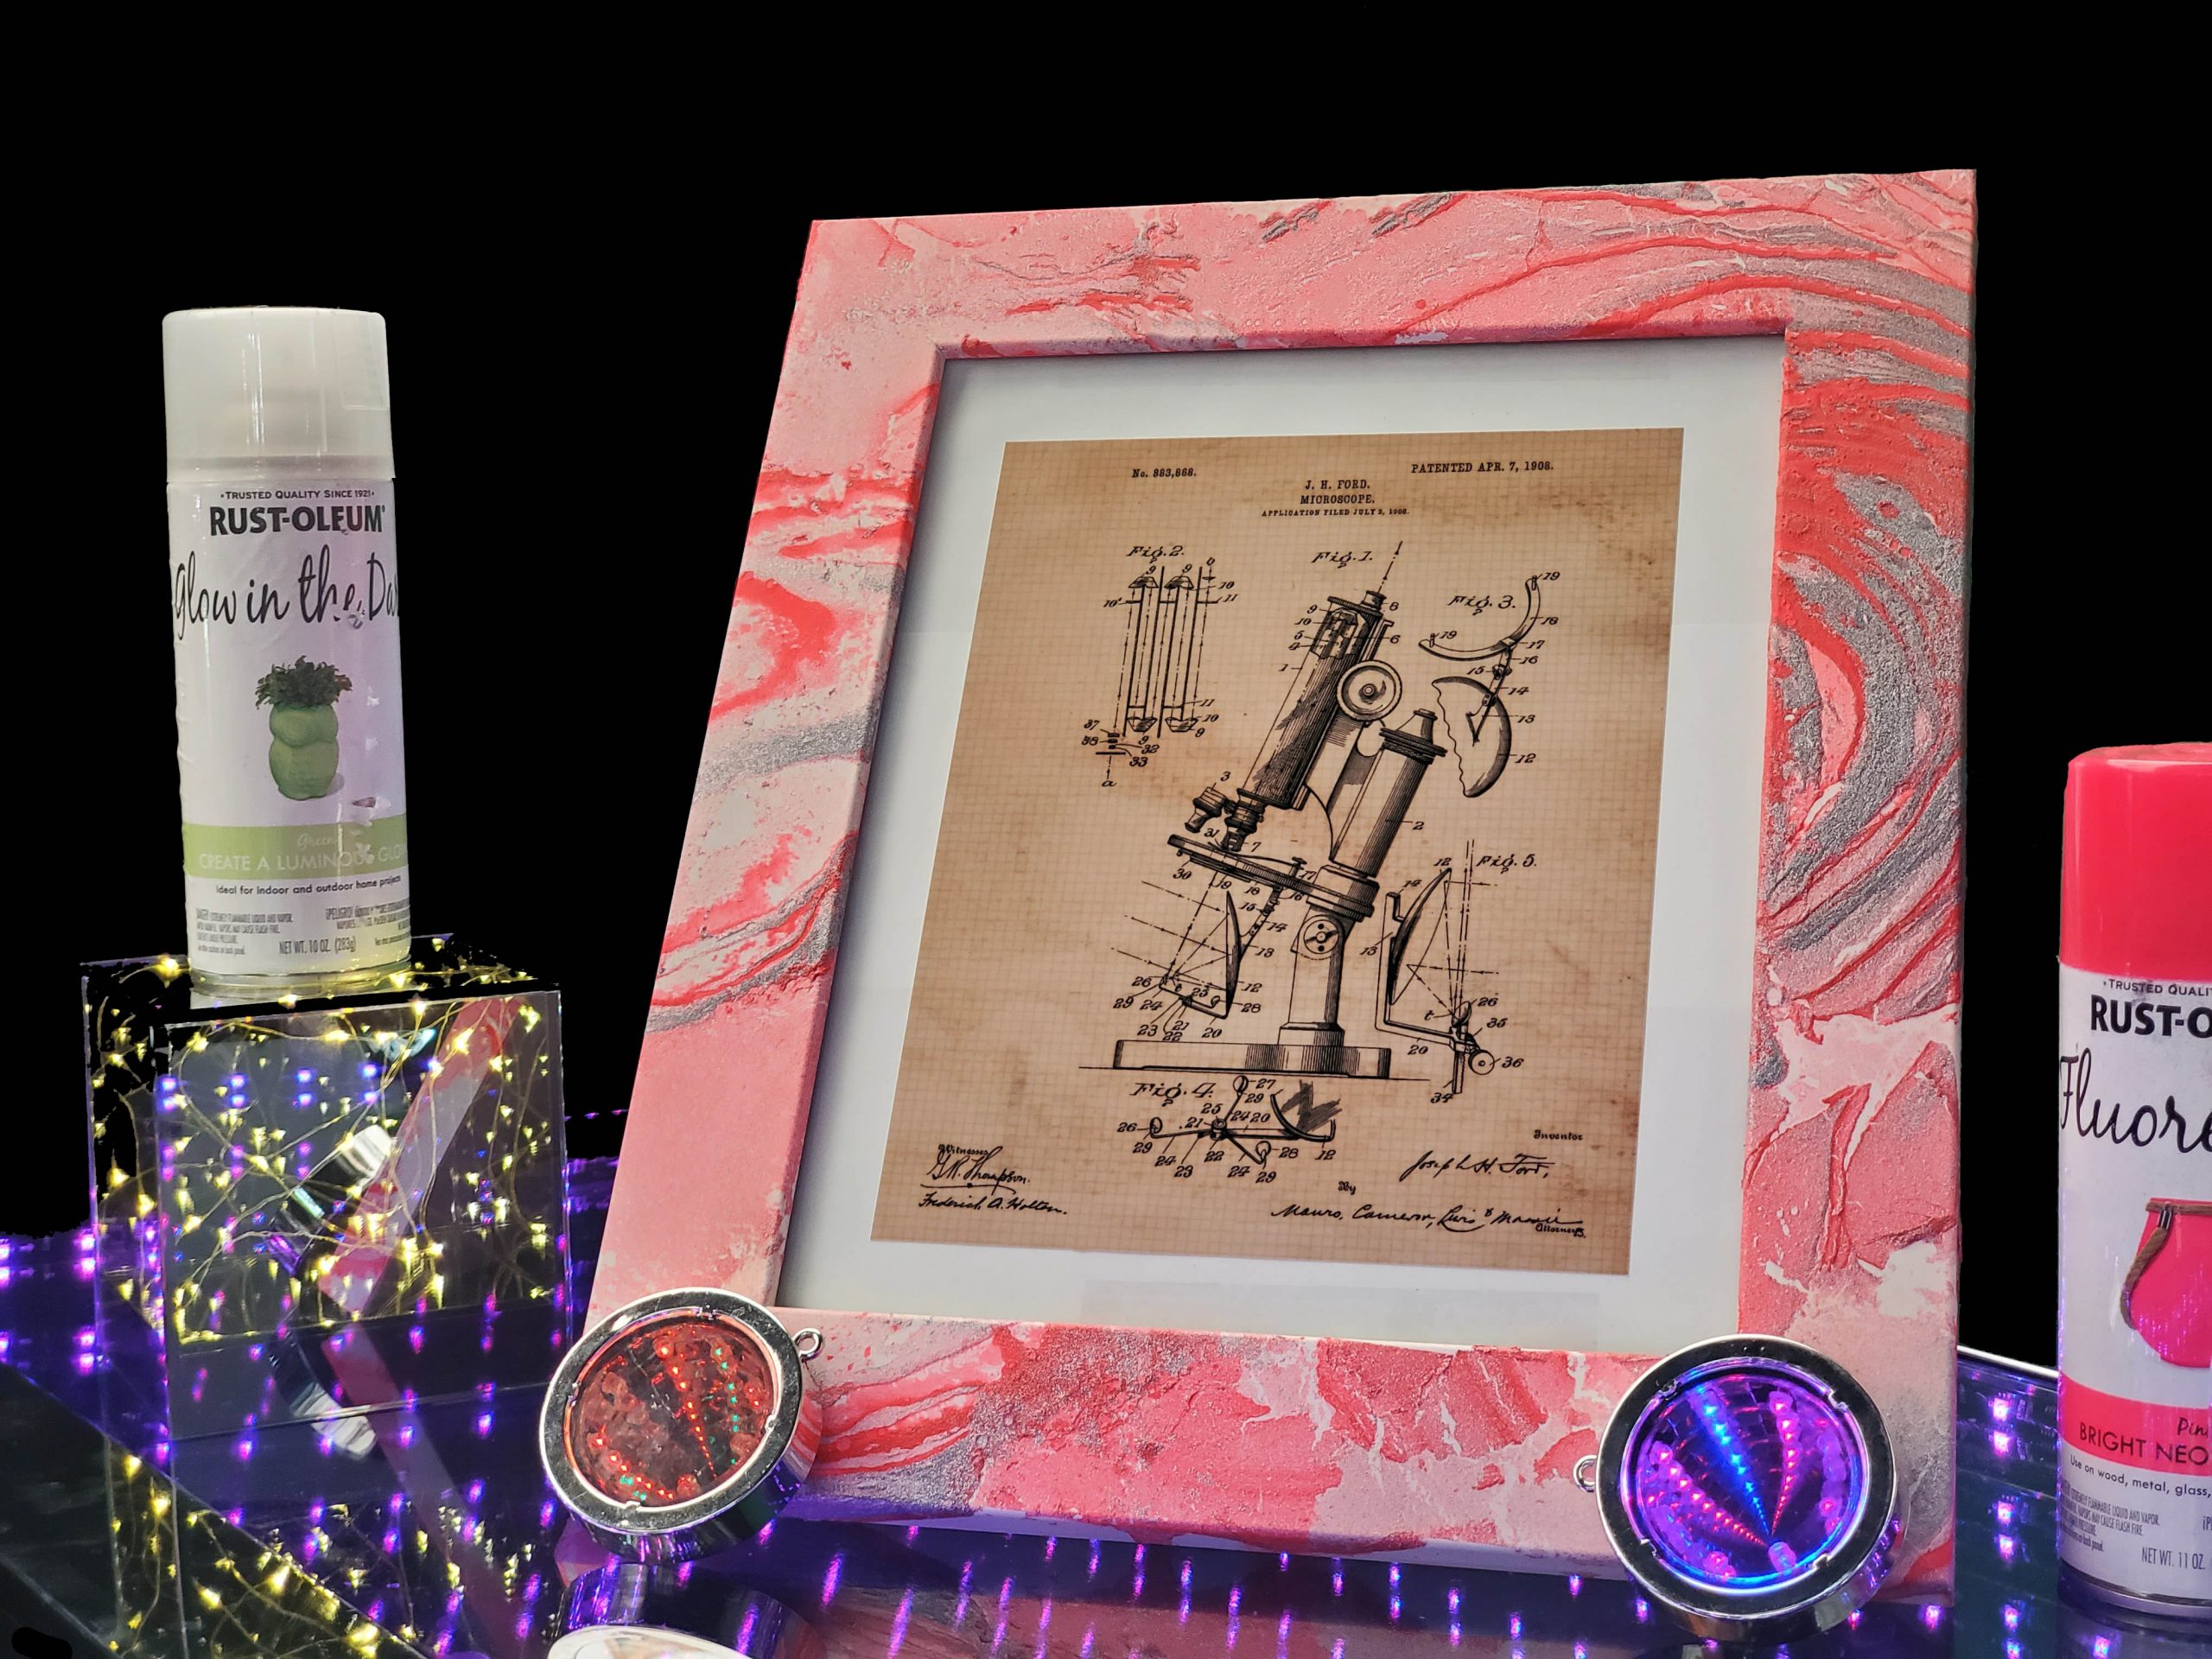
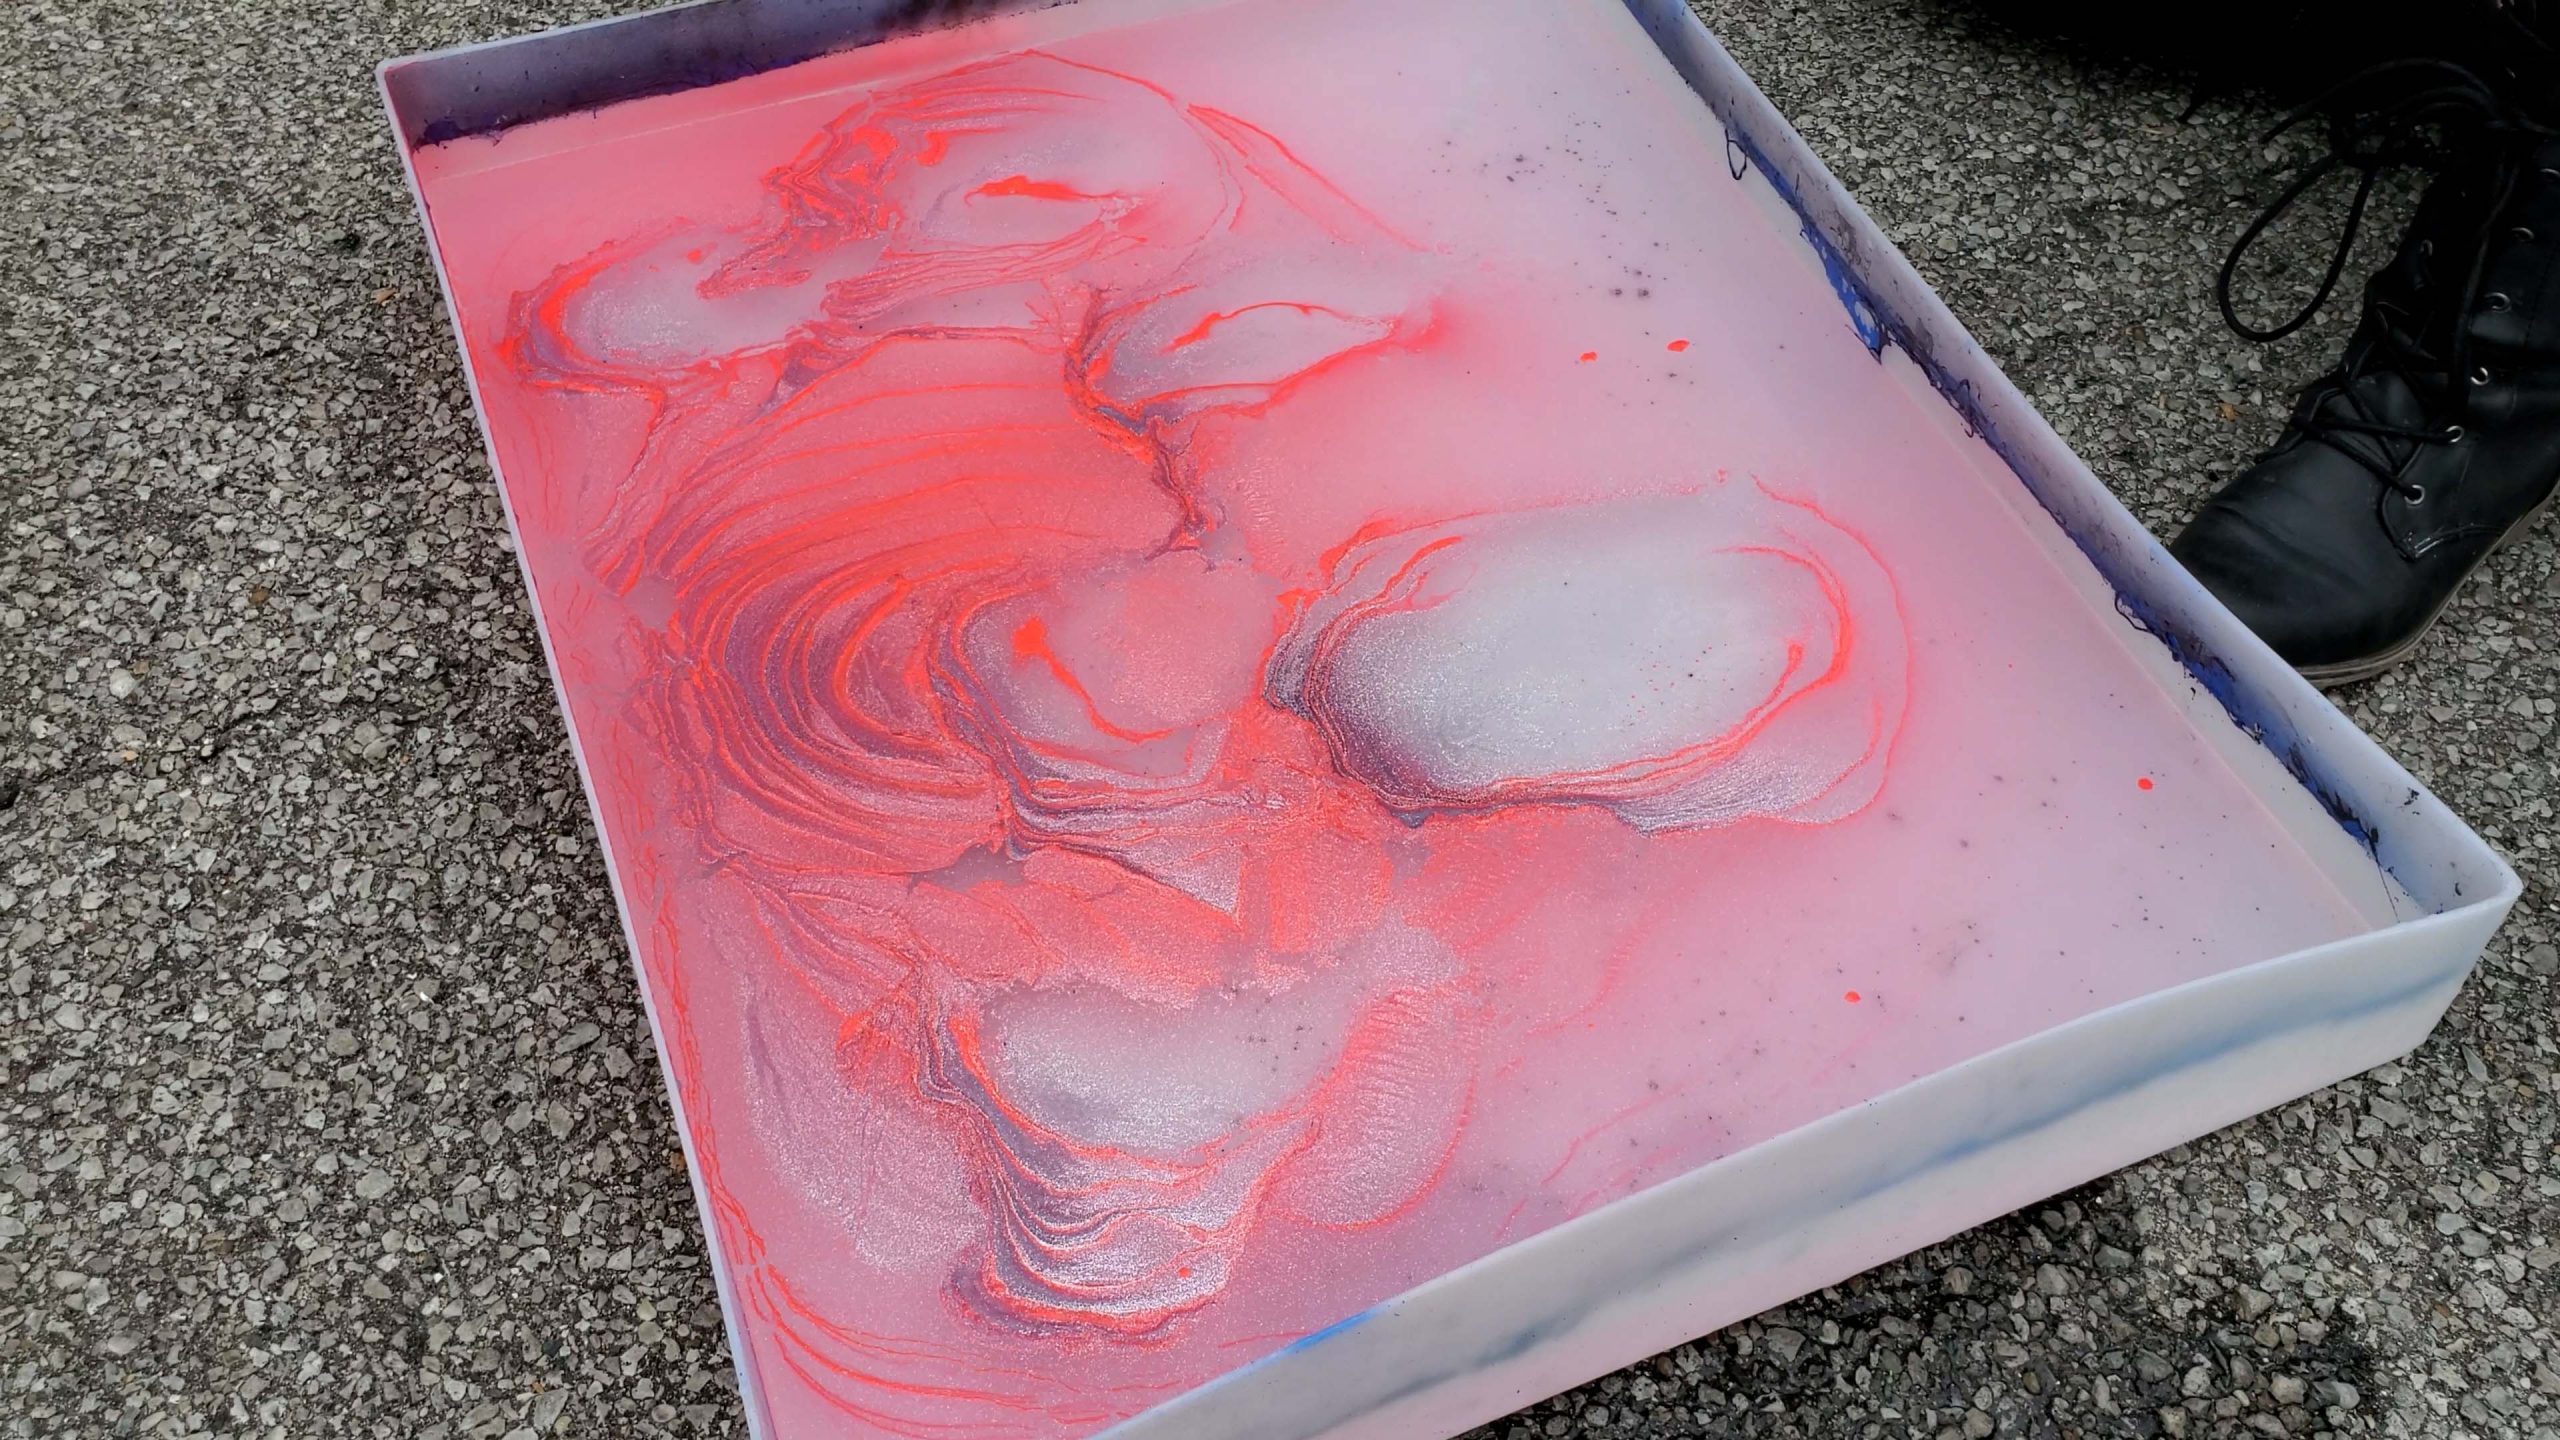
To add extra jazz to the frame, we’re going to hydro dip it! Hydro dipping is just the process of dipping your frame into a bucket of water, that has layers of spray paint laying on the water. This adds a unique feel to the frame, and it is totally customizable. There is so much you can do with your finished frame, such as Paint it with Acrylic Paint, or just paint it!
Step 1:
The first thing you will want to do is gather all your supplies. Such as:
- Gloves
- Spray-paint
- Bucket of water
- Face mask
- Primer
- Paper Towels (If needed)
Step 2:
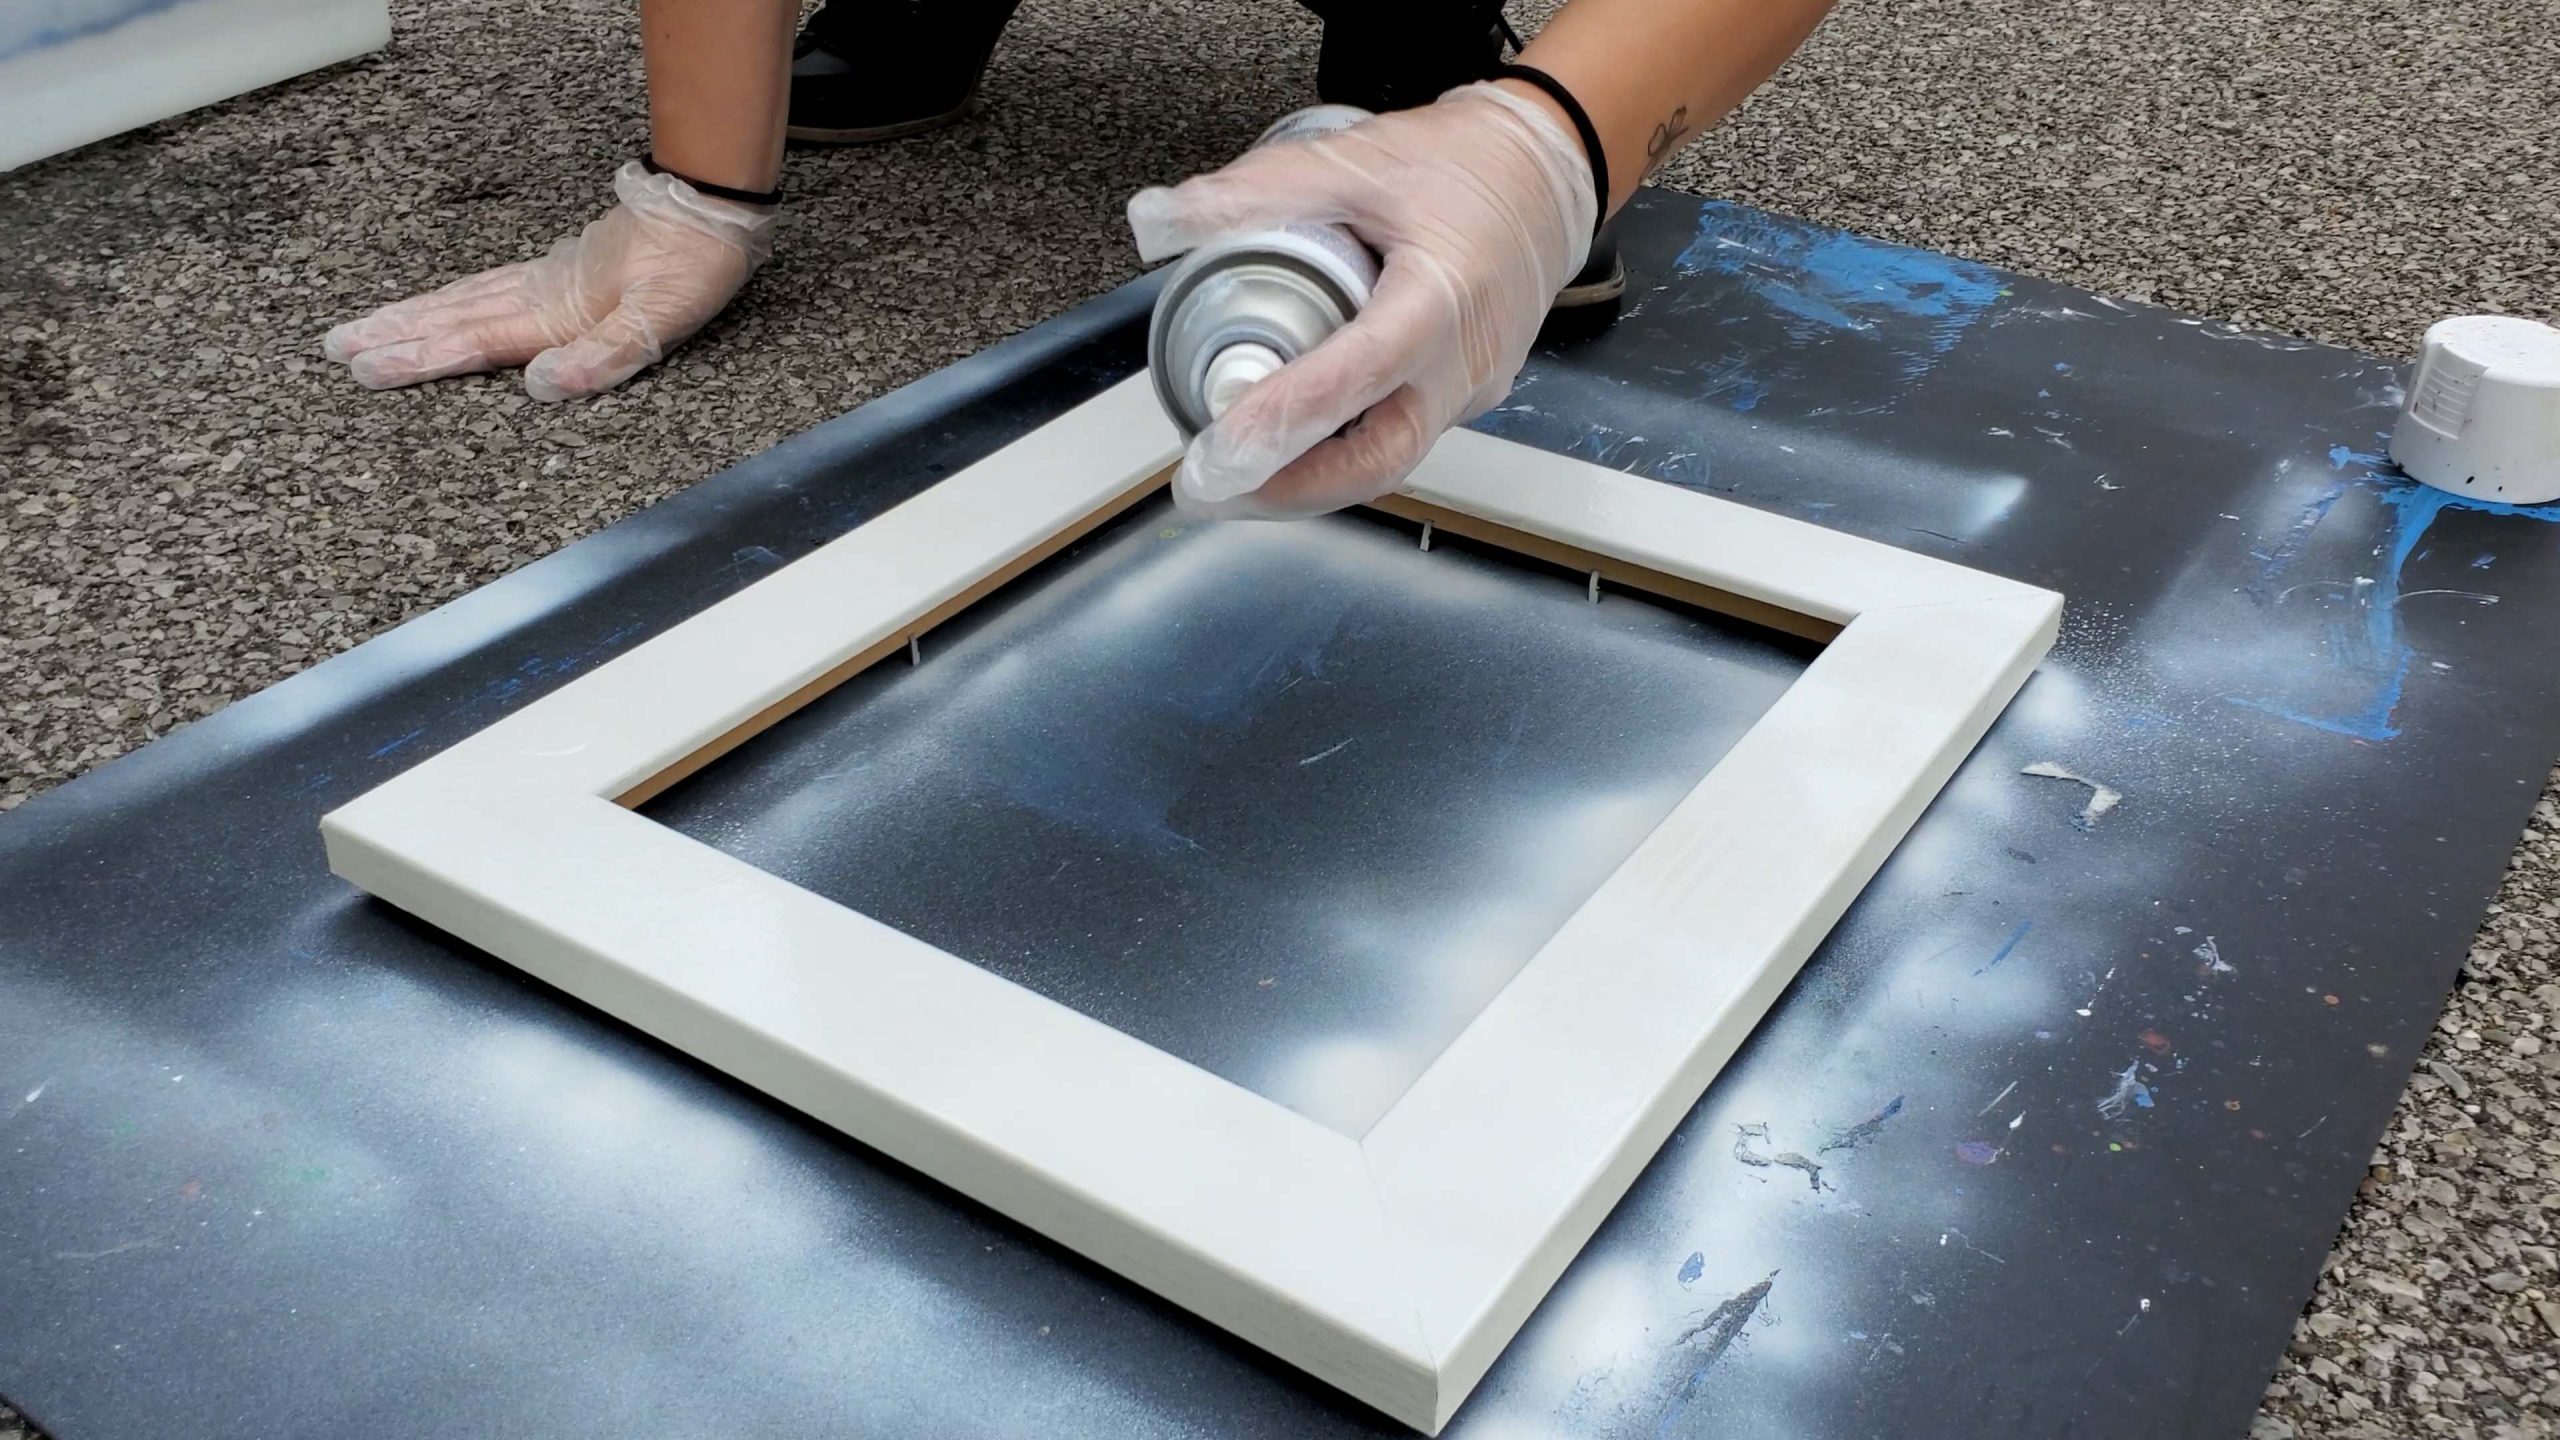
After that, you can go ahead and head outside to begin the hydro dip process. The first thing I did was prime the frame so it had a little time to dry!
Step 3:
After your frame is nice and primed, you can now start to add in your colors with the spray paint! These is where you get to choose what colors you want your frame to be! As well if you want to add anything else to the water, before the final dipping of the frame. Now, when you are at the point of dipping your frame into the water, place the frame into the water until it is fully submerged. Then, begin to shake it until you see all the color is out of the water, and onto the frame. (Check out the video for a great visual!)
Step 4:
I prefer to have my frame dry for about 24 hours, the more the merrier. After 24 hours has passed, you can add any other top coats you want. Like for mine, I added a coat or two of the glow and dark spray-paint!
