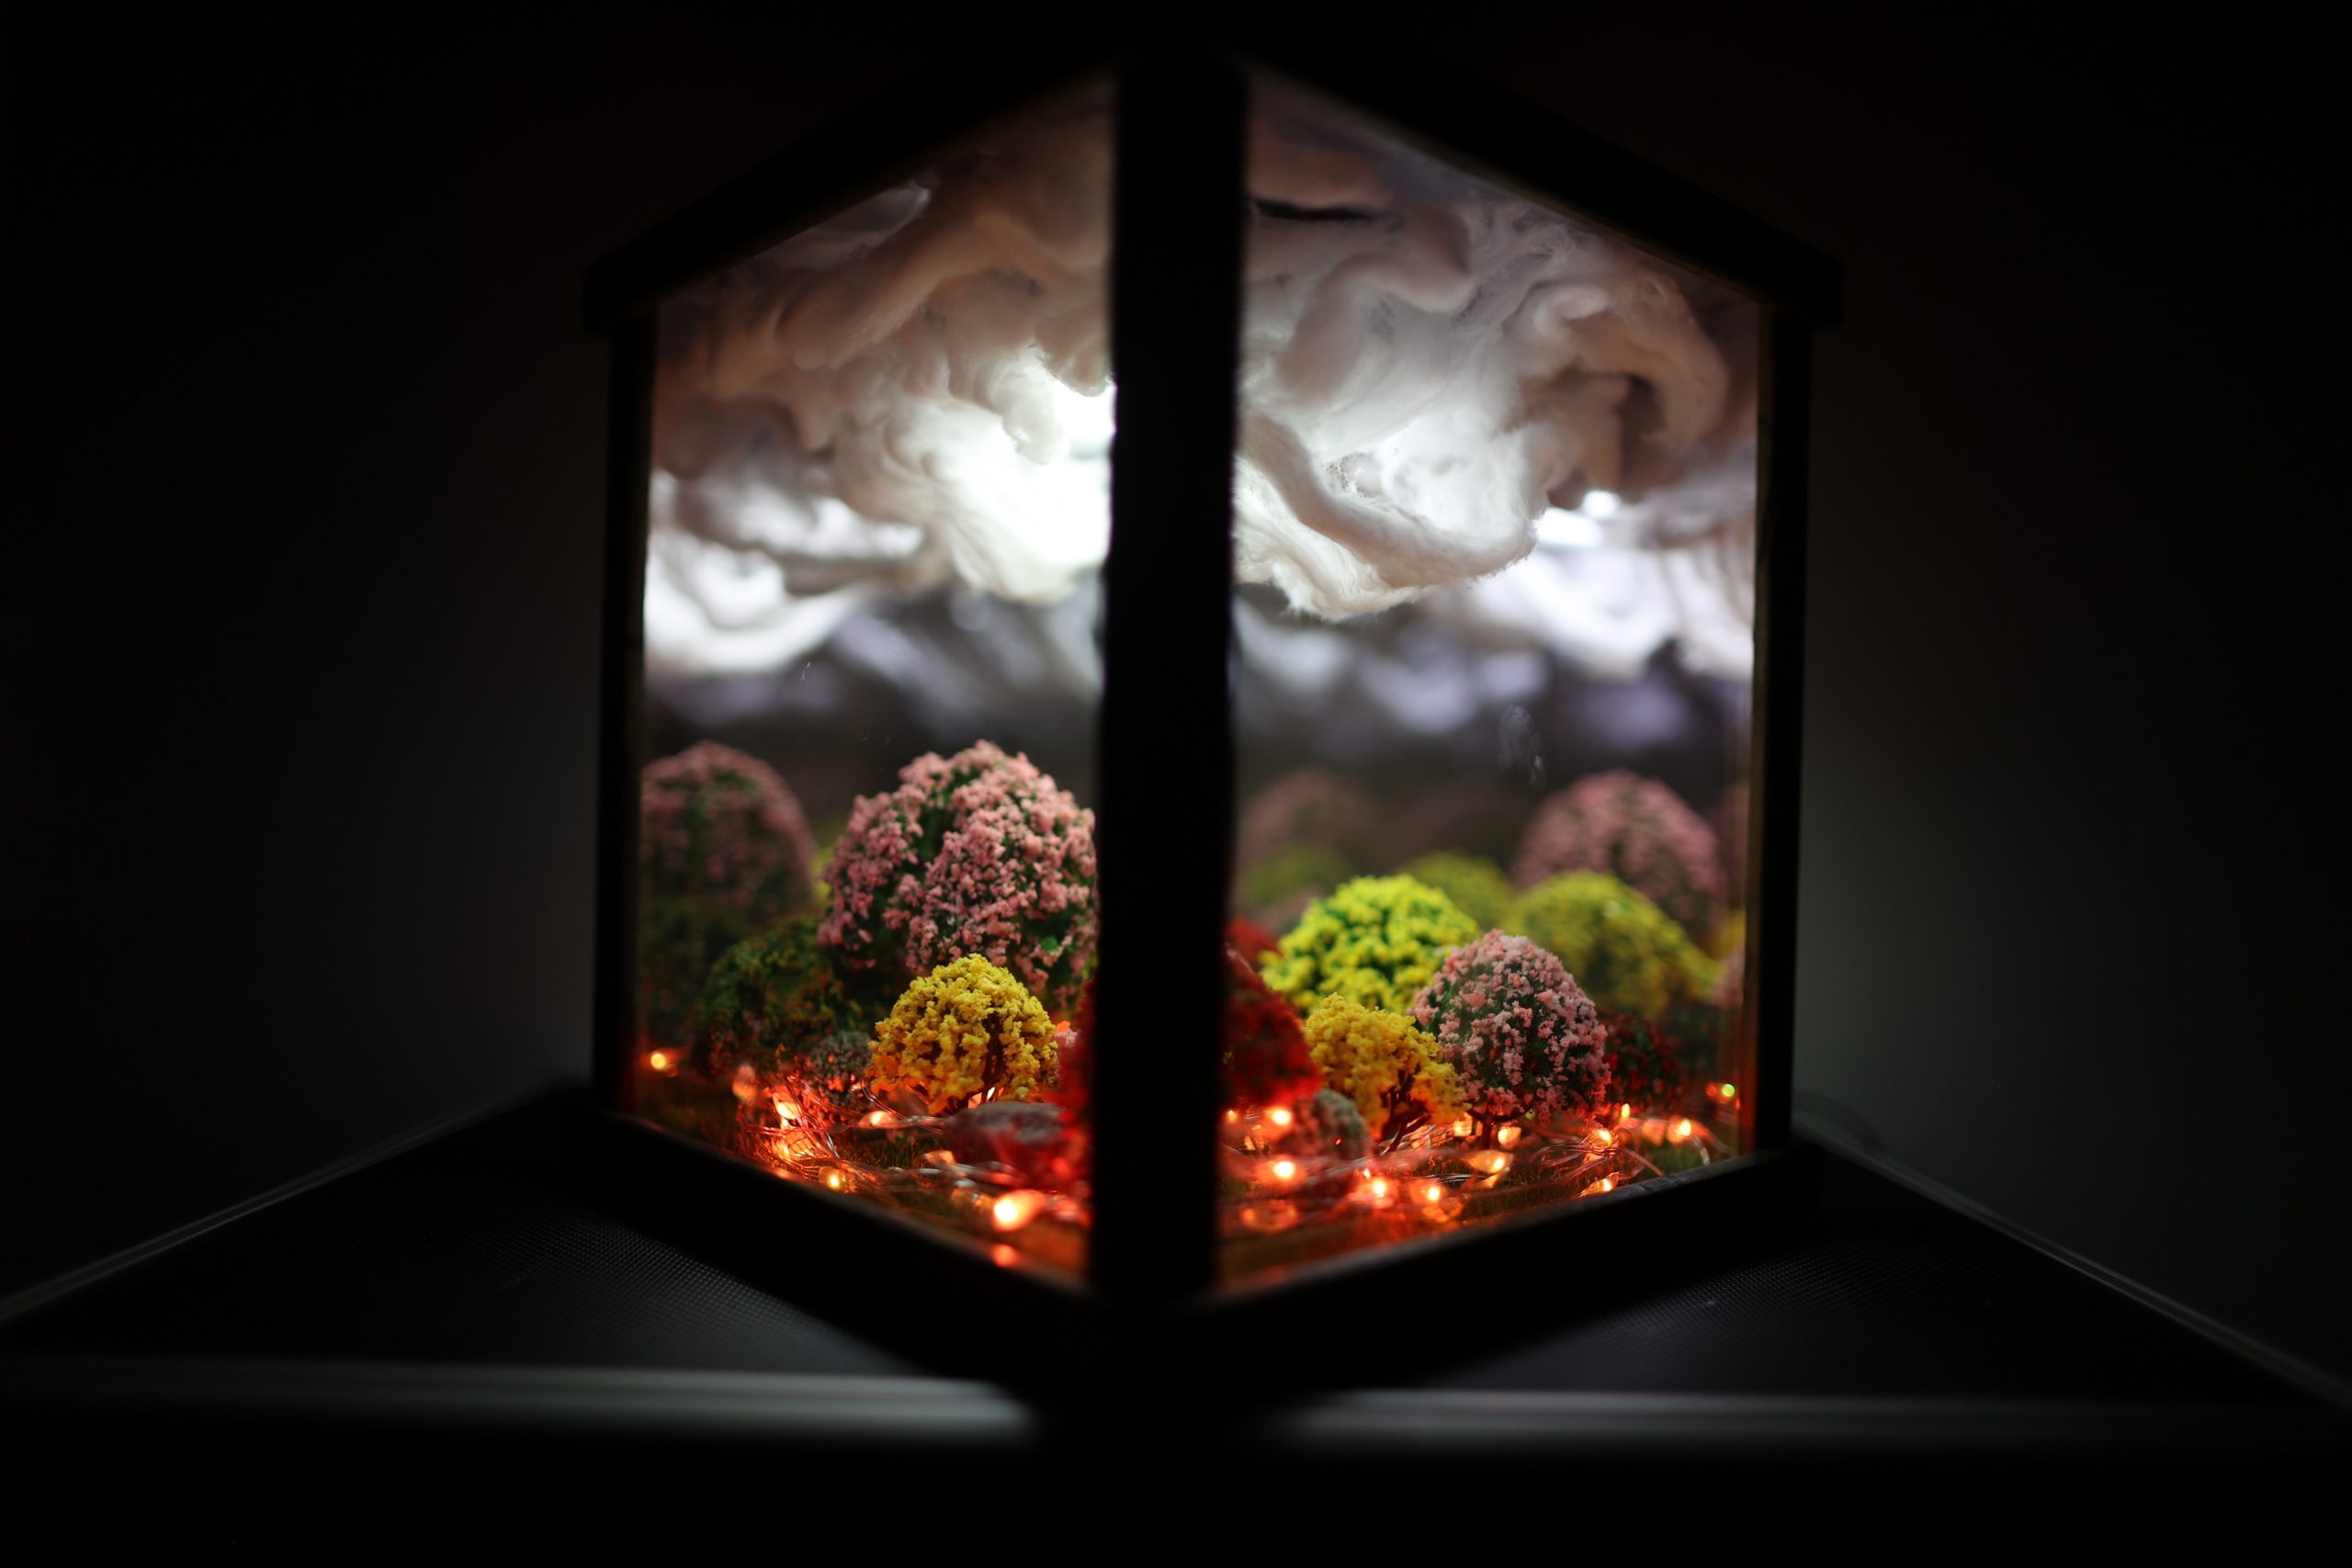
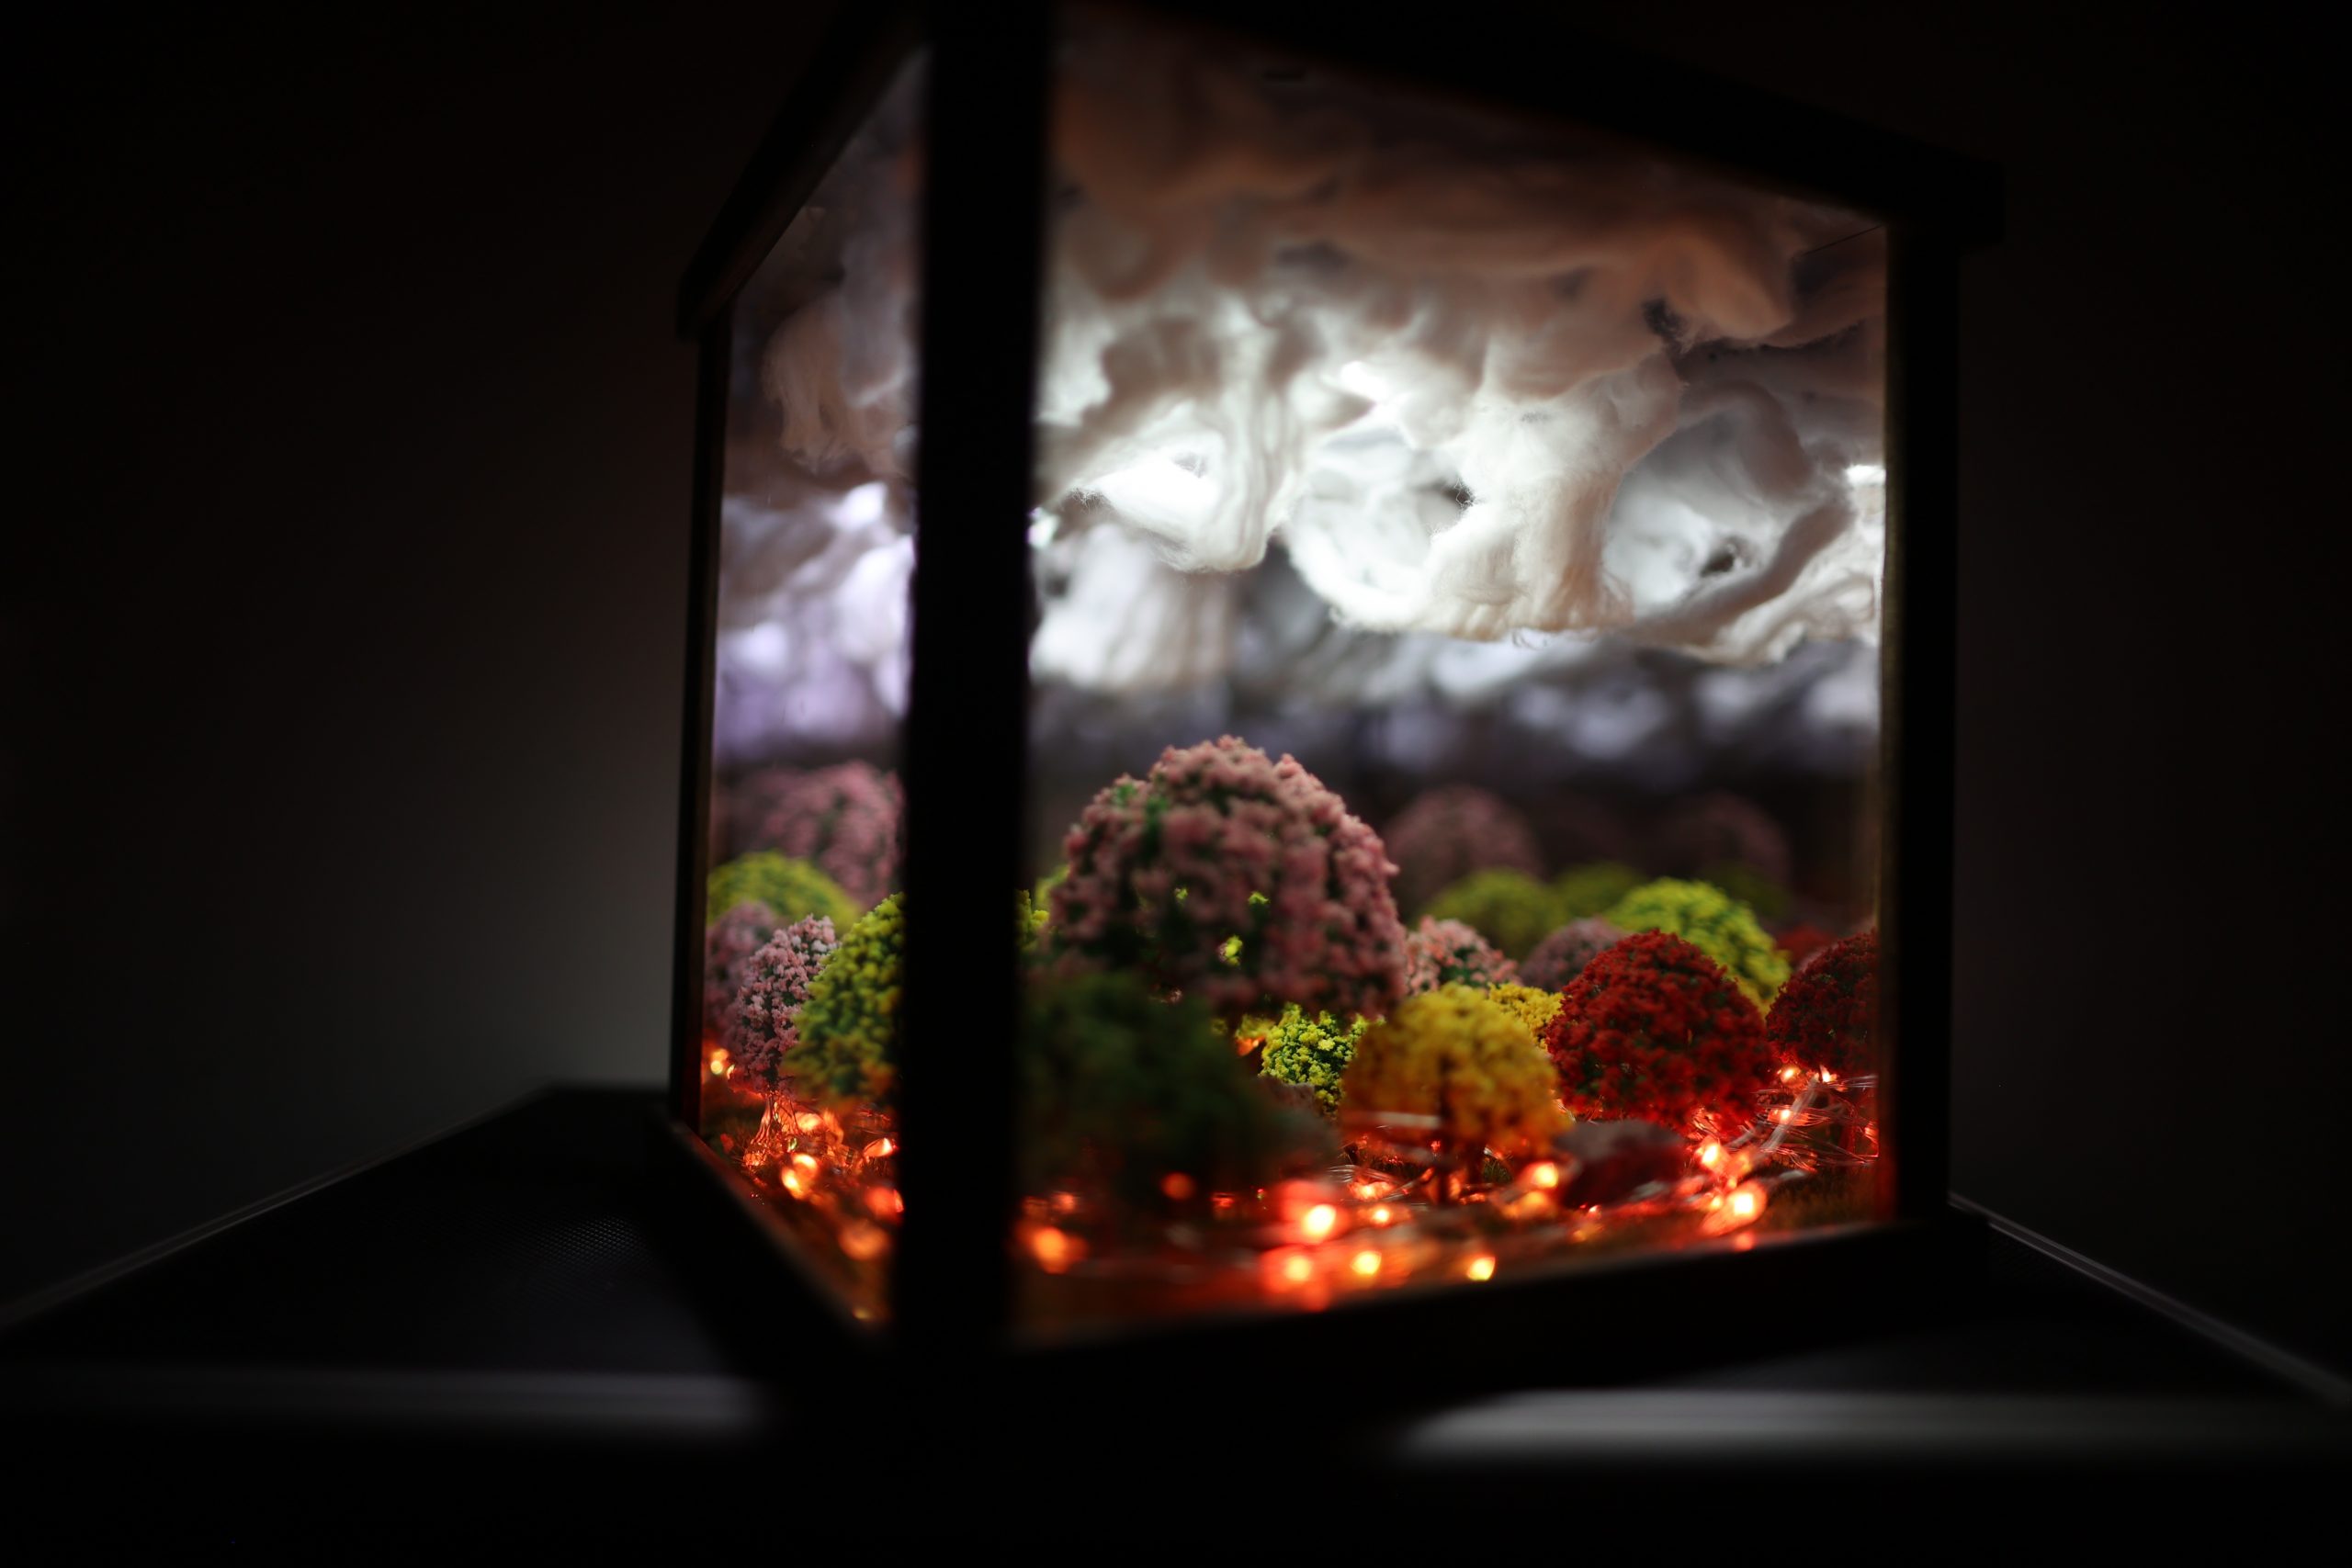
Imagine a fun and unique decoration that is tailored to your specific styling taste….and that no one else has one like it!
But, how is this possible!?
The Infinity Mirror Panorama Glass Cube is a great addition for any home! Whether you love art, sci-fi, sculptures, or simply just decorating!
The key component to this cube is that the bottom is removable, so you can change out the decorations as often as you would like!
This blog post will go over all the tools you need, and how to create your own Infinity Mirror Panorama Glass Cube!
Ever wanted to create a mesmerizing piece of art that captures the essence of infinity? In this tutorial, we’ll walk through how to build your very own infinity cube. This project is not only fun but also allows you to unleash your creativity.
Let’s get started!
Video Tutorial and Step by Step Guide:
Inspirations
There are a few inspirations that lead to the creation of this infinity cube, and I think they need to be shared and recognized!
We built an Infinity Mirror that is 70″ x 50″! An infinity mirror of this size is crazy to see! We had to make sure we bought the brightest LED light strip we could find, and a gorgeous frame to hold it all together!
We made a Holographic Infinity Mirror Display using our Smart Mirror glass, LED lights, and a Samsung TV.
The two panes of smart mirror glass made the TV screen images reflect into infinity!
Infinity Mirror Hypercube
The Infinity Mirror Hypercube is another fun infinity mirror where you can see the infinite reflection from all 6 sides.
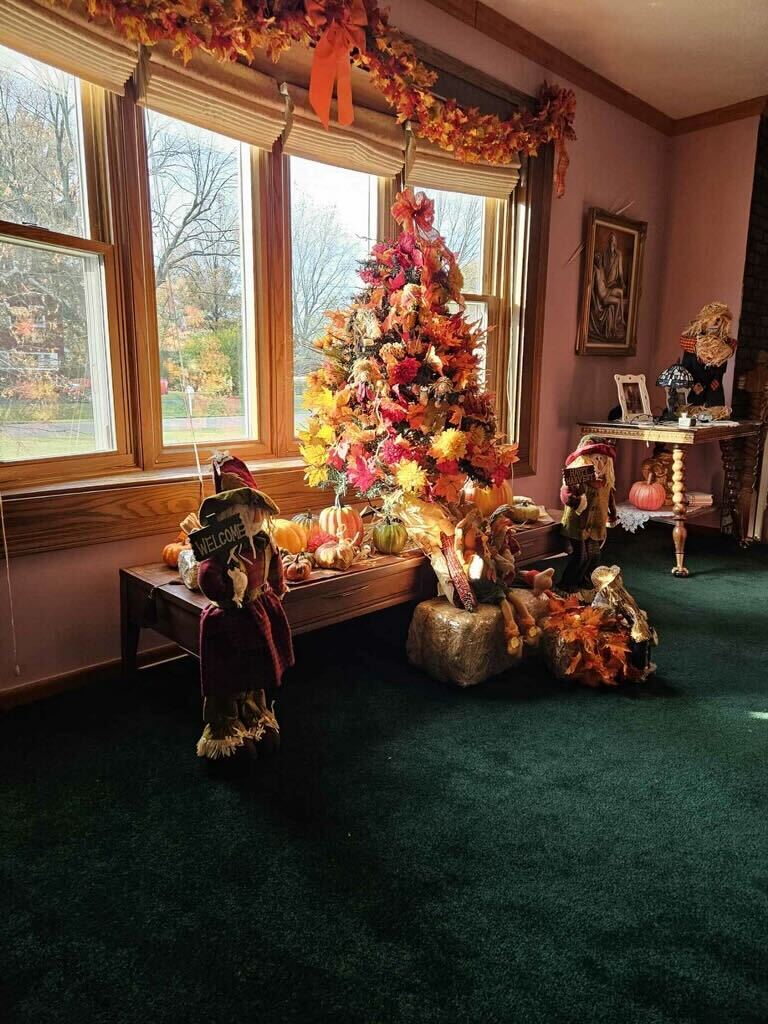
Grandma’s Decorative Season and Holiday Tree
This Infinity Mirror Panorama Cube is also inspired by my Grandma’s little fake tree that she decorates for EVERY holiday and season!
This removable base infinity cube panorama is the ideal decoration for anyone who loves to decorate! You can switch out the inside decorations as much as you would like!
Materials:
Step-by-Step Guide
Step 1: Cut the Material to Size
I went to Home Depot and bought a border trim for only $20. Then, I cut it to my desired size. I didn’t want the cube to be too big, so I made it 9” x 9”.
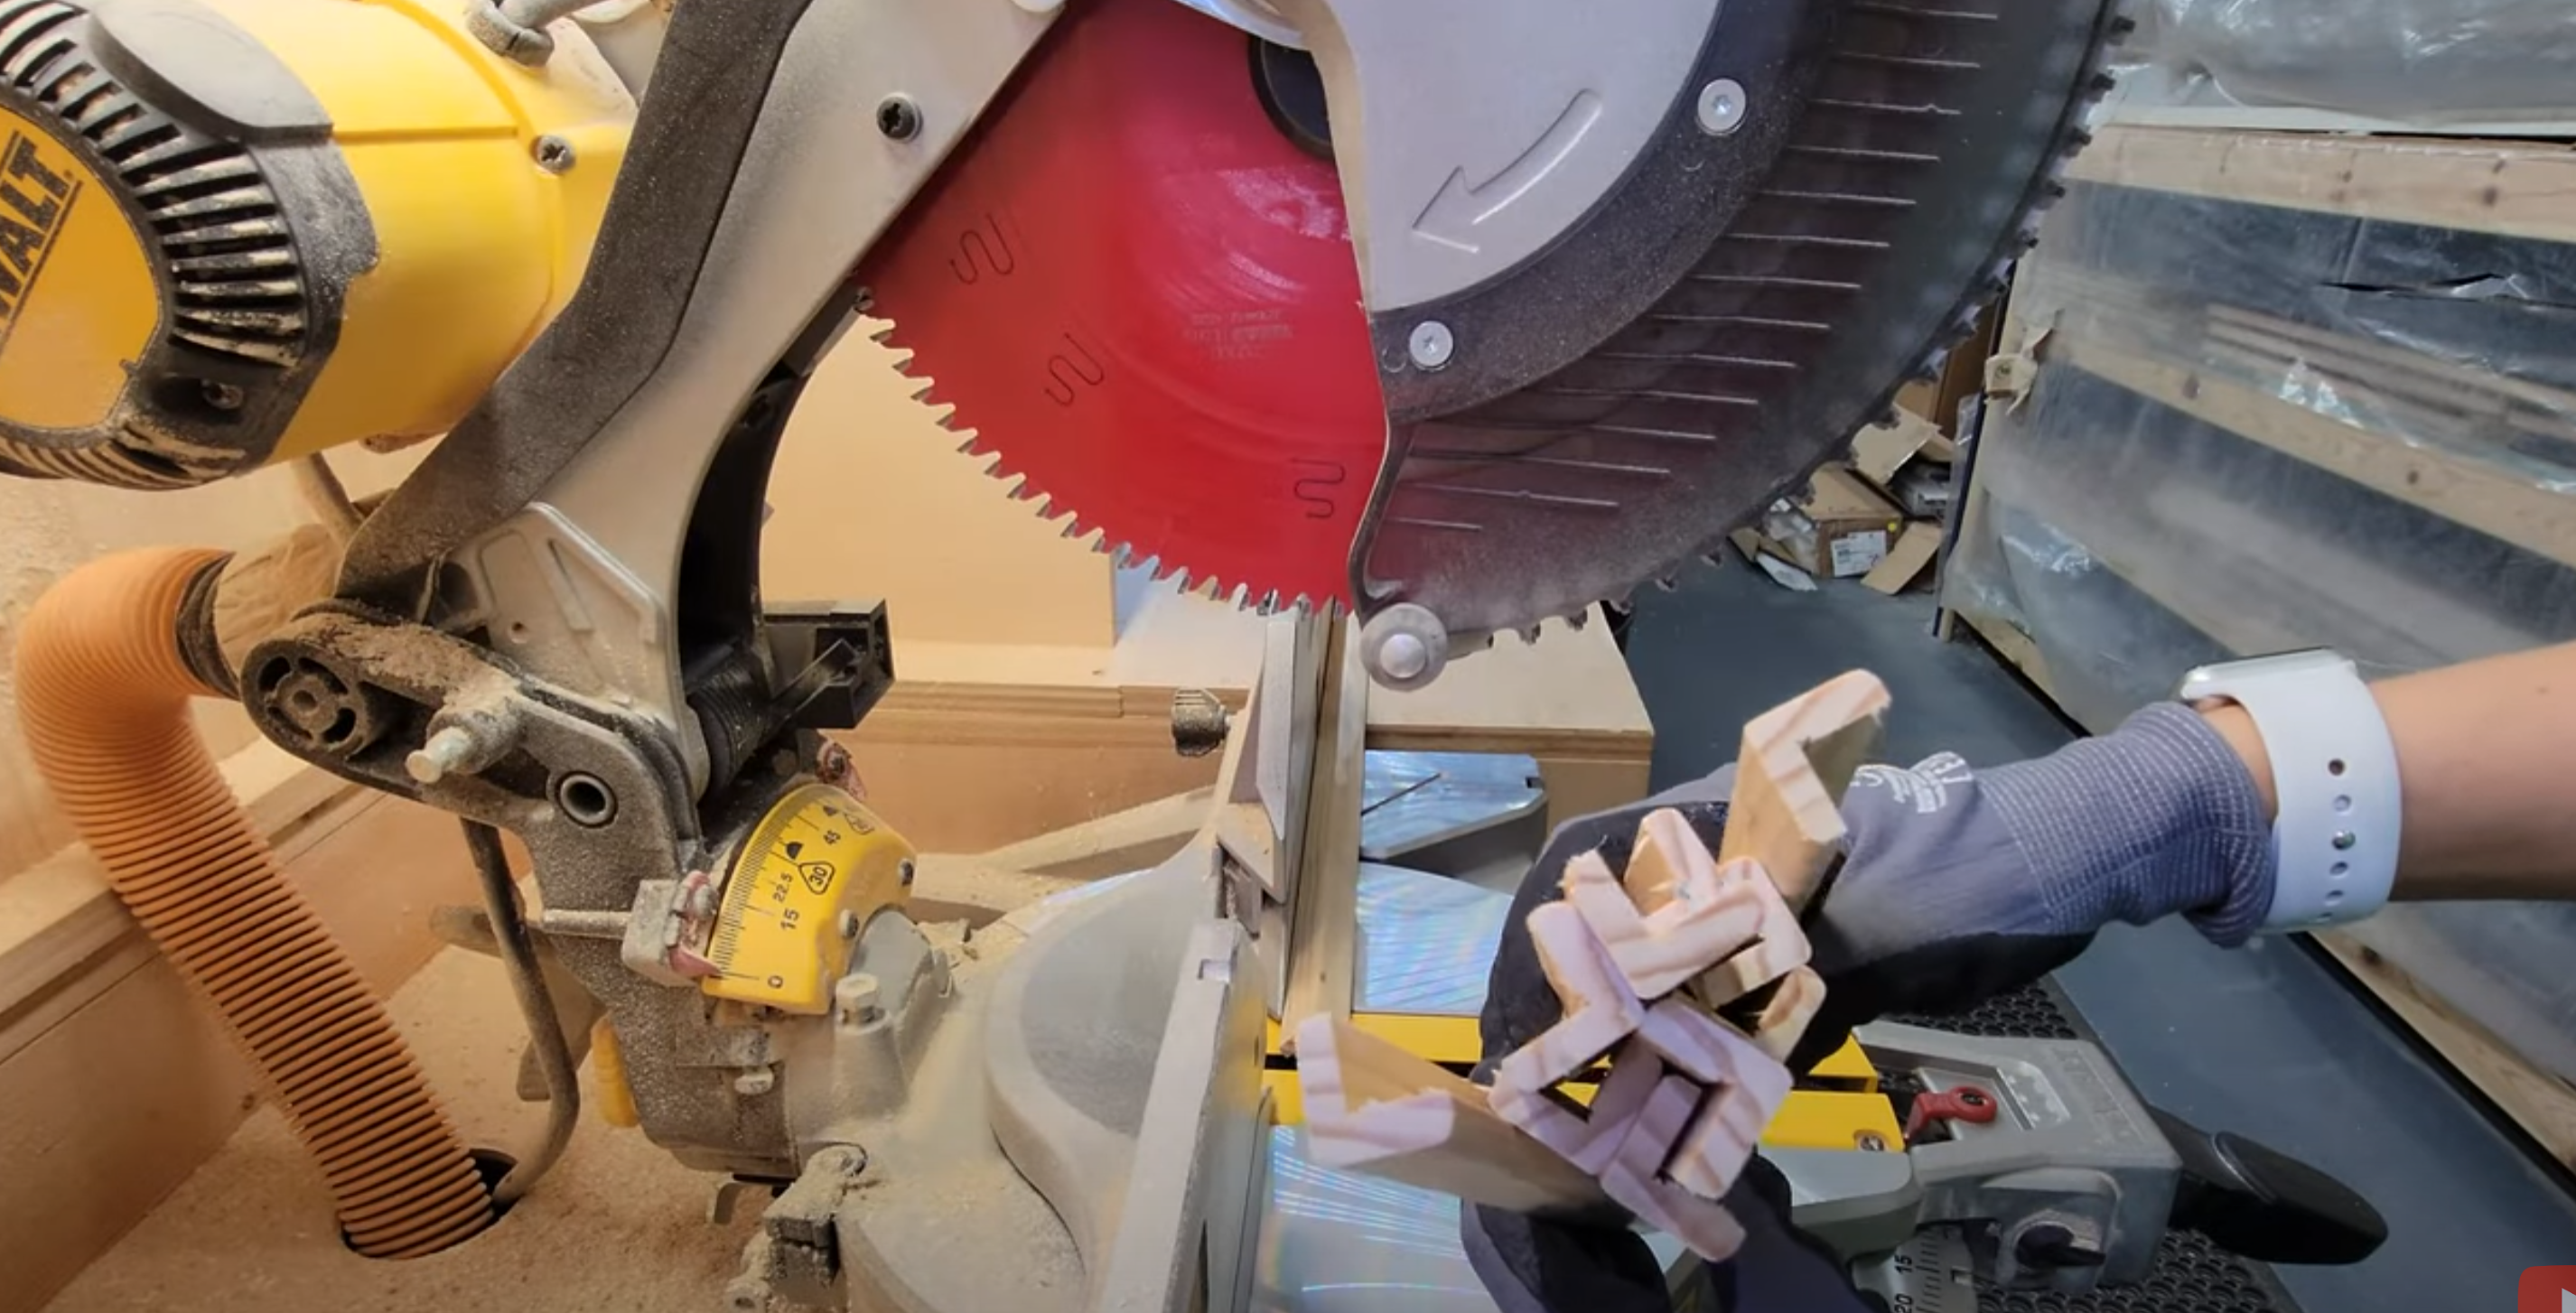
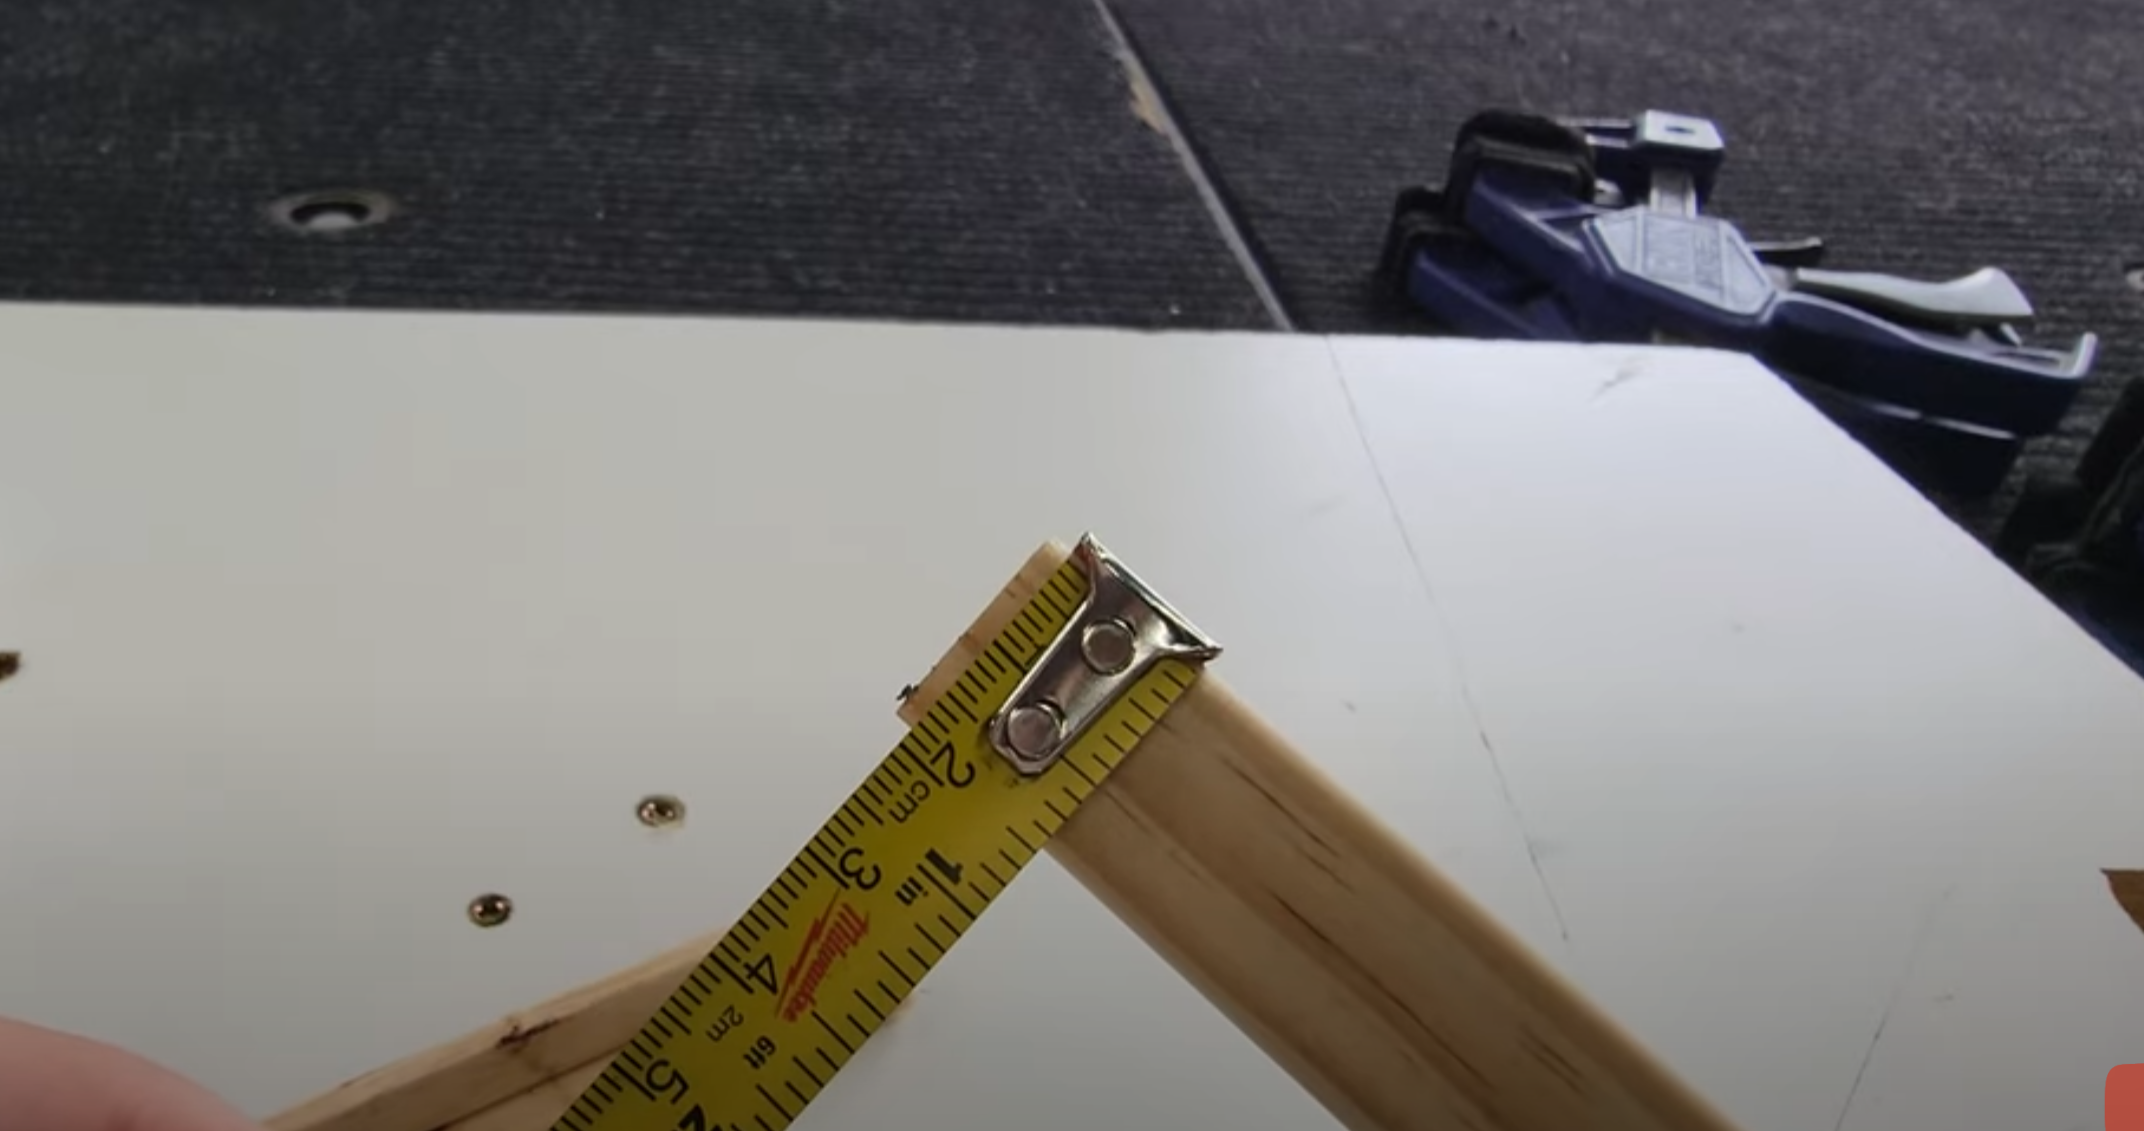
Step 2: Measure The Width of the Material
I measured the Width of the material to cut a slit into 4 sticks.
The width of my material was 11/16th of an inch.
Step 3: Mark the Measurements
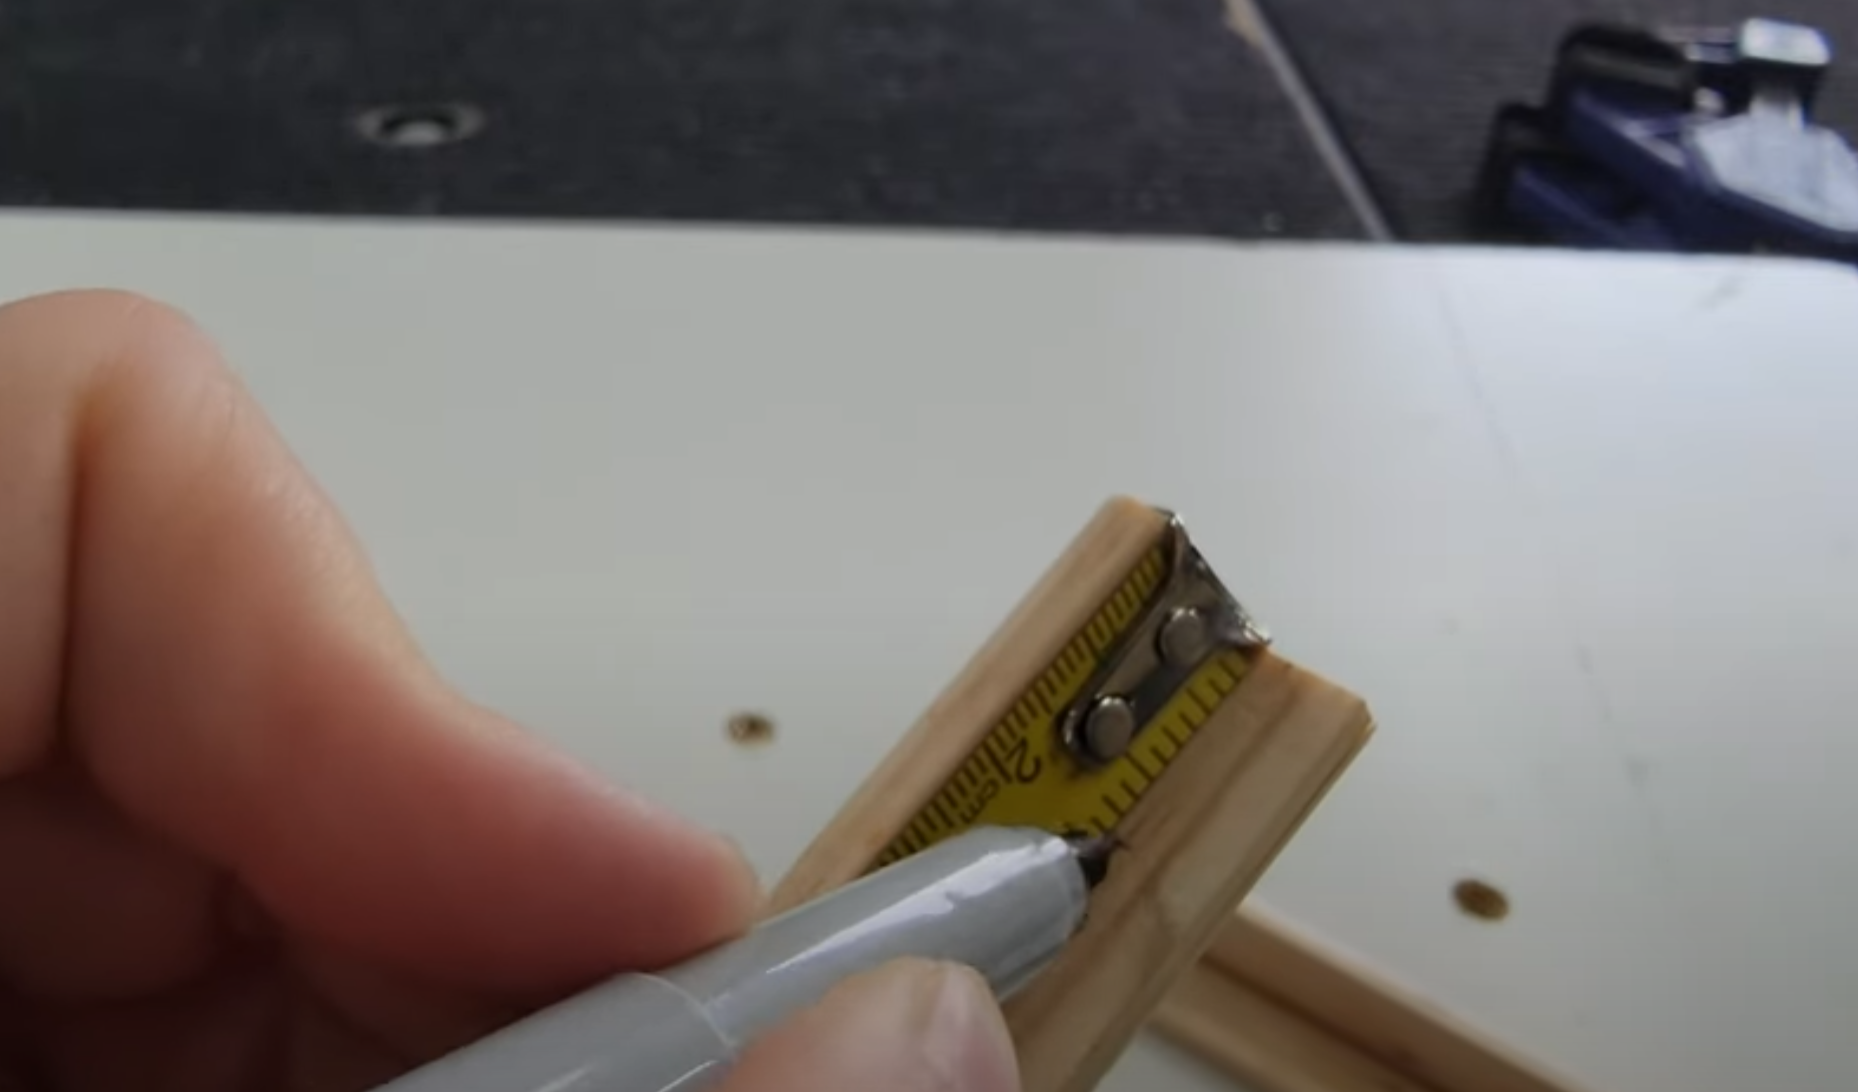
I took a sharpie and marked 11/16th from the top AND bottom of four sticks.
I did this so the corners would slide into each other and fit perfectly together, which you will see in a few moments.
Step 4: Make a Straight Line
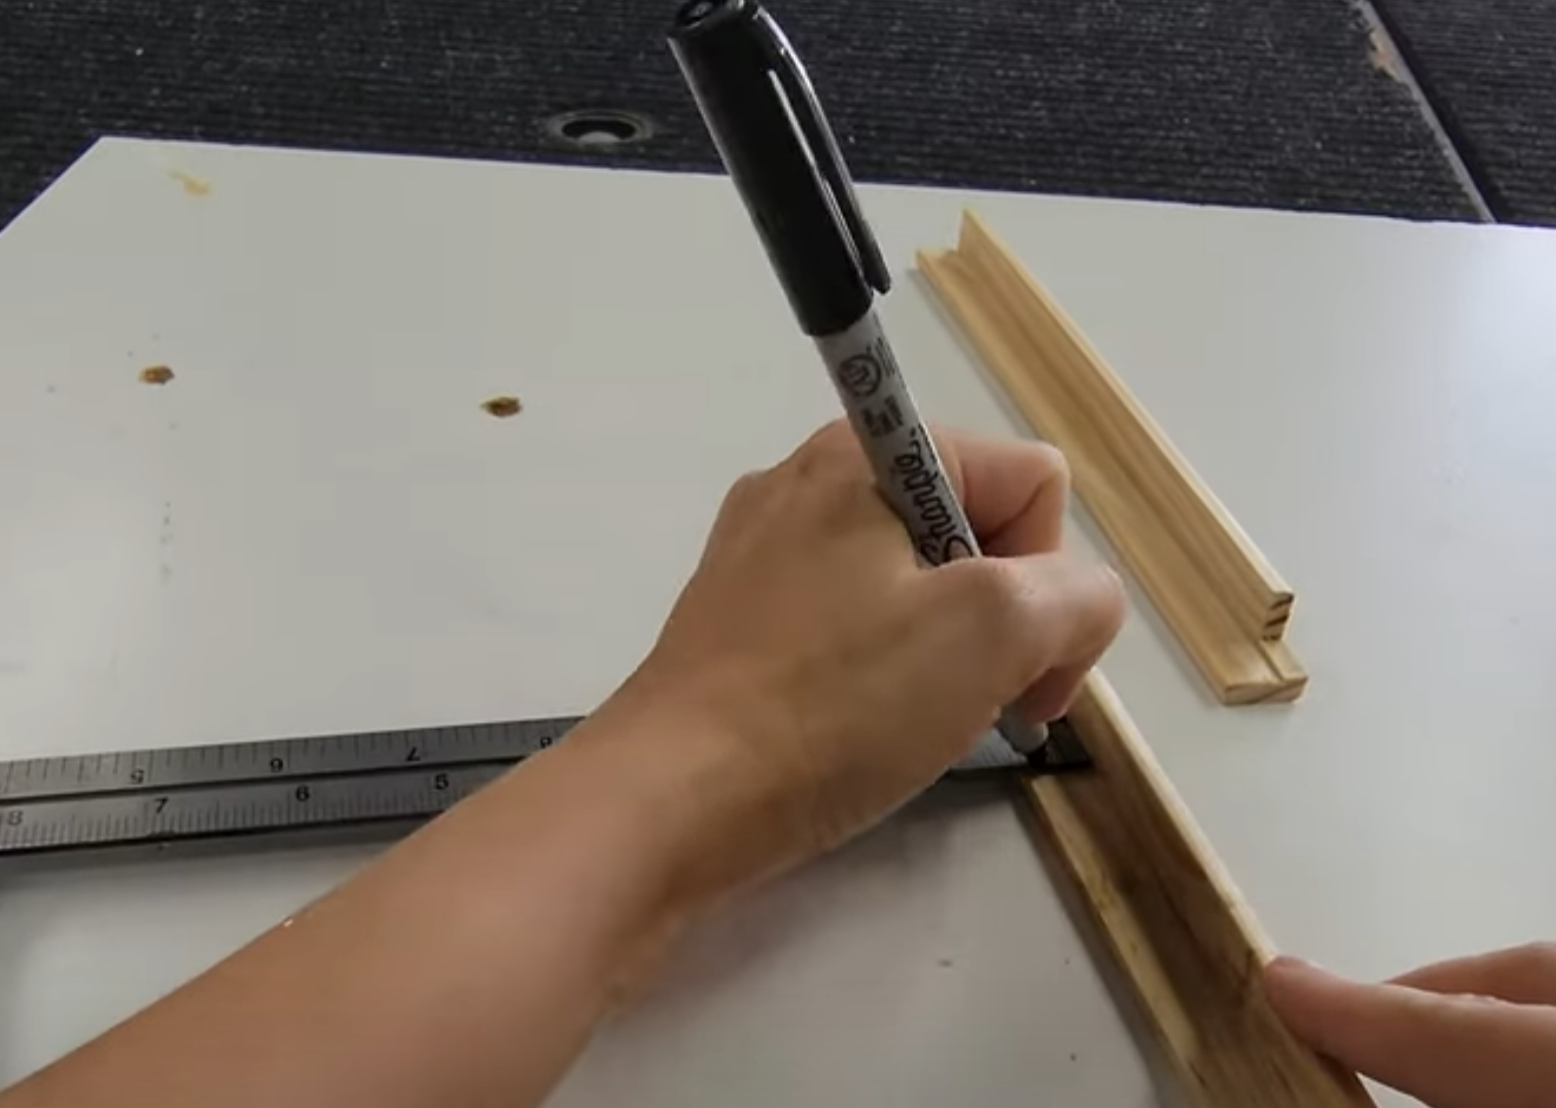
I took a straight edge to make sure all the lines were straight across.
Step 5: Cut the Lines out of the Wood
Using our band saw, I cut on the lines to cut small rectangles out of each end on the 4 sticks.
The video to the right shows how the sticks were cut.
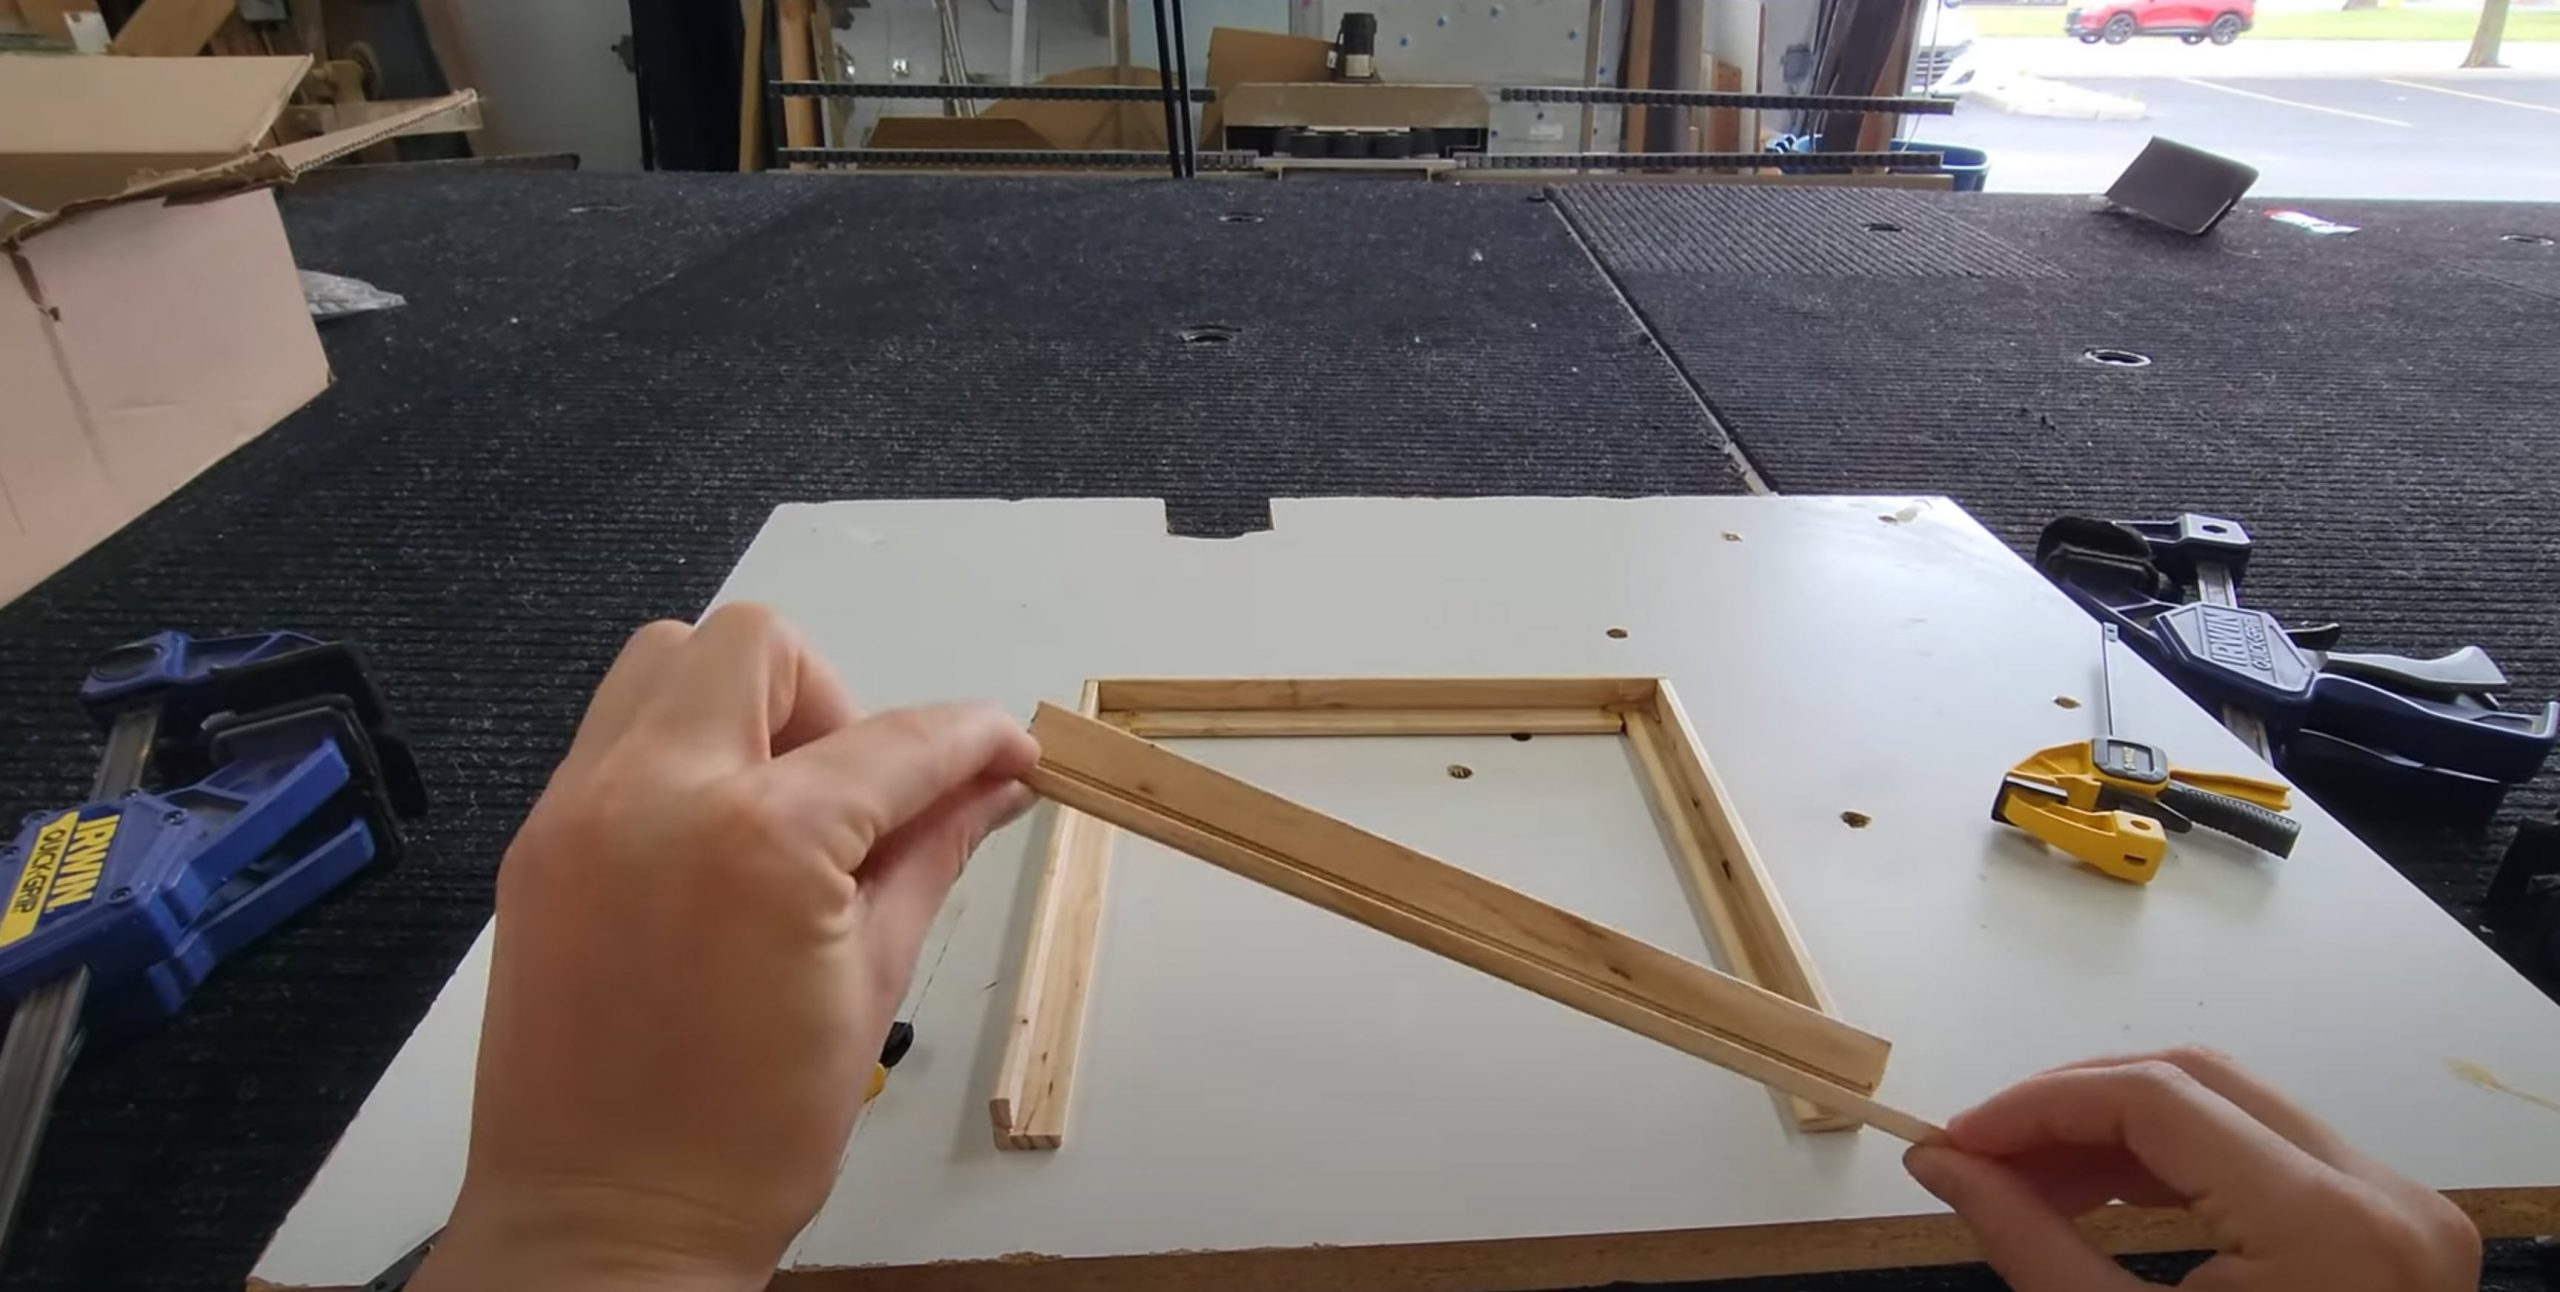
Step 6: Glue The Frame Top
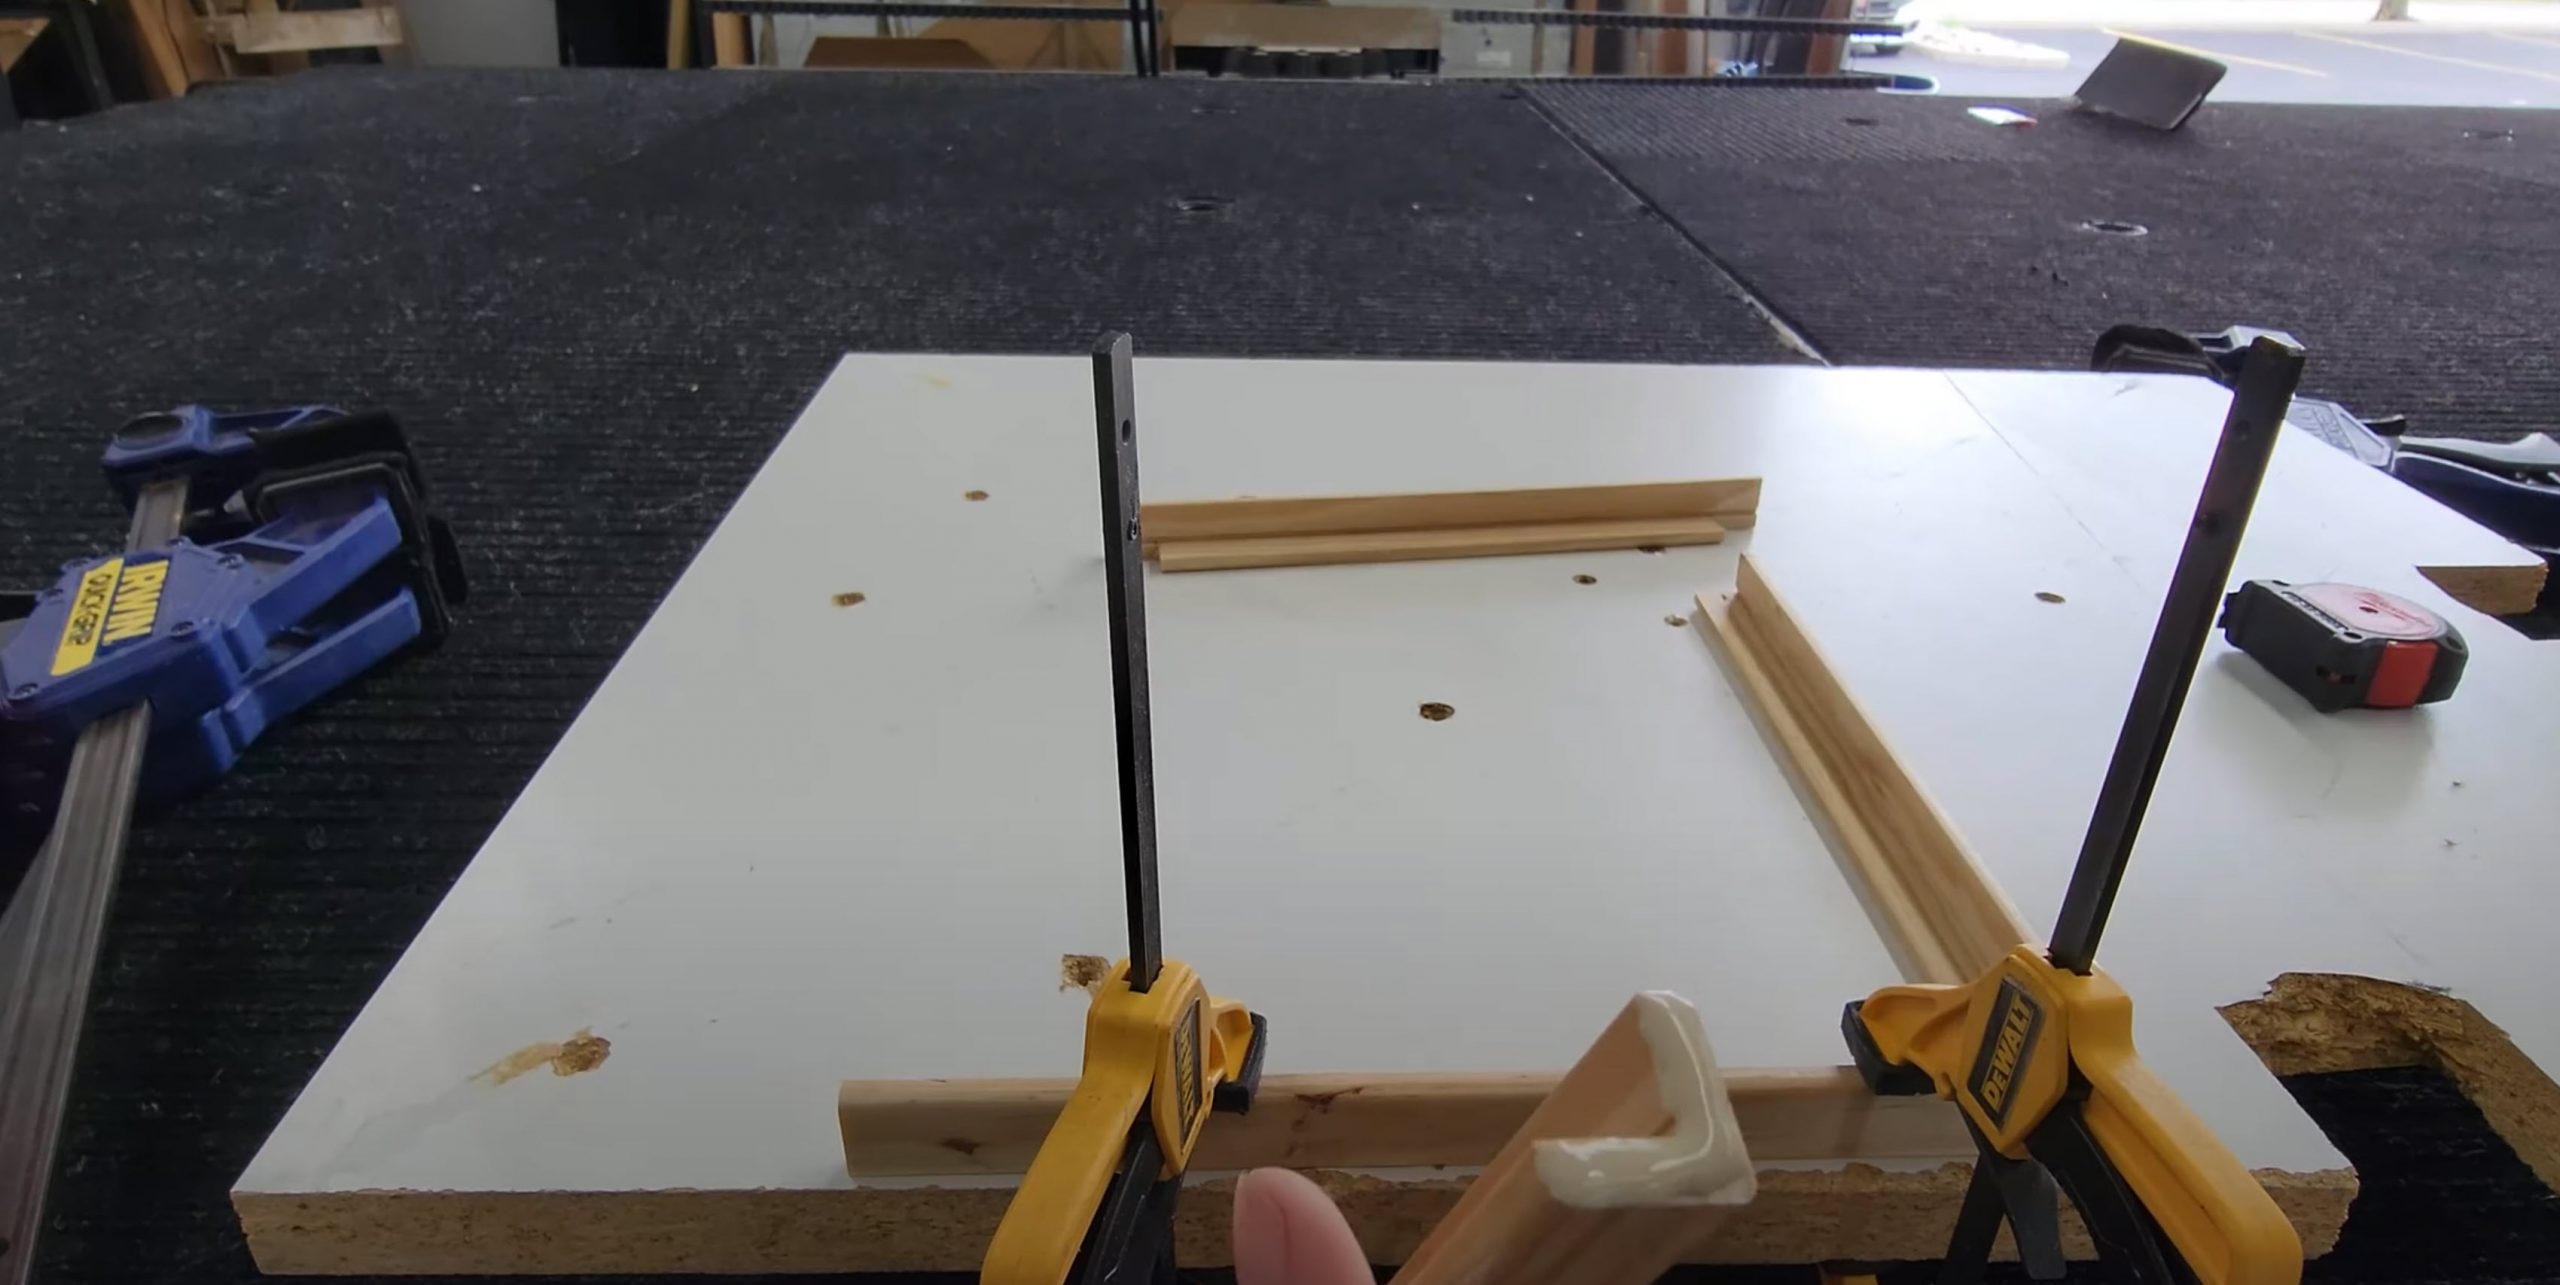
Using Titebond III wood glue and clamps, I glued two full length sticks and two sticks that I just cut the 11/16th out of and glued them together to make a square frame.
Step 7: Glue The Frame Side Bars
Using Titebond III wood glue and clamps I glued the side bars to the TOP of the cube.
Remember that the BOTTOM of the cube is what you want to be able to remove. Not the top.
The video to the right takes you directly to gluing the sides.
Step 8: Glue The Base of the Frame Separately
Just like the top, assemble the bottom frame using two cut pieces and two full-sized pieces. Glue with Titebond III wood glue.
Ensure that the bottom of the cube remains removable. This will allow you to access the inside of the cube for adjustments or replacements.
Step 9: Sanding and Staining the Frame
1. Sand the Frames
Use a 120-grit sanding block to smooth out any rough edges and remove any excess dried glue from both the top and bottom frames.
2. Stain the Wood
Choose your favorite wood stain and apply it evenly to both frames. Remember to work in a well-ventilated area or wear a mask for safety.
The video to the right will take you directly to sanding and staining the frame.
Step 10: Ordering the Glass Panels
1. Measure the Openings
Measure the spaces where the glass panels will be installed to ensure a perfect fit.
2. Cut the Glass
Cut the glass panels according to your measurements. I cut mine myself, but you can also order custom-cut glass directly from twowaymirrors.com. We cut within a 1/16” tolerance, guaranteeing a perfect fit.
3. Choose the Right Glass
For this project, I used Smart 3mm glass. This glass is both transparent and reflective, and its lightweight nature makes it ideal for this project.

Step 11: Installing the Glass Panels
1. Test Fit the Glass
Place the glass panels into the frames without glue, using masking tape to hold them in place. This allows you to check the fit and make any necessary adjustments.
2. Test the Reflection
Before gluing, place some fairy lights inside the cube to test the infinity effect. Even without the lights turned on, you should notice a promising reflection.
3. Glue the Glass Panels
Use clear JB Weld glue to secure the glass panels to the frames. This glue dries clear and quickly, so work efficiently to avoid smudges on the glass.
Tip: If you get glue on the glass, don’t worry! It can be cleaned off with glass cleaner and a microfiber cloth.
Don’t forget to glue the top glass piece as well!
The video to the right will show gluing the glass walls.
Step 12: Adding the Decorations!
While the glue dries, start decorating the removable bottom of your cube.
Place fairy lights, LED lights, etc. around your decorative elements. These will enhance the infinity effect once the cube is assembled.
Feel free to get creative! I aimed to create an infinite forest, but you can choose any theme that suits you.
Step 13: Assemble the Base and Top Cube Together
Make sure your top piece is glued in after the walls are finished drying!
Once your decorations are in place, place the top frame onto the bottom frame, enclosing your decorative base within the glass cube.
Results:
Note: I added in an extra circle light at the top to imitate the sun to make a brighter enclosure.
Thanks for reading and I hope you enjoy building your own infinity mirror decoration!
Author: Hannah Machesky

