Hydro Dipping Picture Frames: Step-By-Step Guide [2020]
Hydro dipping is a fairly simple project. Hydro dipping can be a fun experience for the whole family.
It’s great on picture frames. If you really want a piece of art to stand out in your home. Just by adding pops of color to frames you already have in your home.It takes a couple steps to get started. There’s also some safety precautions you should take before starting your Hydro dipping project.This is very important. You should wear a face mask. To prevent breathing in the paint fuse. Including doing the project outside. This will provide a more open area for the fumes to go.
What You’ll Need:
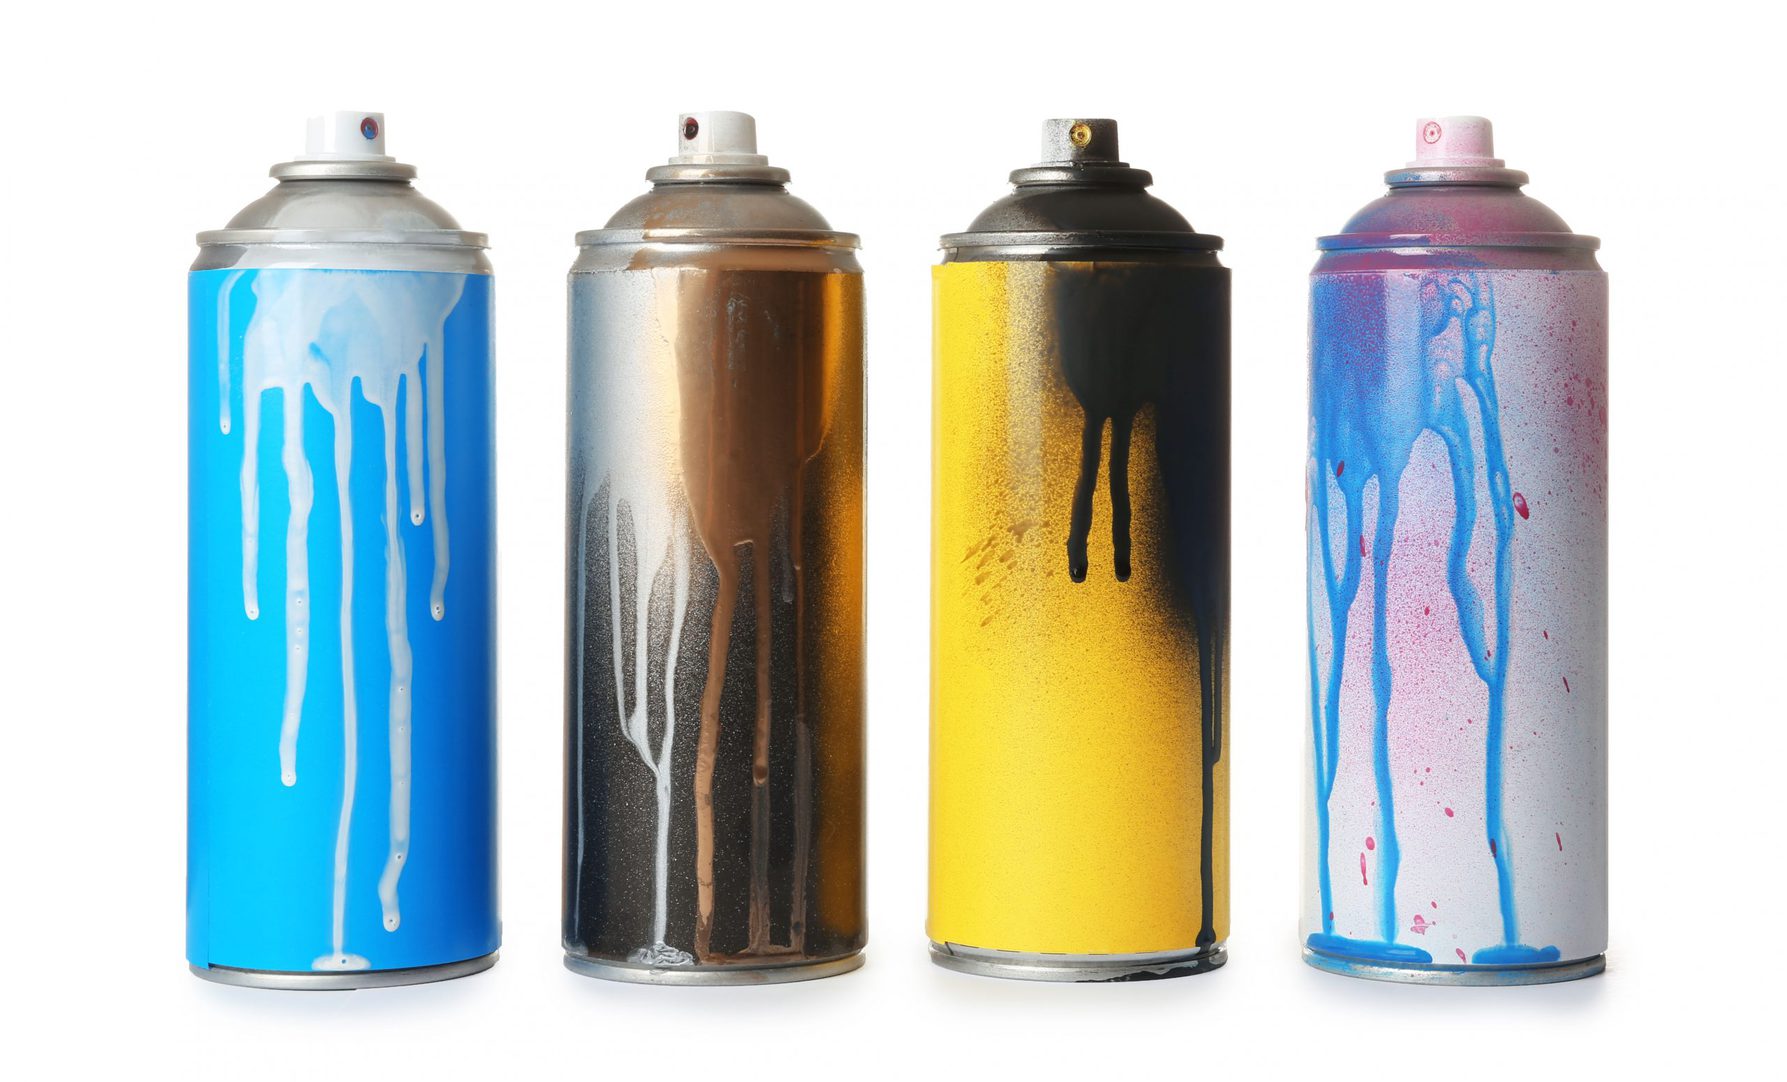
– Spray Paint (Brand: Rust Oleum)
– Respirator Mask
– Gloves
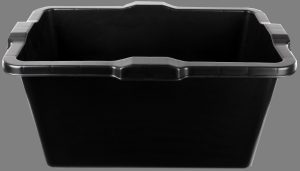
– Bucket/Tub the deep enough for your Picture Frame
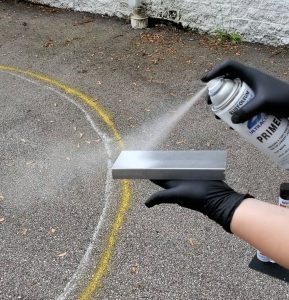
– Primer Spray
– WaterProof Spray
– Picture Frame
– Optional Items: Toothpick and X-ACTO Knife
The Steps on How to Hydro Dipping Picture Frame:
Step 1: (What you’ll Need: Picture Frame and Masking tape)
Clean off your frame first. From dust and debris build up.
Grab some masking tape and your picture frame. Take the glass and back off of your frame and place them to the side. Now tape off the areas you don’t want painted on your frame. 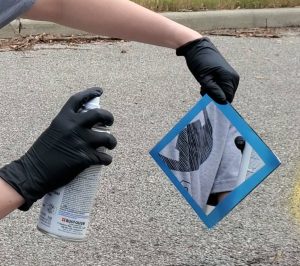 Including any exposed wood or if you’d like to make a design out of tape.
(Place your Taped Picture Frame to the side and Continue to the next step)
Step 4: (What you’ll Need: Respirator Mask, Bucket/Tub full of water, Spray Paint colors) Optional: Toothpick
Put on your Respirator Mask for this step.
Then you can begin to layer the spray paint on top of the water.
There’s really no correct way of doing this. Just layers your colors over one another. If you’d like, use a toothpick to swirl the colors to lightly mix them together. One way is spraying one color then spraying your second color on top of it creating the layers.
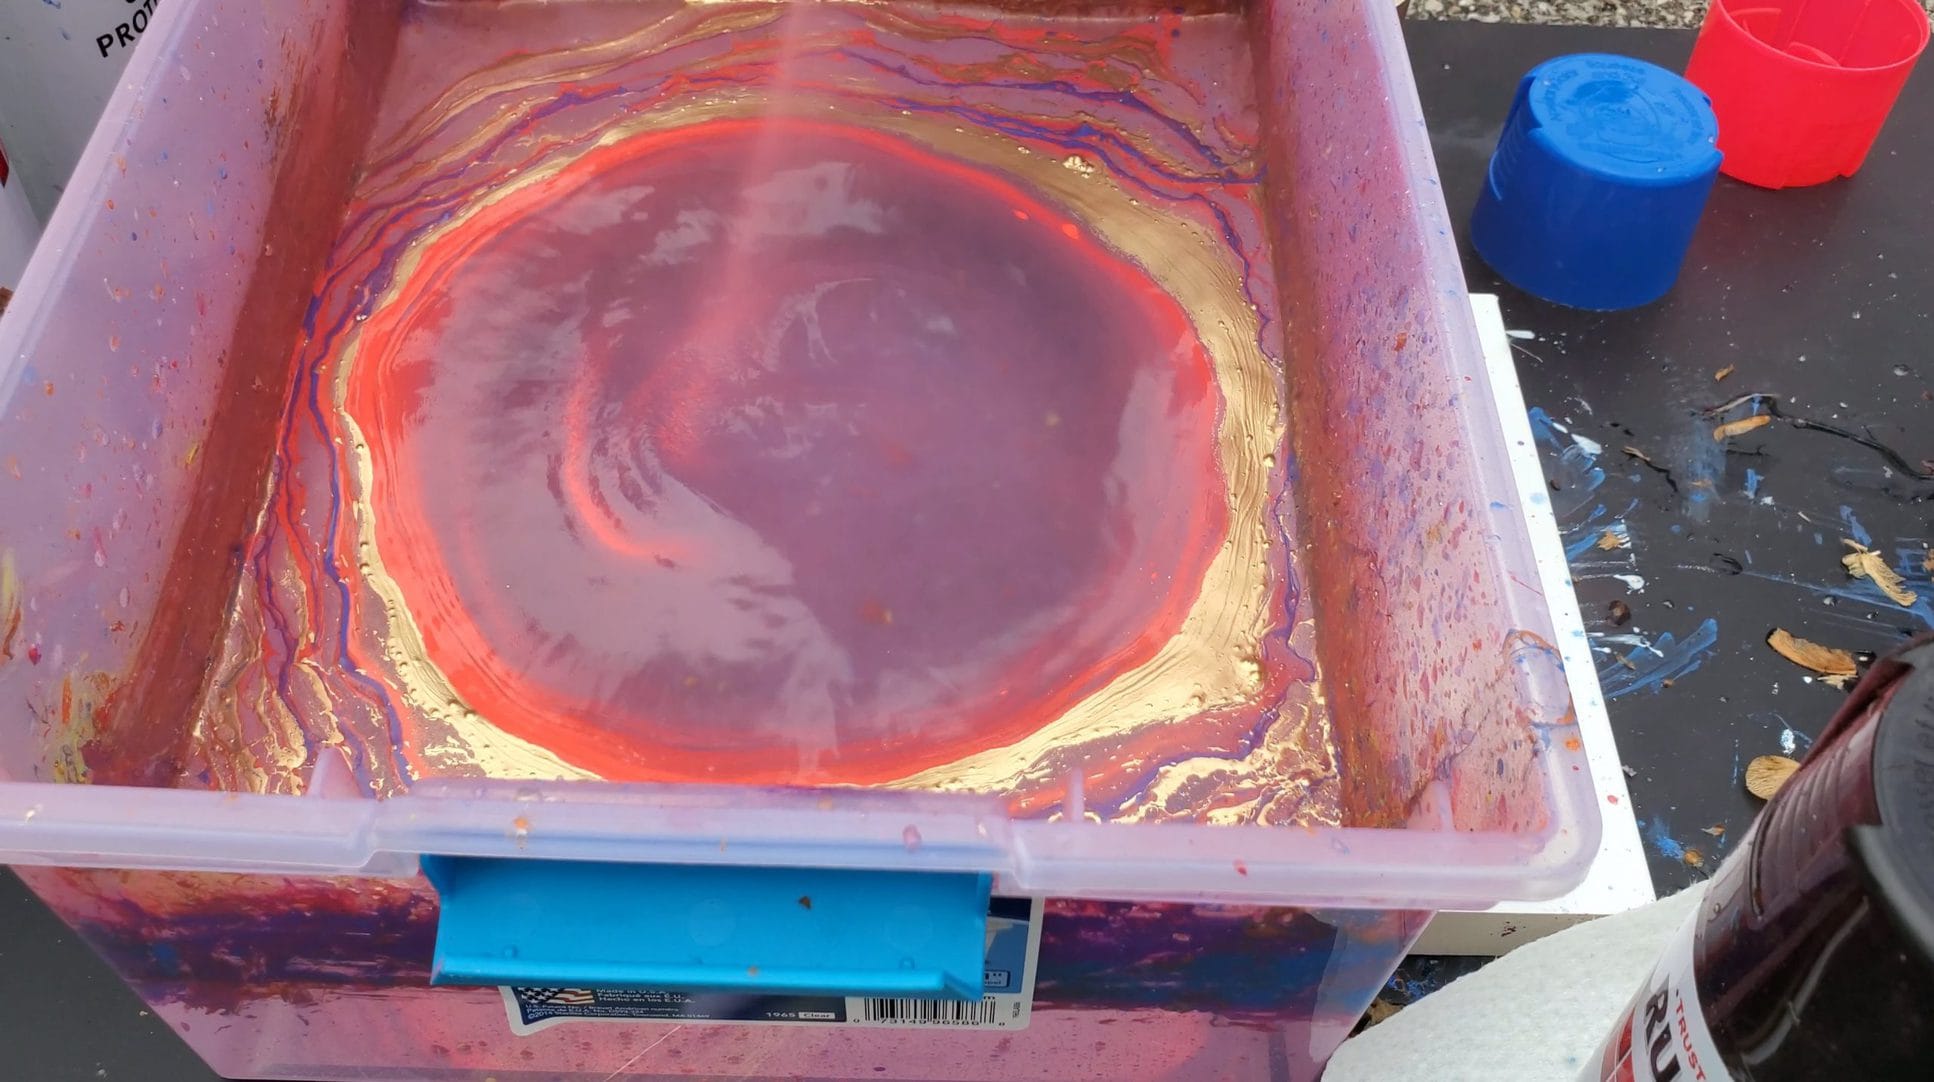
Step 5: (What You’ll Need: Picture Frame, Gloves, Bucket/Tub or Water)
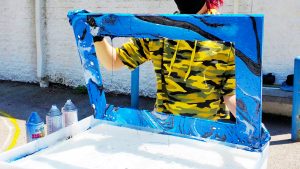
Now it’s time to dip your Picture Frame. You’ll want to drip your picture Frame very slowly. When you dip it slowly it gives the paint design more time to adhere to the frame. Once fully somegred. Move the excess paint away from the frame. You don’t want any paint above your frame when removing it from the water. It could possibly ruin or change your design.
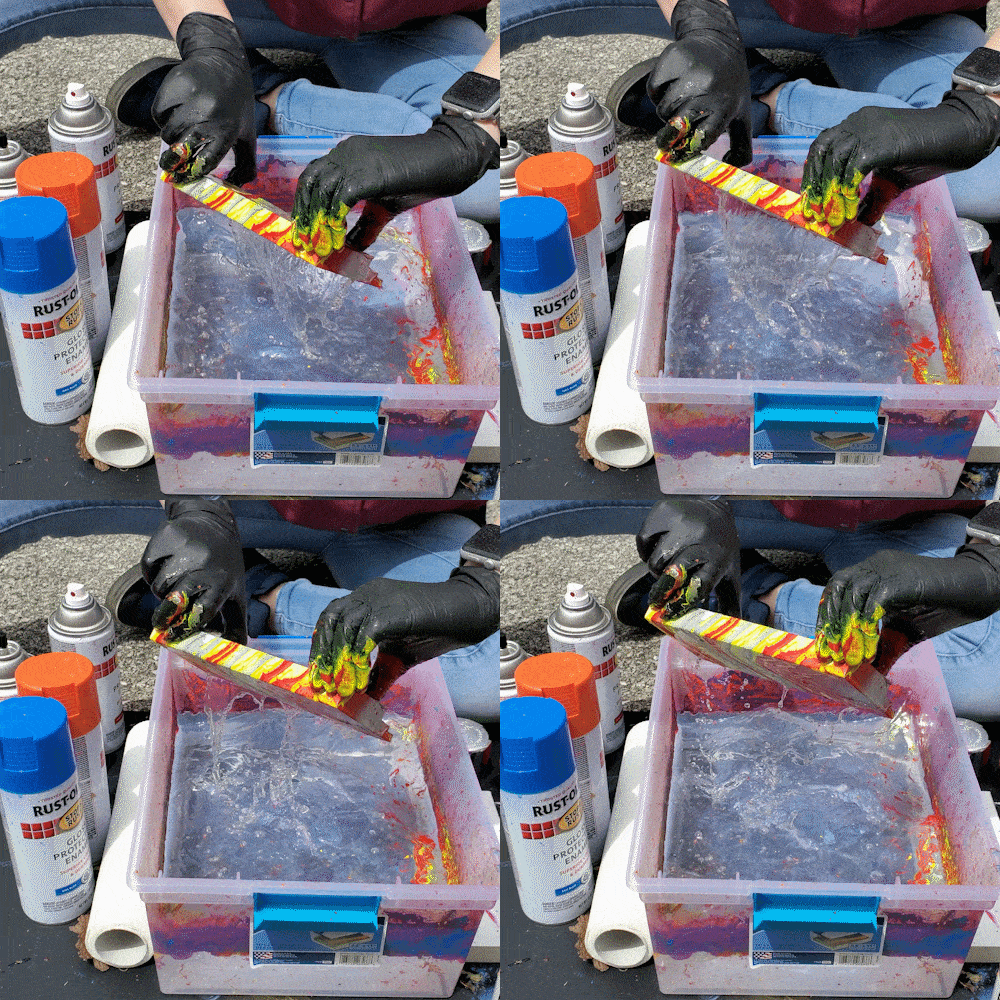
Step 6: (What you’ll Need: Your Painted Frame)
Remove the tape before the paint fully dries. Doing this it won’t tear up your paint design. Or just use a knife to cut the tape off.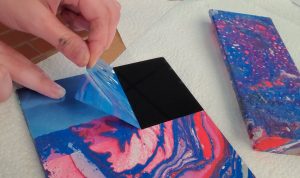
Leave Your painted frame in a room temperature area. There could be water up the painted area. That being the frame will need at least 24 hours to dry.
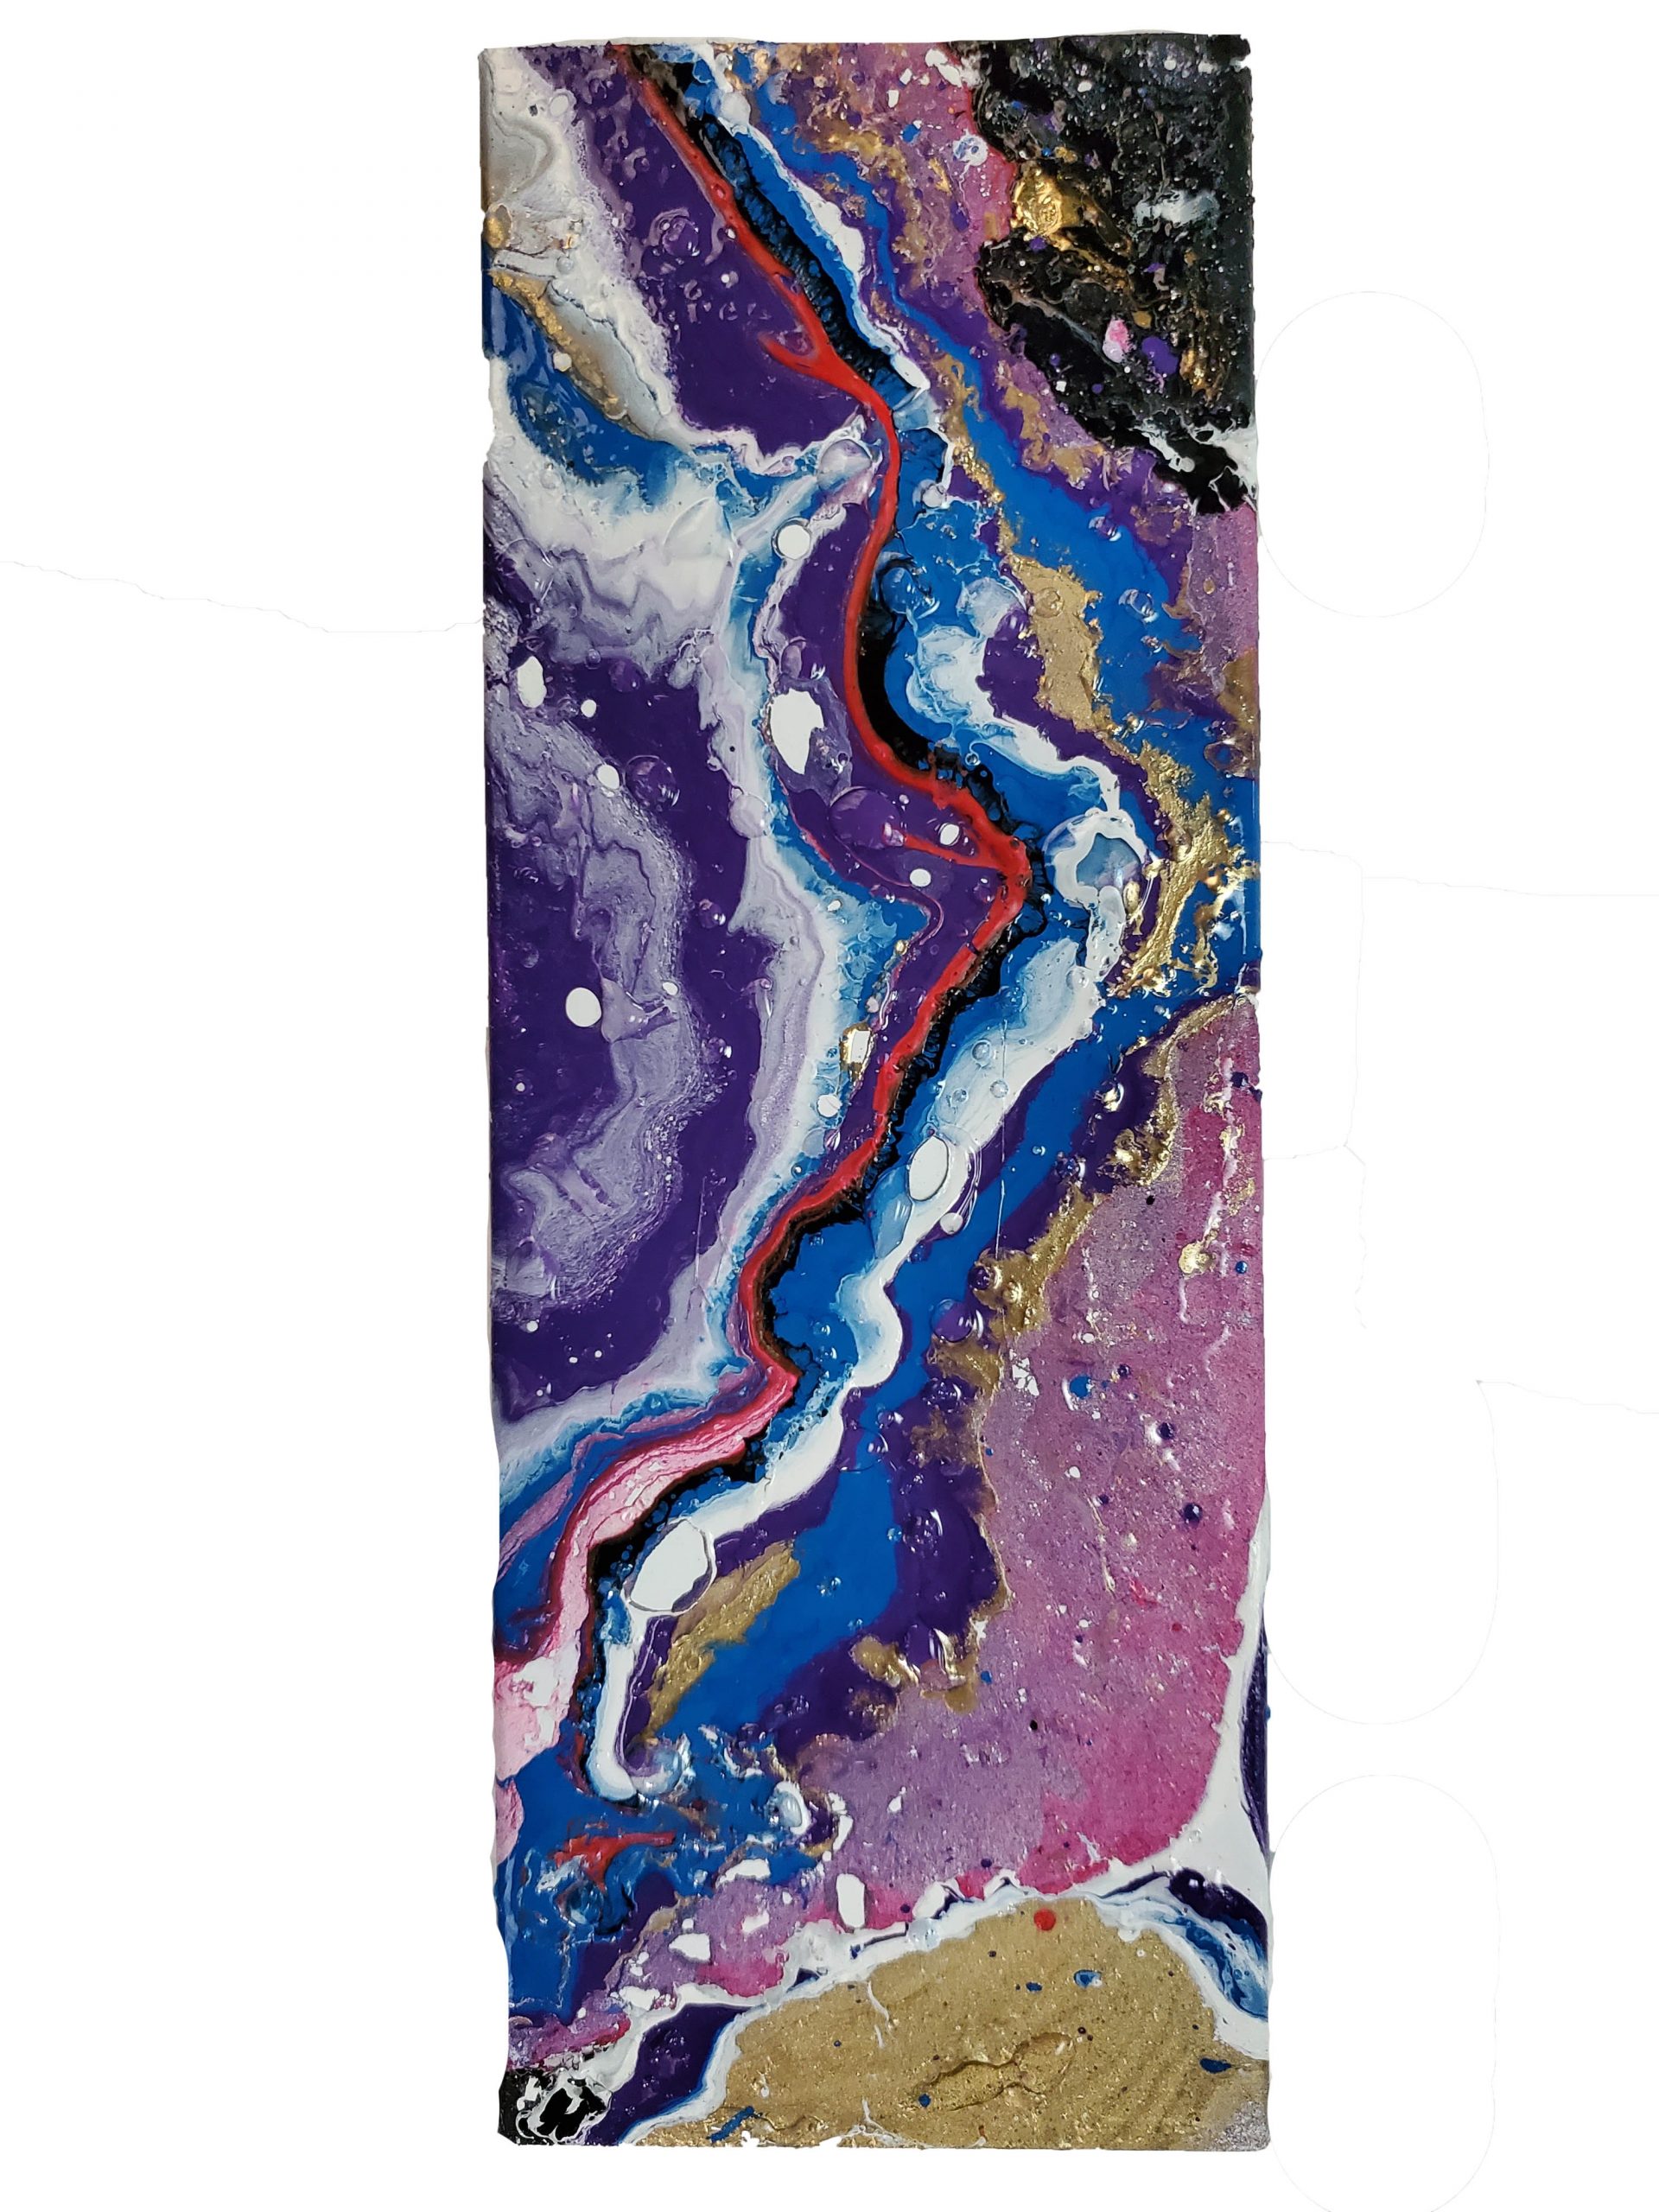
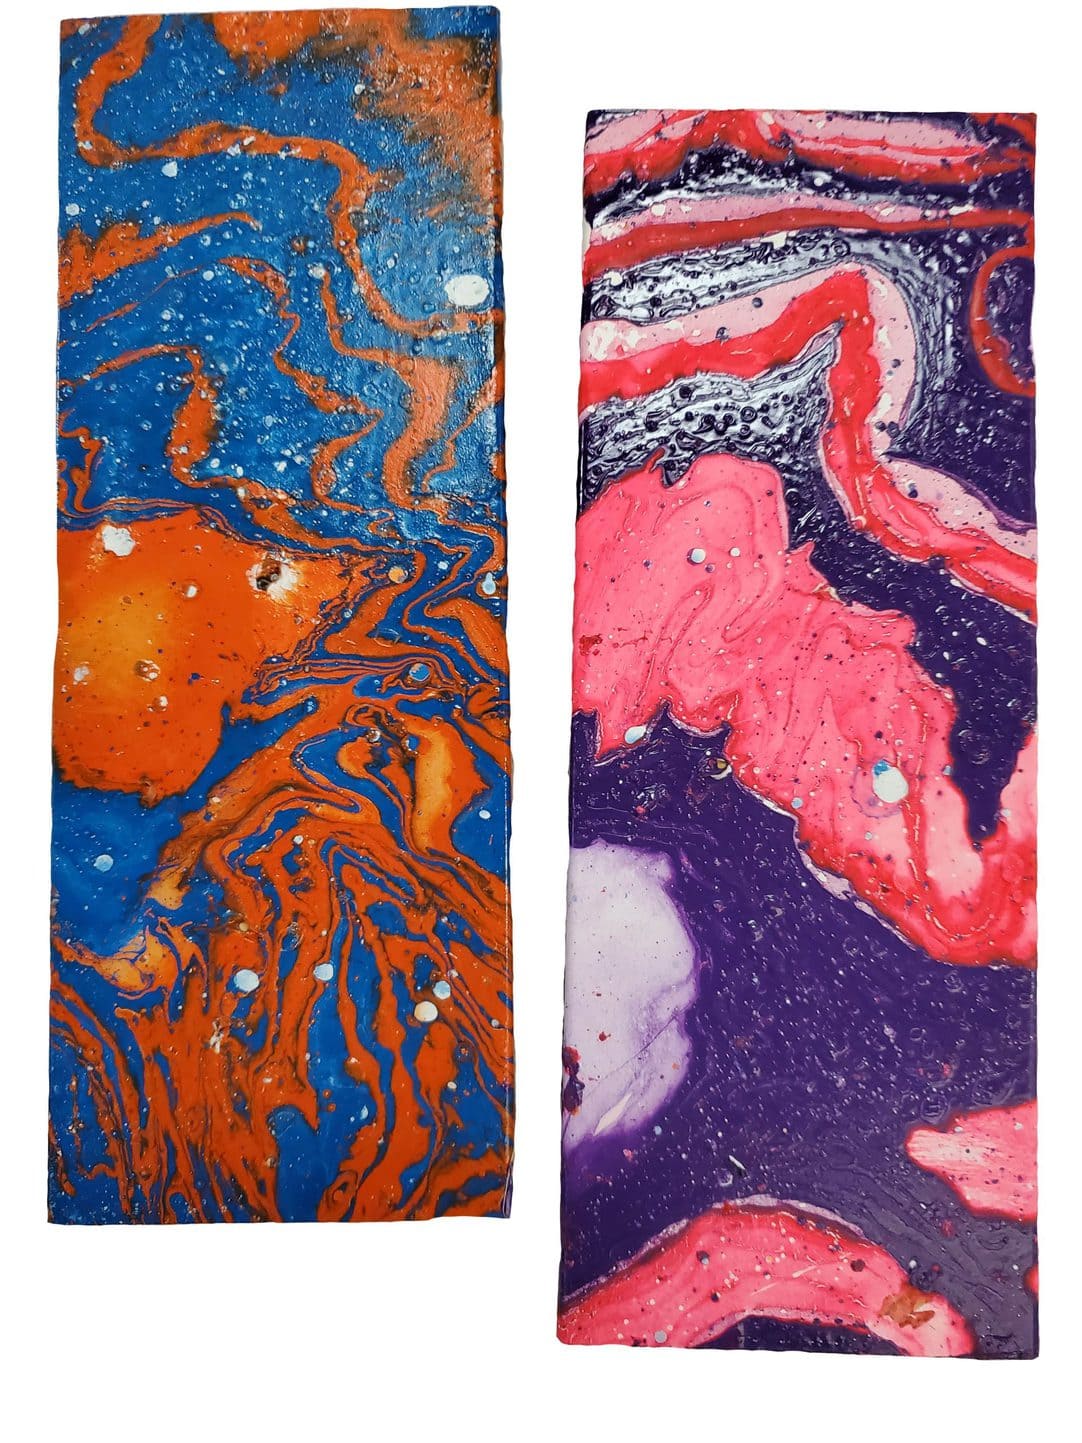
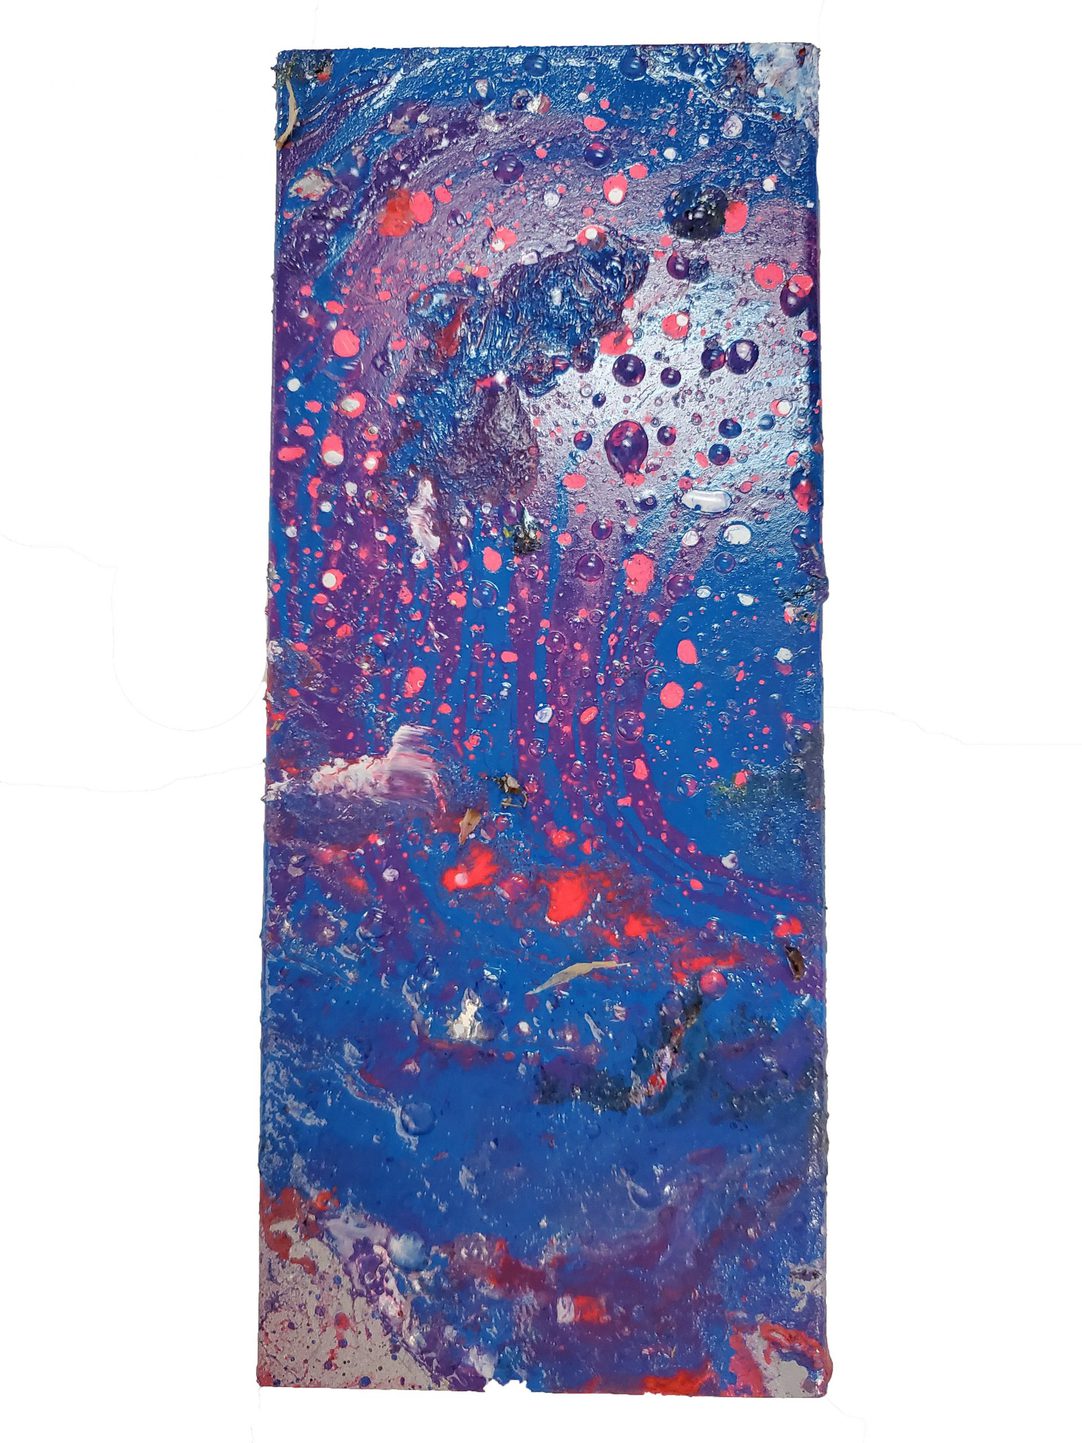
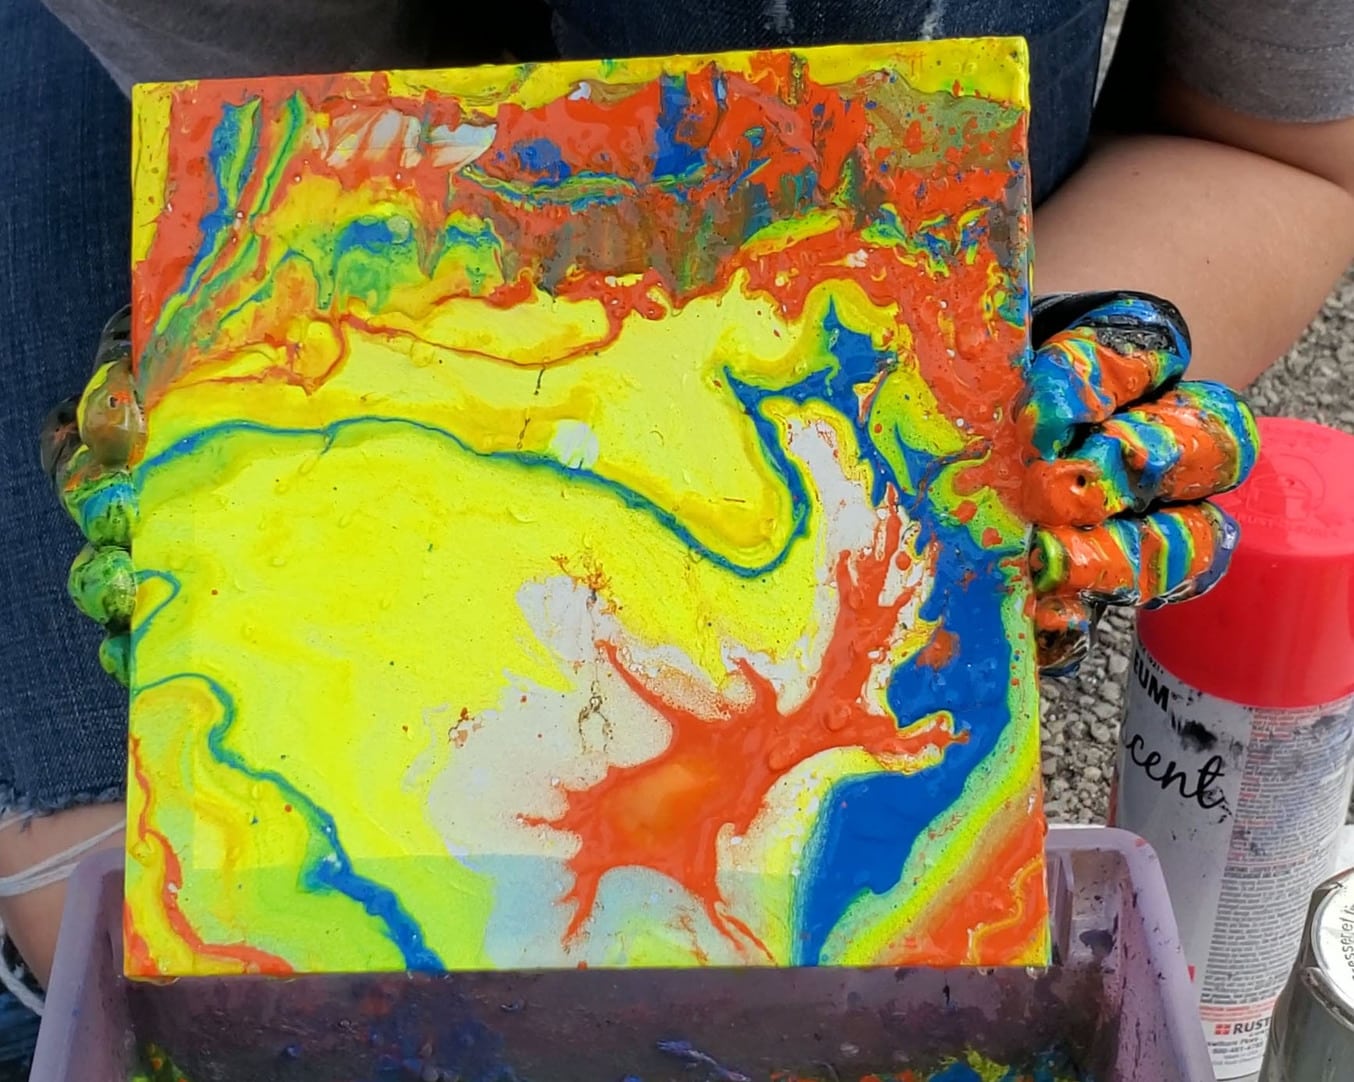
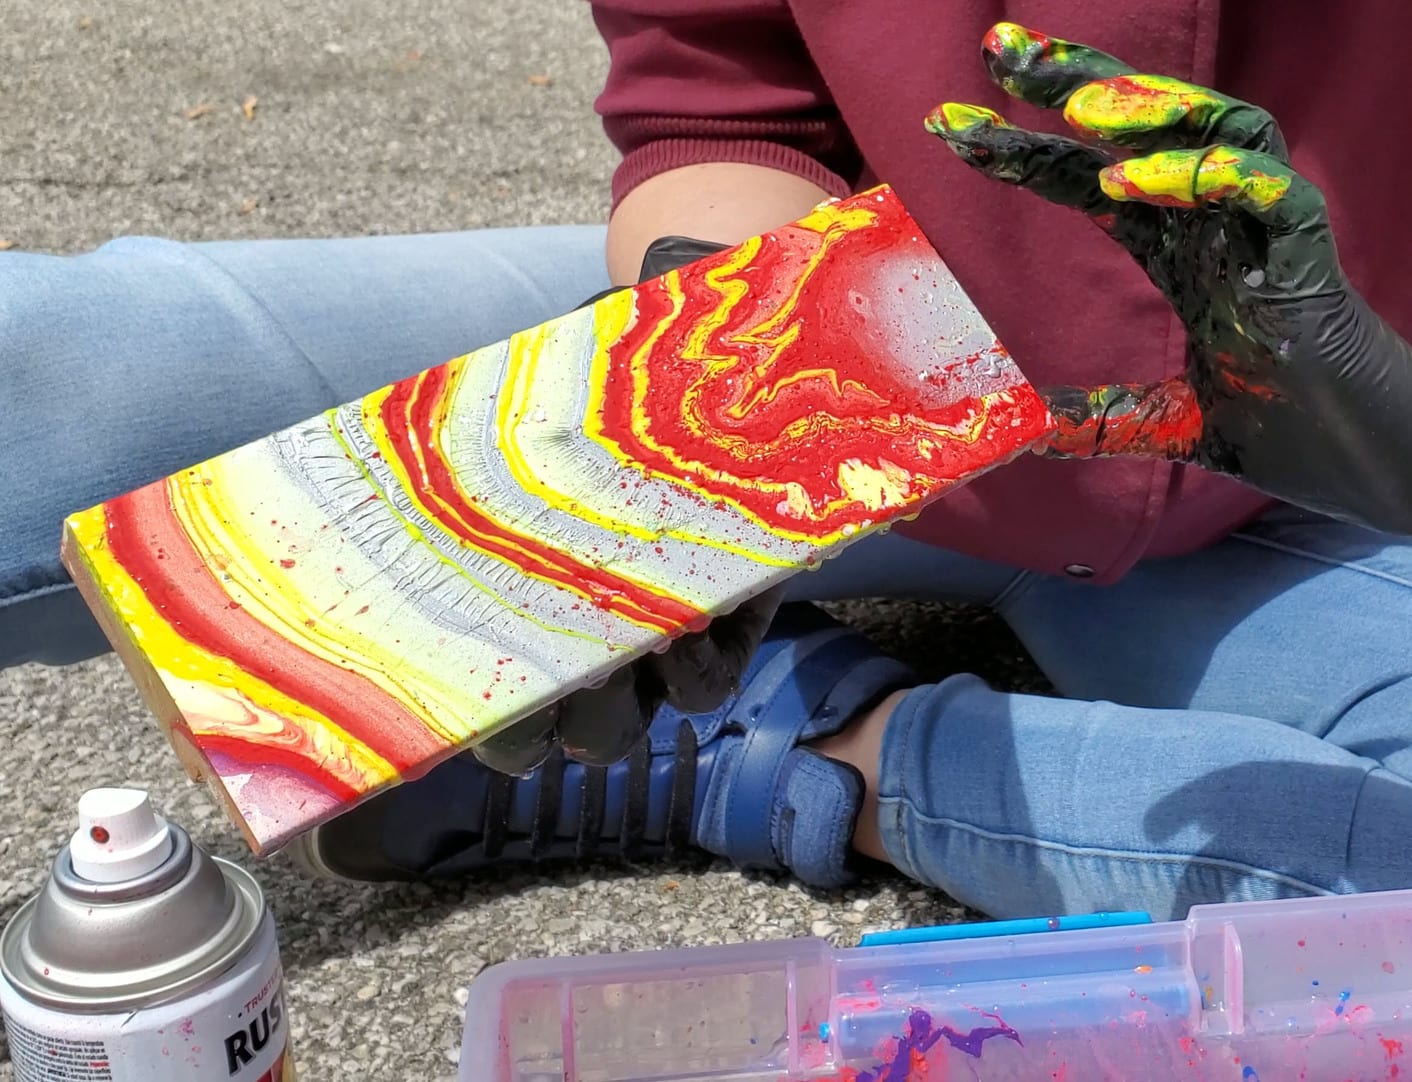
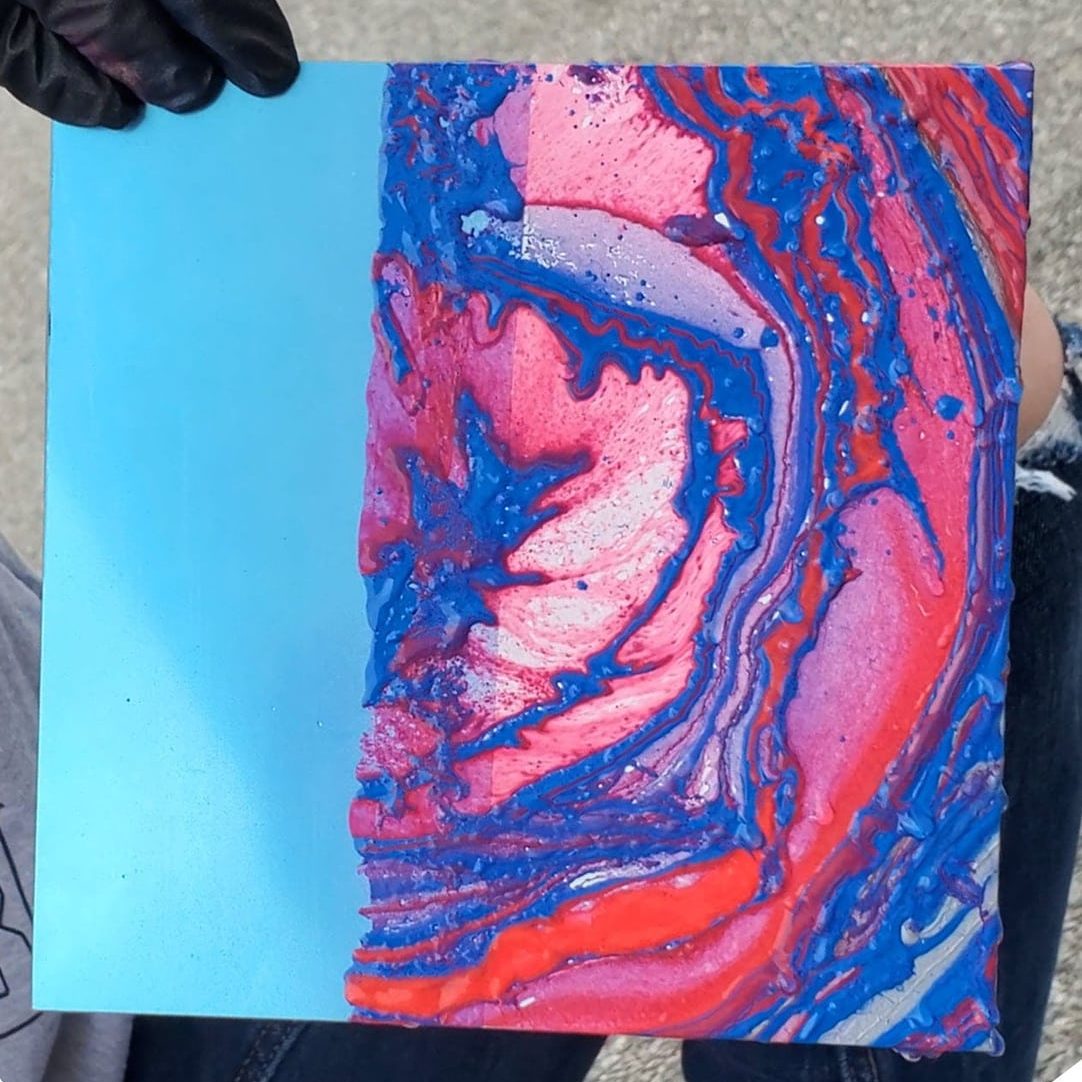
Art Gallery Hydro Dipping
More Exciting Paint Blogs
If you wanna learn more fun D.I.Y’s with Paint visit our blog about Acrylic Pouring Frames. Acrylic Pouring is another creative D.I.Y you can do with the whole family.
-Or-
Steps on how to Paint your very own Frames. If you wanna learn how to paint over an old frame to make it look brand new check out this blog.

