In this guide, I’m going to outline step-by-step how to use a transparent mirror to make a mirror photo booth.
I’ll help you design your frame, choose the perfect display, and add touch technology and snag the perfect mirror. Photo booth mirror pricing and a complete list of parts is included.
I’ve also included recommendations for complete mirror photo booth systems, in case you want to skip the DIY part. I’ve recorded the project so you can see it in action:
What is a Mirror Photo Booth?
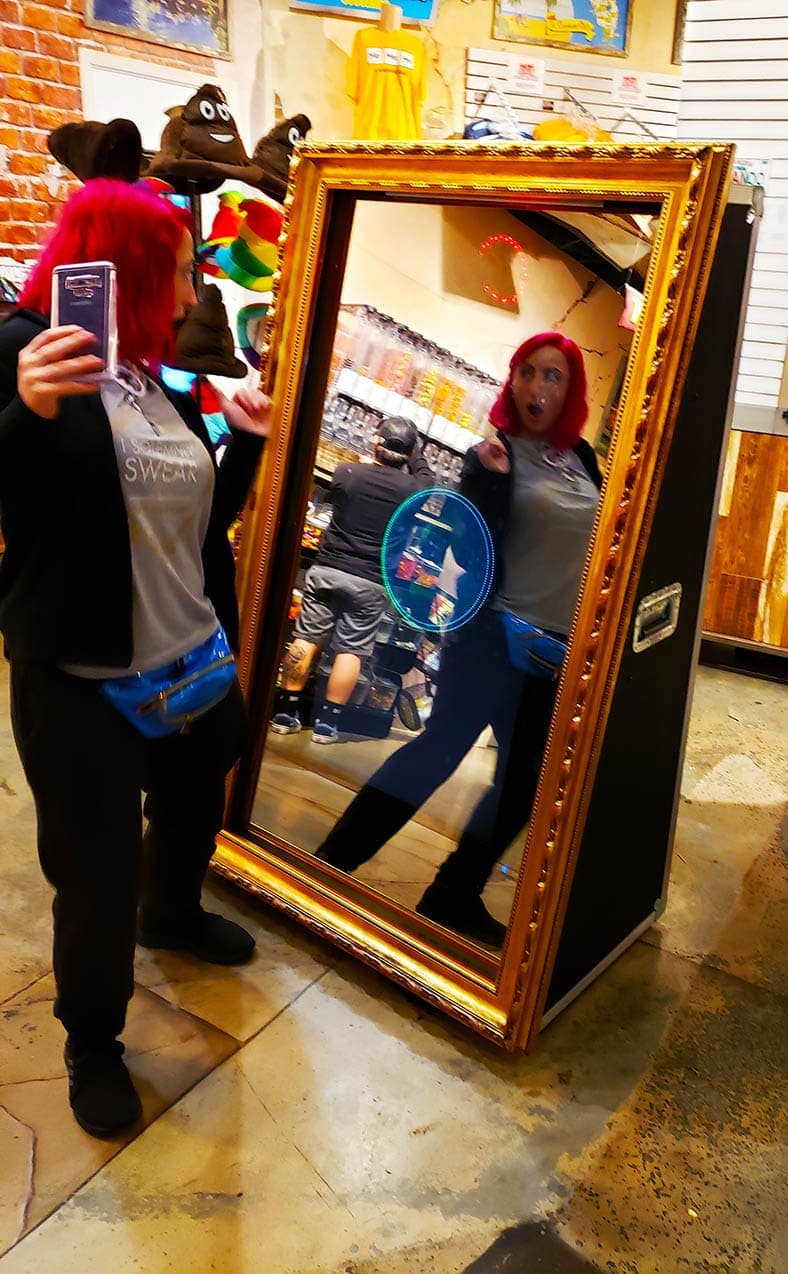
A mirror photo booth combines a mirror, display, software, and camera to take pictures through the mirror and share them instantly on Facebook, Instagram, and via text. For people that run a photo booth business or love to host parties, this is a MUST HAVE! Speaking from personal experience, I’ve used it to bring excitement by taking amazing selfies, creating keepsakes, and unforgettable moments with my friends and family.
I’ve gotten a ton of questions about how to make them, and now I’m excited to share that information with you, along with a demonstration on how it all comes together:
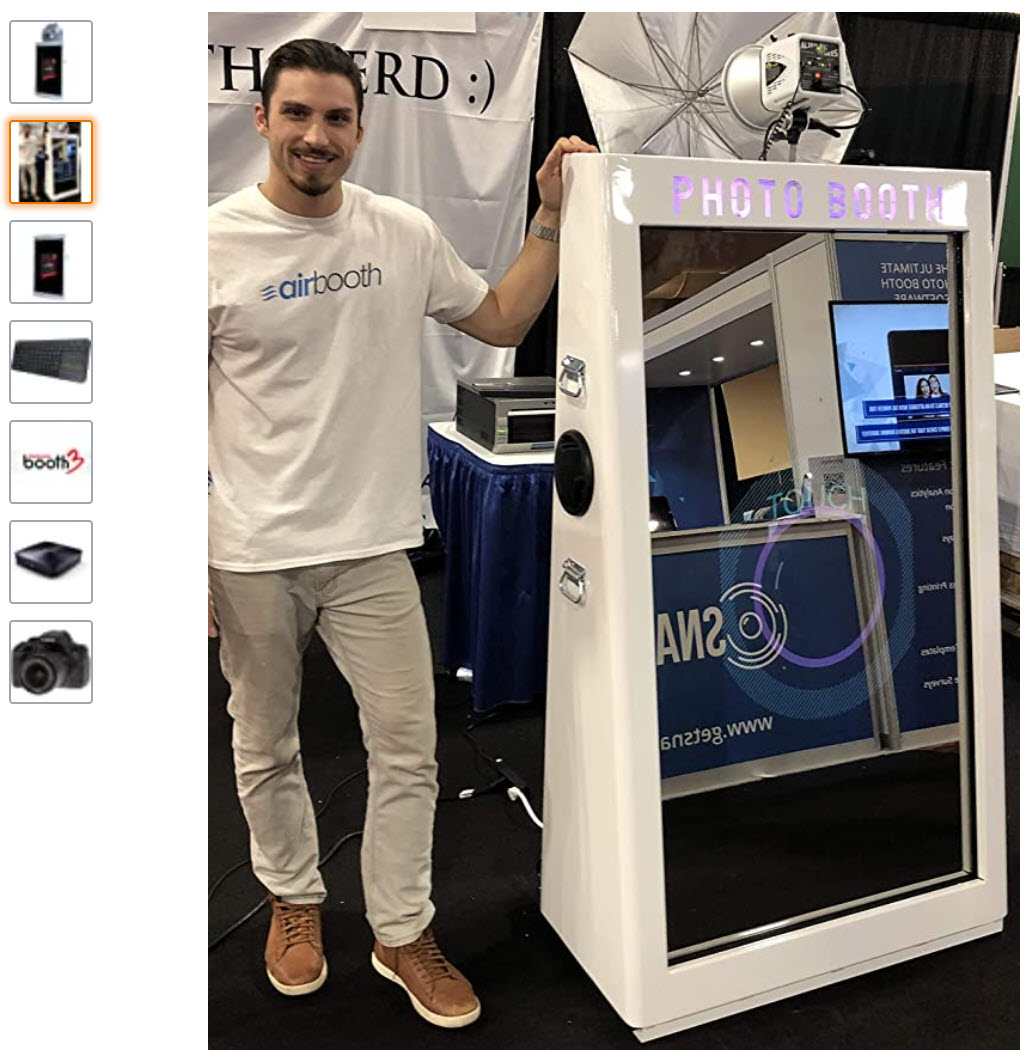
Mirror Photo Booth - Complete System
If you’re looking for a commercial grade photo booth for wall mounted operation for an exhibit, we can manufacture a photo booth for you. If you’re planning to do events and travel with it, you’ll need a photo booth with stand or flight case to support it at an angle. Very few mirror photo booths have been offered on Amazon, which provides excellent support and returns, just in case you discover it’s not what you expected. I was pleasantly surprised to find WISVANAI RIM550 Photo Booth, which offers an incredible value for $7,495. It includes Darkroom 3 software, built-in touch screen, an Intel Core i7 PC, and even a DSLR. If you’re too busy to make your own, this makes a great purchase that will get your mirror photo booth business started.
Watch us build a mirror photo booth from start to finish.
Table of Contents
Mirror Photo Booth Advantages
- Bring genuine fun and excitement
- Create your own business
- Up your social media game
- Take better selfies
- Go viral on all platforms
- Customize photos to match event
- Rent it out for extra income
- Party props bring out the silly
- Make it personal
- Use it also as a smart mirror
Touch Technologies
There are two main types of touch technologies: an IR Touch Overlay and Touch Foil. With tempered 1/4″ glass, an IR Touch frame works best. Touch foil, also known as projective capacitive film, goes under the glass and has thin connectors, which is awesome for a stationary mirror, but too fragile for photo booths that will be transported often. It’s also best on 5mm thickness or less.
I’ve been ordering from Greentouch on Amazon for years and they work great for photo booths. For your convenience, here are the Amazon Affiliate links straight to the products on Amazon.
The Perfect Mirror
A photo booth needs a combination of high reflectivity to appear just like a regular mirror, and high transparency so you can see the display clearly through the glass. A standard two way mirror in glass or acrylic blocks too much light, as a result your display would be far too dark.
Television Details
TVs are preferred for mirror photo booth projects because of the low cost, high brightness, large size, multiple input options, and remote control which can easily turn it on and off. Most of my clients use 43″ to 55″ displays with IR touch frames ranging from 55-75″ to allow full head-to-toe reflection. The smaller the glass, the more angle you’ll need on it to reflect an entire person from head-to-toe.
Monitor Details
Monitors are great if you have one lying around and you just need something to get you started. The disadvantage of using a monitor is that the screen brightness can be pretty low which can affect the overall look of the software in the end. It can work fine with both touch technologies.
Tablet Details
While it is portable, you will need a Bluetooth clicker or voice control to use the tablet through the mirror. The whole point of a photo booth is the social interaction and your friends/clients/photoboothers need to be able to share their picture through the software. If that function is missing, it will not work out well as a business model or renting this out for events.
Phone Details
Everyone has a smart phone these days and they are now jam packed with free and paid photo booth apps. Below there is a detailed guide on the pros and cons of the top software. However, since it won’t work through the mirror without voice control or a remote, I recommend not using this for a magic mirror photo booth project.
iPad Photo Booth
If you are just starting out with a tablet or phone, I recommend getting a ring light and tablet clamp to get your DIY Photo Booth up and running! Although technically not a mirror, it does have a large display showing exactly what a mirror would. From my experience, it’s a great option on a tight budget, or as a backup booth for professional photo booth companies. They are huge hits at parties as well.
Guide to Building iPad Booth
If you need help with building your own iPad photo booth, we have this guide to help make it portable, super easy to set up, and battery powered with a tablet. We show how to put the light stand together as well as let you know the best software to use!
Computer & Software
The finishing touch to any mirror photo booth is making it fun and interactive. This means you need some fun software and a fast computer.
When you find the software you love, check out the specifications required to run it – it is the worst when you get great software and then it LAGS… that is the fastest way for people to leave your photo booth a negative review.
Here are the top Magic Mirror Photo Booth software available. This list is based off what clients are telling me they use when they purchase the mirror component of their build.
Selecting a computer that works with your software is critical. I recommend picking out the software you love first and then get a computer that works with it.
Tips for Selecting a Computer
- Go with an i7 Core Processor or better
- 8GB RAM or more
- Get a computer with a SSD drive for faster picture saving
- Stay way from Mini PCs because they tend to overheat in Photo Booth cases
Camera
For full fledged mirror photo booths, you will want a DSLR camera to put above or behind the mirror.
Top Cameras Used by Mirror Booth Masters
There are many good DSLRs on the market, I personally love Canon and in speaking with clients, this is what they are using.
The main factor you want to consider when purchasing a DSLR is how long the battery life is, as well as the camera lenses available. You may also consider the high ISO capabilities if you are not adding a ton of lighting yet in your setup. For the best picture result you will want lighting around your booth.
- Canon EOS 800D
- Canon EOS 1200D
Top DSLR Camera Lenses
You will want to set up your photo booth and consider how far away your people will be when they take the picture. If you want to be able to get a lot of people in one picture, you will want a wide angle lens. If you think that it will vary based on each photo booth situation you are in for an event, a zoom lens will save you money in the long run with its versatile nature.
Here are my top recommendations for lenses.
Zoom Lenses
- 17–55mm f2.8 – For large groups that are close up (You can still get the whole group in the picture)
- 24–70mm f/2.8 – For groups that are farther away from the mirror
Other Lenses
You can still get high quality pictures with your photo booth with prime lenses. Just note that the zoom is fixed – which is fine! Once you have your back drop up and your mirror booth turned on, people know where to stand to get it right.
Printers
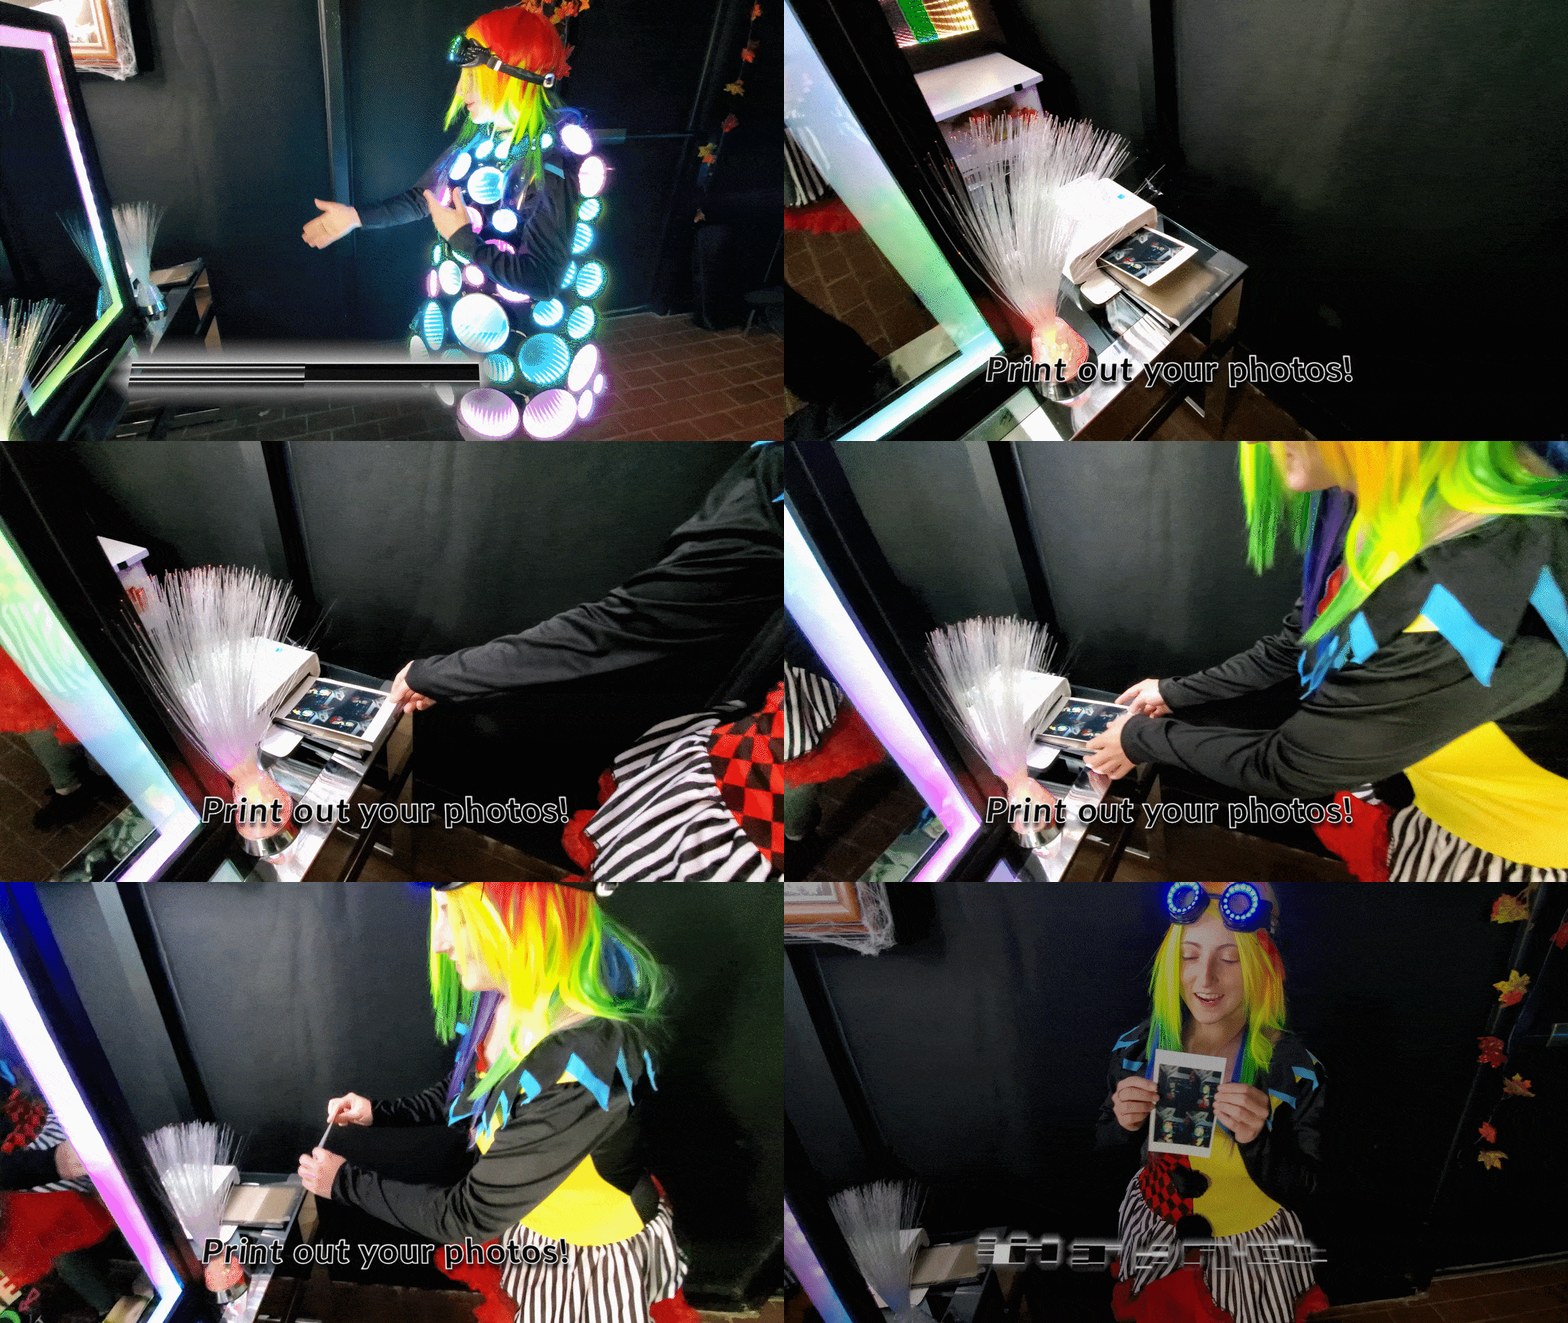
After your photo booth build is complete, you may need a printer if you do not have social share in your software, or you just want to go that extra mile for those who are not so into technology and want a physical copy.
Below are the top portable printers on the market (available on Amazon Prime) for mirror photo booths.
Top Printers for Mirror Photo Booth Businesses
- Canon PIXMA PRO-200 Wireless Professional Color Photo Printer – $599.99
- Epson PictureMate PM-400 Wireless Compact Color Photo Printer – $269.99
Top Printers for Personal Use (Windows 10)
- Canon SELPHY CP1300 – $109.95
Top Printers for Personal Use (Smartphone or Tablet)
Stand & Carry Case
A major part of the build for a mirror booth set up is the case–there are tons of variations on this! Some people use the case as their stand. Some have a separate case. As I do research on the most popular builds, I will include more information on that here.
Most people are building their own version of a “Flight Case” that fits their TV/Laptop/Etc inside and can mount the mirror and frame to it so it doubles as a stand.
Flight Case Resources
Real Photo Booth Build Combinations
- Laptop core i7 and 8 Gb RAM
- Camera: CANON EOS 1200 D (T5)
- Printer: I work with DNP RX1
- Laptop: Surface Pro 4
- Camera: CANON EOS 1400 D
- Printer: I work with DNP RS RX1
- Intel Compute Stick CS325
- Darkroom Software
Step-by-Step Tutorial
I’m going to take you through step-by-step on how to build a functioning mirror photo booth that we built as a demonstration.
Parts List
- Microsoft Surface X
- DSLR Camera
- Camera Tripod
- Printer
- Table Clamps
- Frame
- IR Touch
- Wood Glue
- Metal Brackets
- Glass Smart Mirror
- Glass Cleaner
- Black Velcro
- Vinyl/Black Felt/Black Paint
- Darkroom Booth 3

Optional Additions:
- Battery Pack
- Sand Blaster
- LED Lights
- Portable printer/ 3-D Printer
- Stand to hold up your photo booth
Follow along with our time-lapses of the full build!
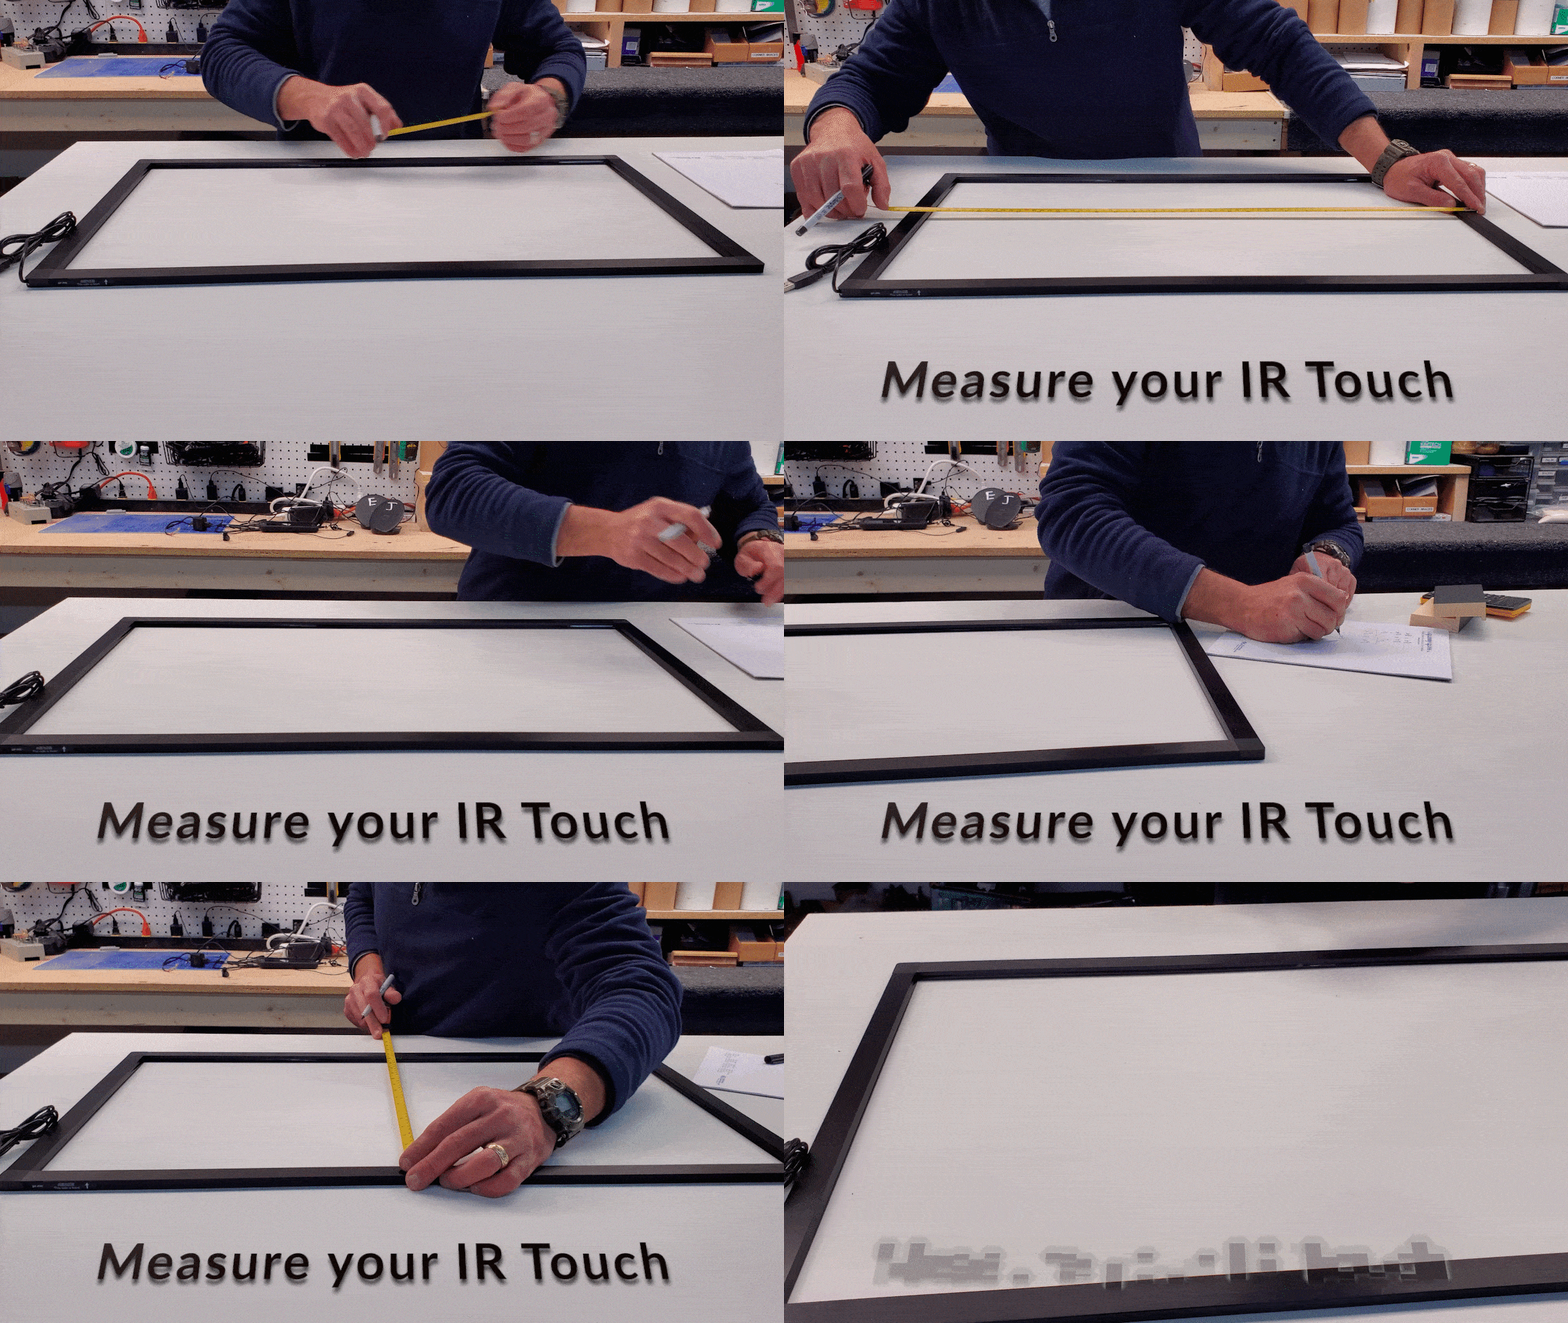
Step 1: Measure the IR Touch
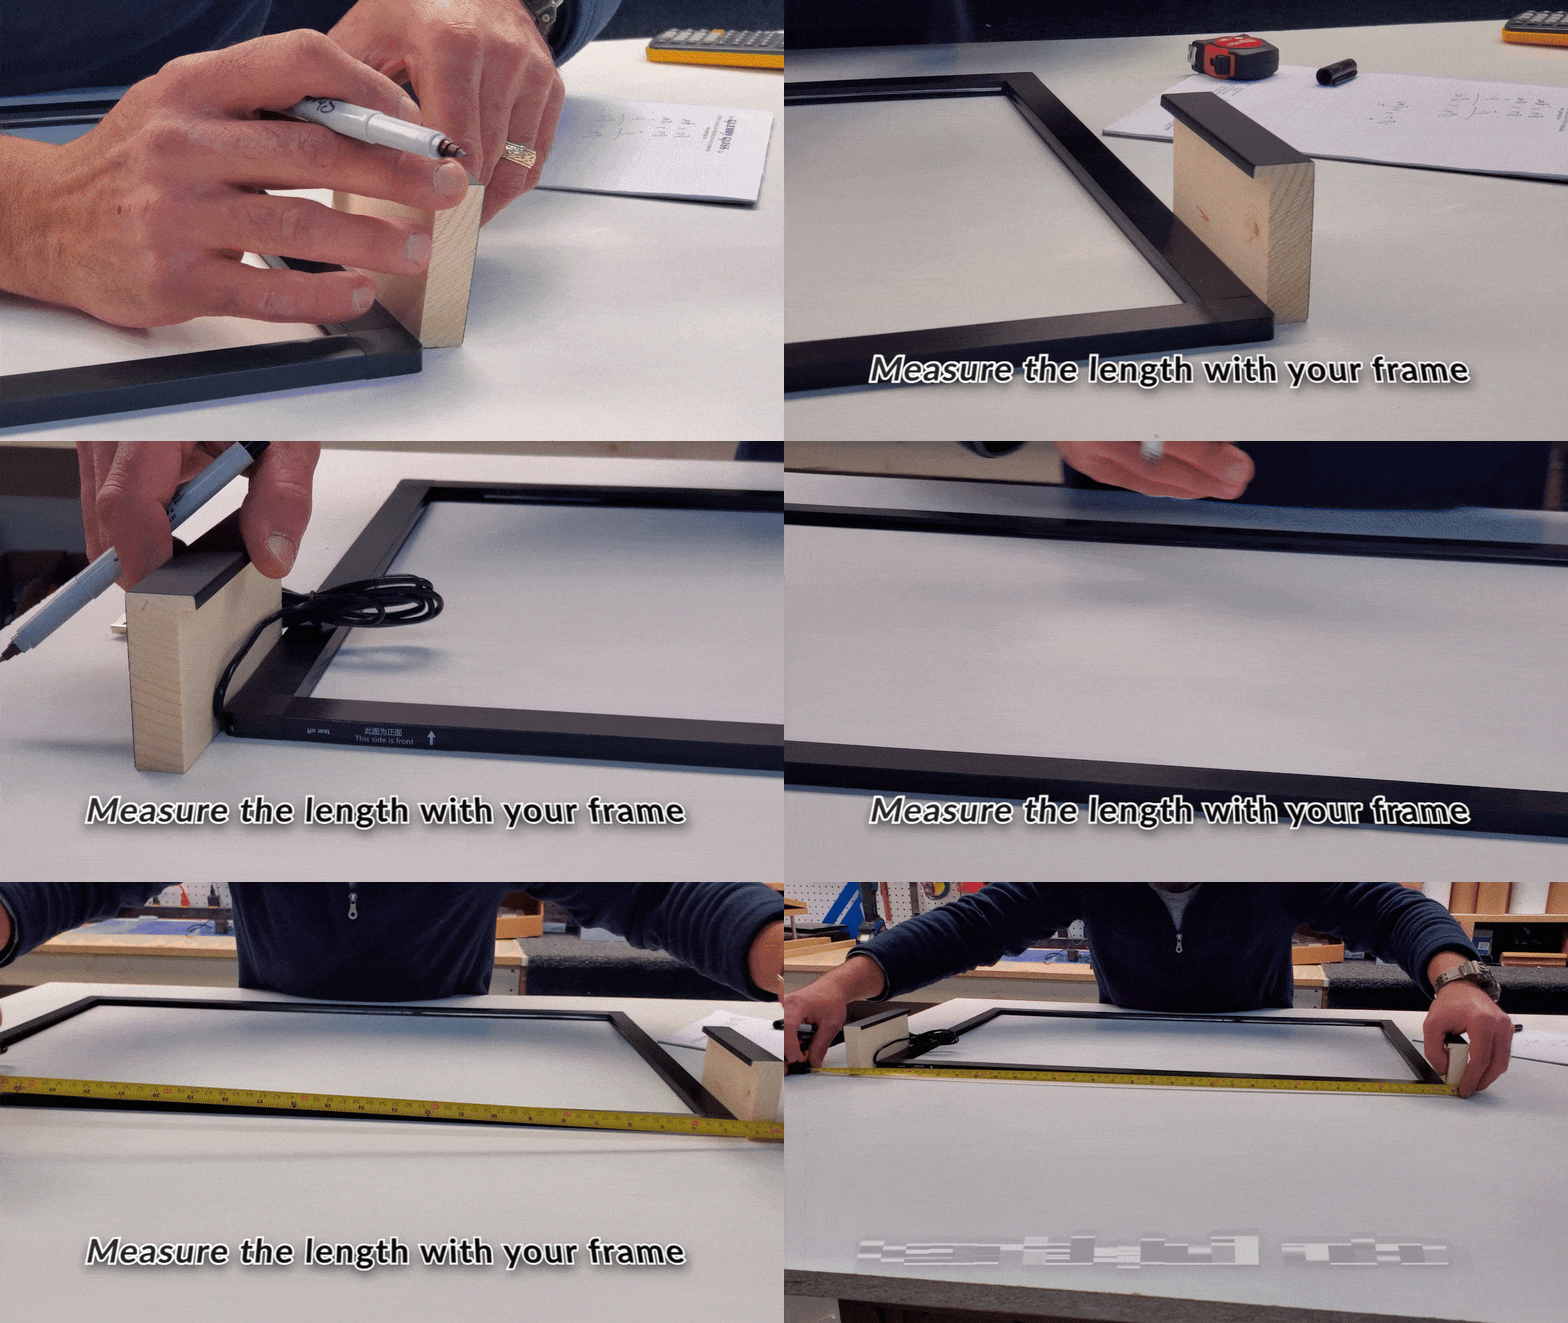
Once you have your IR Touch, measure it and build your frame with those measurements. Your IR Touch is going to fit right into your frame. After you have measured your IR Touch, take a piece of your frame and place it beside your IR Touch. Take that measurement–this will be the length you will need to cut for your frame. Cut your frame to size, using table clamps to keep the shape while the glue dries.

Step 2: Get your glass ready
Now, you will need the glass. Order/cut your glass to the size of your IR Touch. Layer this into your IR Touch to ensure the best fit. Add corner brackets to the corner of your frame. To stop your IR Touch cords from getting damaged, cut a small corner in your glass where the cords would go.

Step 3: Sand Blast
Sand blast your mirror if desired. This is what gets the frosted effect around the edge of your glass. To do this, simply use masking tape where you do not want to sand blast. Here is a recent video that teaches you how to sand blast step by step!
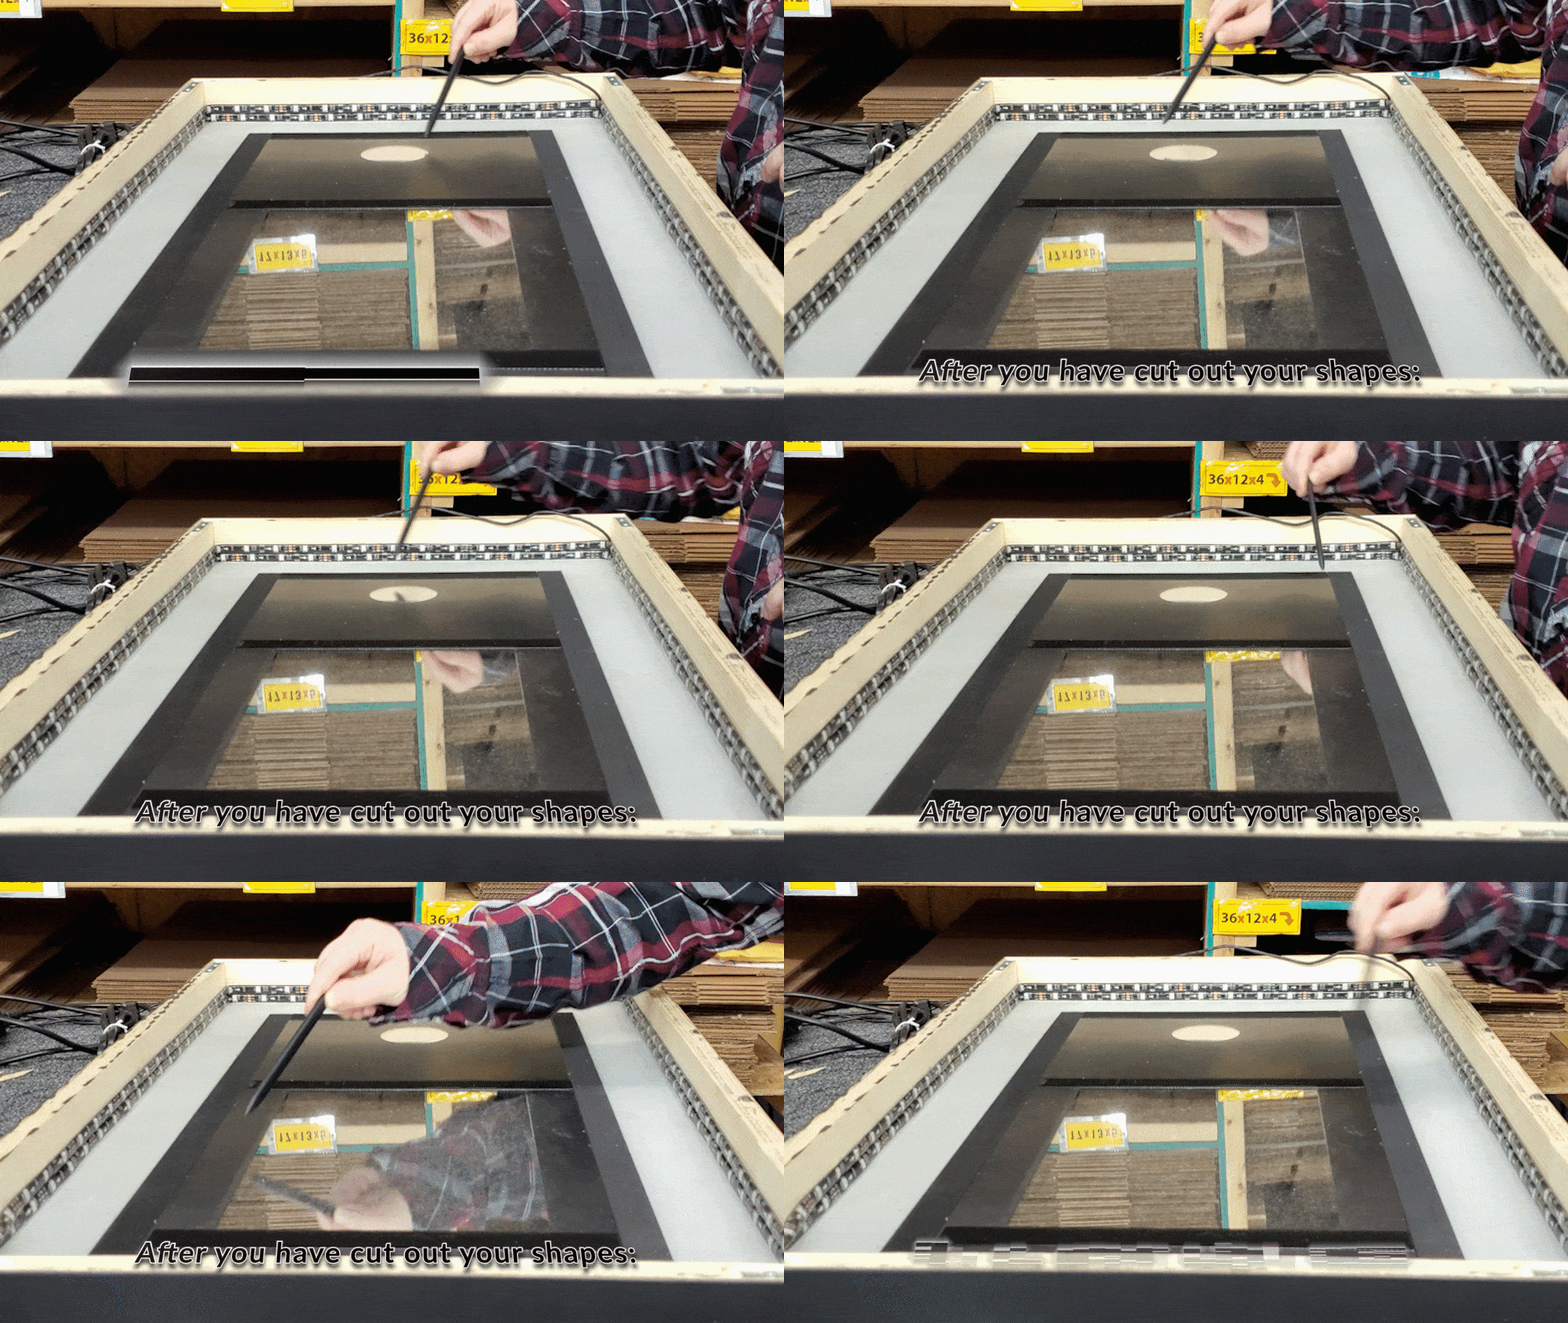
Step 4: Black out the back of the mirror
After you have sand blasted your mirror, black out the back of your mirror. Since you can see through the mirror, this improves the reflection quality. We recommend that you use black vinyl rather than black felt. Vinyl has a clear adhesive, as the felt does not. The black felt is patchy when it comes to the quality. To do this, take the material and place it over the entire mirror, take the measurement of your device and your camera lens and cut that out of the material. This is where your camera and device will be placed. You can also use black spray paint (Rust-Oleum Painters Touch, 2X Ultra Coover Paint + Primer), you may have to do a few layers to get the same effect as the material. When doing this step, be sure that the glass is out of the frame!

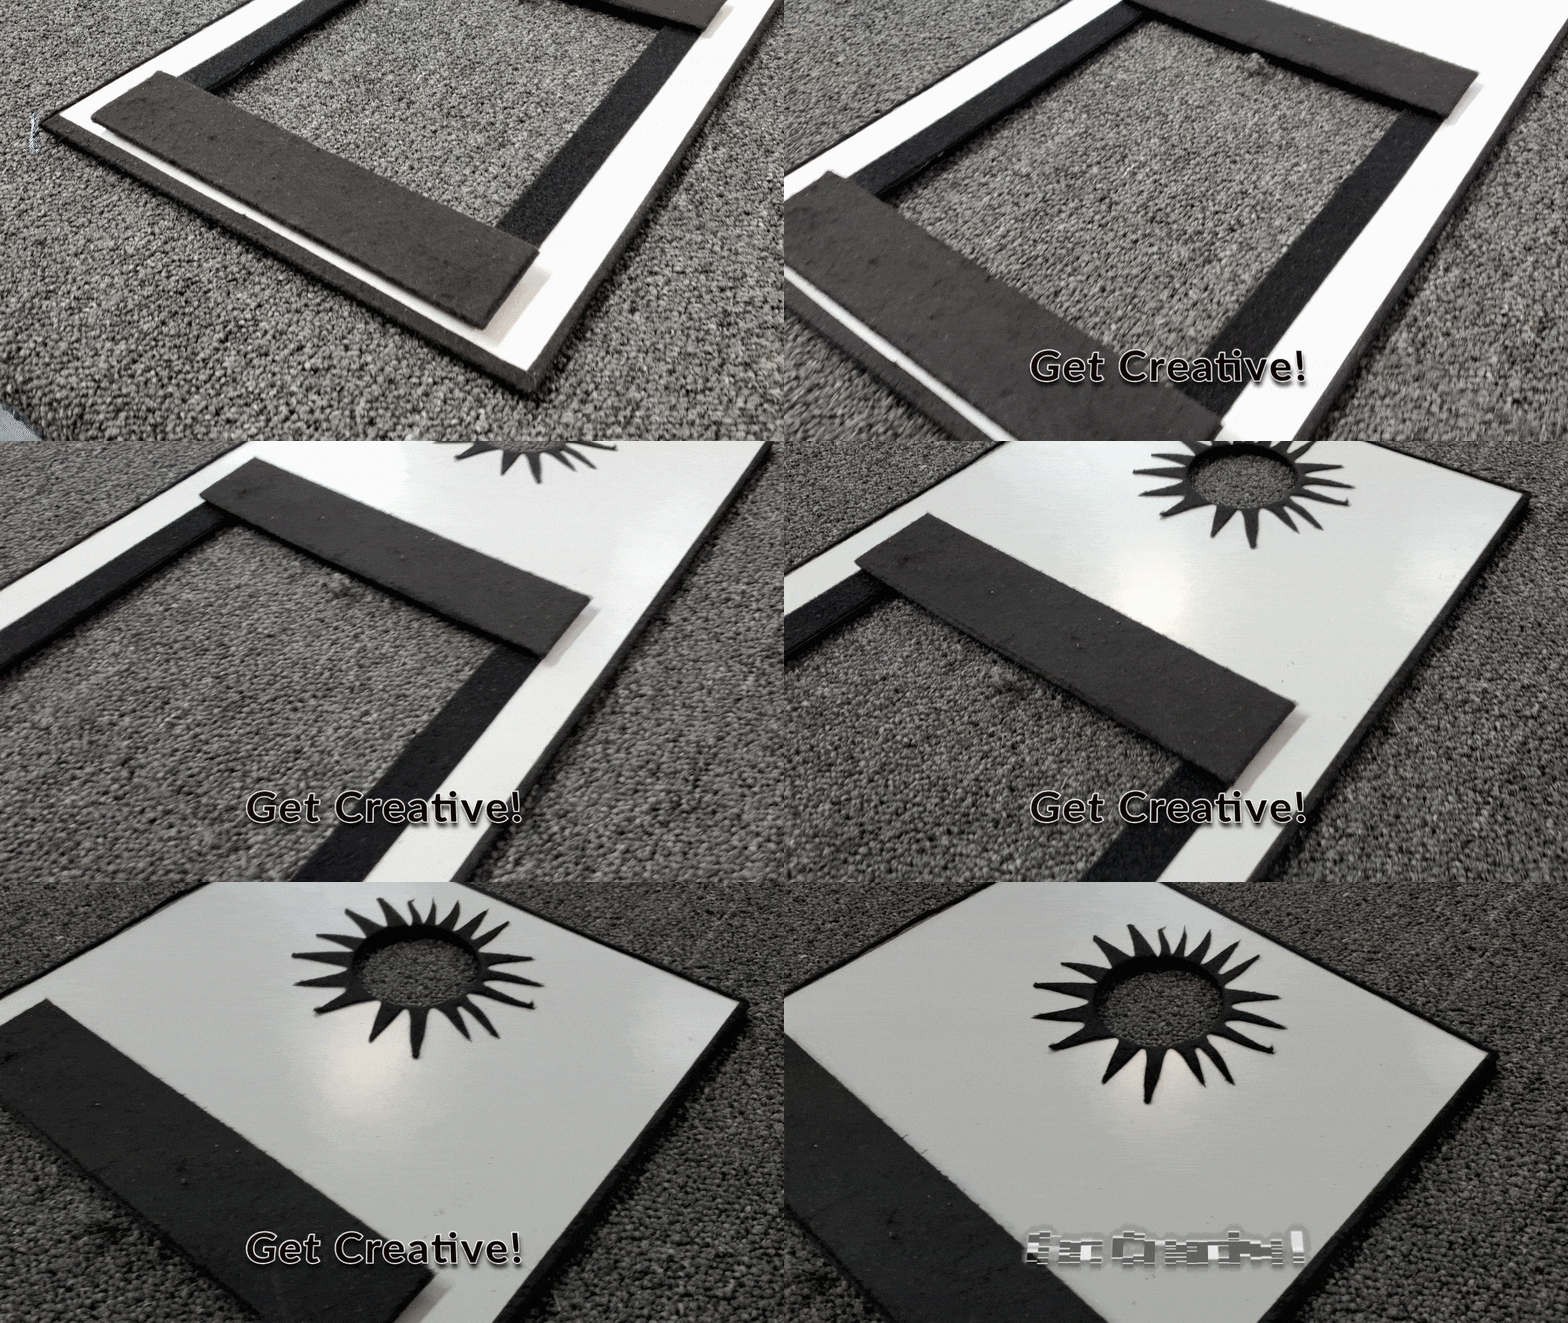
Step 5: Creating a way to attach the tablet to the mirror
For this step, you’re going to have to get creative. You will need to attach your device to the mirror so it stays on while the photo booth is in use. The way we did this, was by creating a small board out of cardboard and Velcro. You can simply just use Velcro, and attach that to your device as well as the back of the mirror. You can take it off, and put it back on as you please.

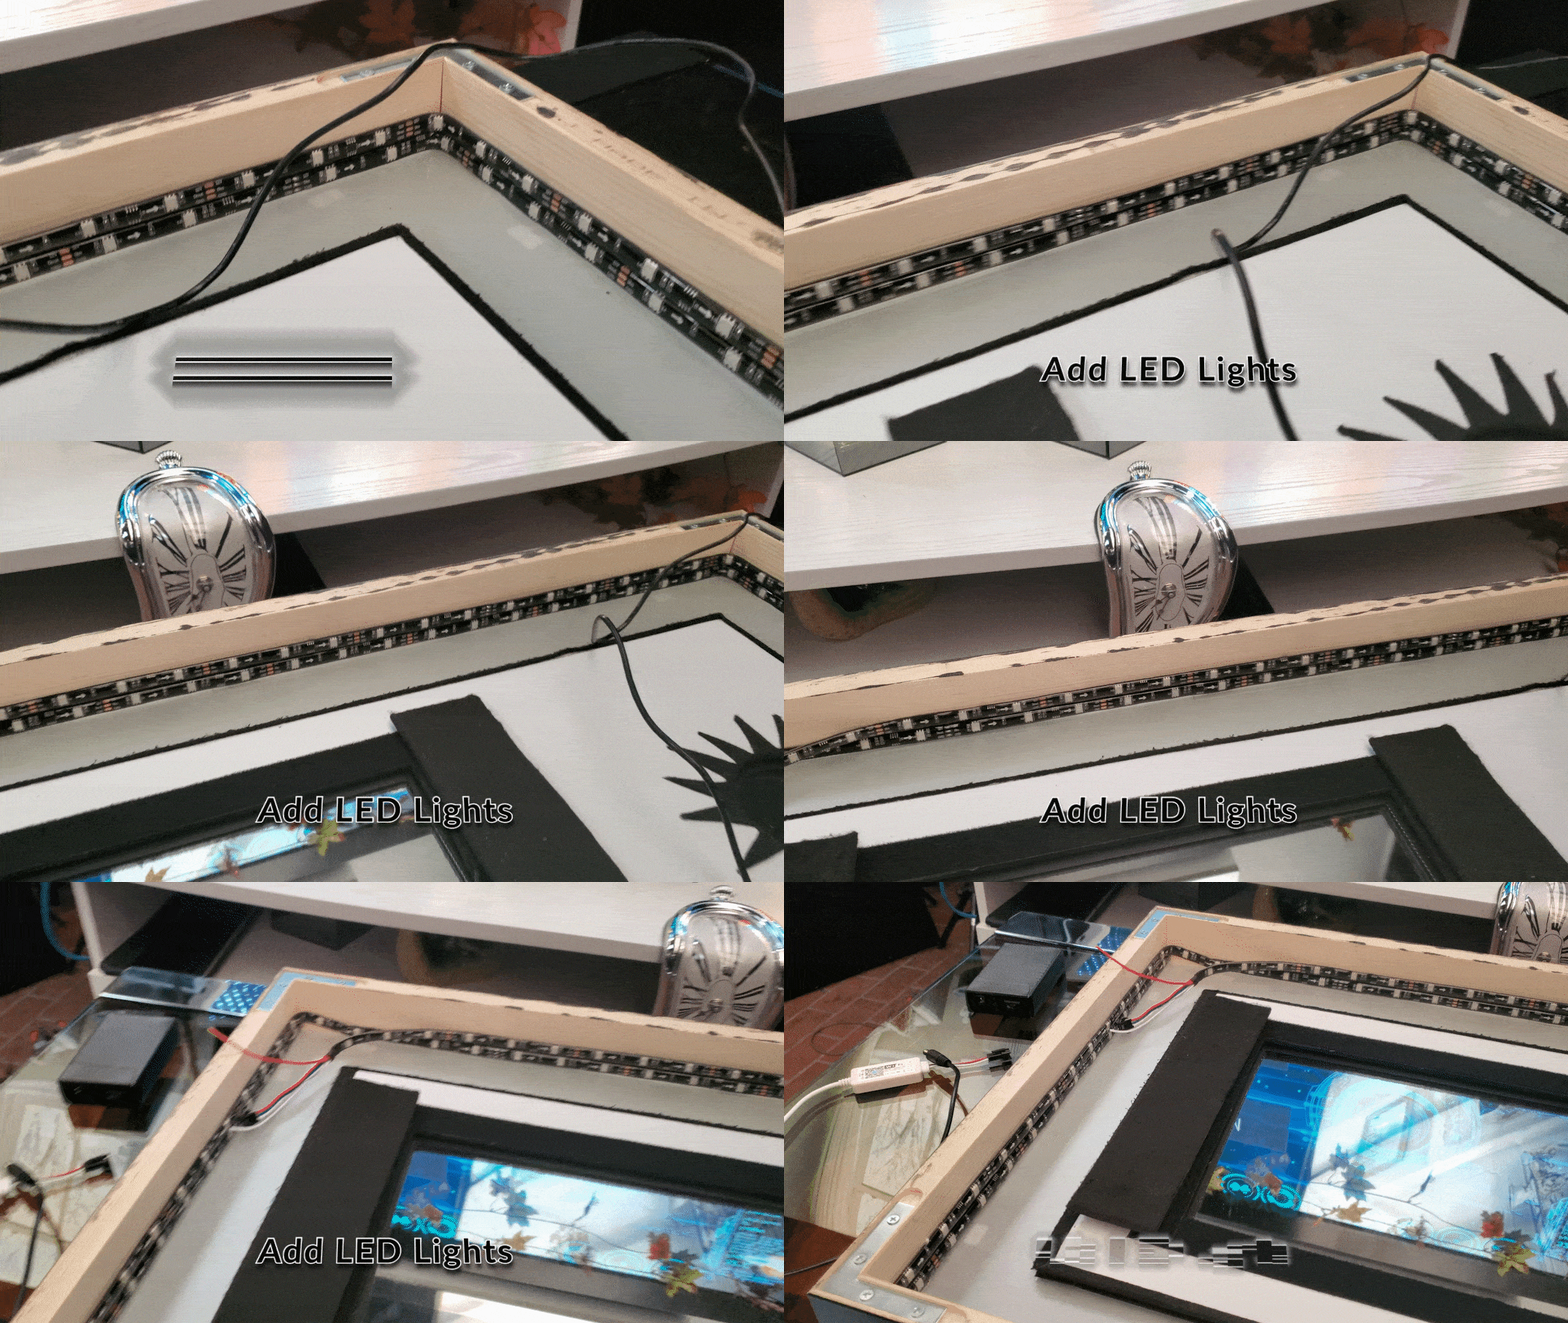
Step 6: Add LED Lights
This step is optional, depending if you want your photo booth to have the LED lights. Simply place your strip of LED lights around the edge of the frame. This will just add character and jazz to your project! An LED light strip has adhesive on the backside, we recommend that you go with the clear adhesive for a seamless application. They typically come with a black adhesive, which will appear on your project. If you plan on using a portable printer, attach this to your project! Or you can simply save them and send them.


Step 7: Download the Software
The final step to achieving your Magic Mirror Photo Booth is simple, just download the software app! The app that we are using is the Darkroom Booth 3! Its a great app, it walks your through all of the steps, making your project a little bit easier! All though the app is not free, it may with your best interest if you are using this for a special event. Everything in the settings is customizable. You can create your own event, and play around with the settings to get the perfect match for your event.
Customize the settings for animated booth:
To get the animated mirror booth that we have on our Darkroom Booth 3, download the app and start or continue your trial. Once you have done that, on the left side, click on Sample Mirror Booth Event- V. Once you get there, at the top, go to the Output then the Device Controls. You will need to change the Attract Mode. This just sets the loop; and while the booth is not in use, gives you information. You can change this to a video that you would prefer for your clients to see while they are in front of it or even looking at it. To do this, delete the default video and replace it with your own by clicking Add Video. Be sure that the boxes Loop Video, Maintain Aspect Ratio, and Playback Using Full Screen are all checked, then hit Okay!
Now, change the ‘Before Photo’. This setting is the before photo that you will see before you start. You do not need to click the boxes like you did with the Attract Mode. You will also need to change the Countdown Settings as well. For this, use the same video for all of your countdowns. During this set up, check your outcome by clicking Start Booth to see your progress.
Here is a video that goes through all the settings for the animated booth:
Put it to use!
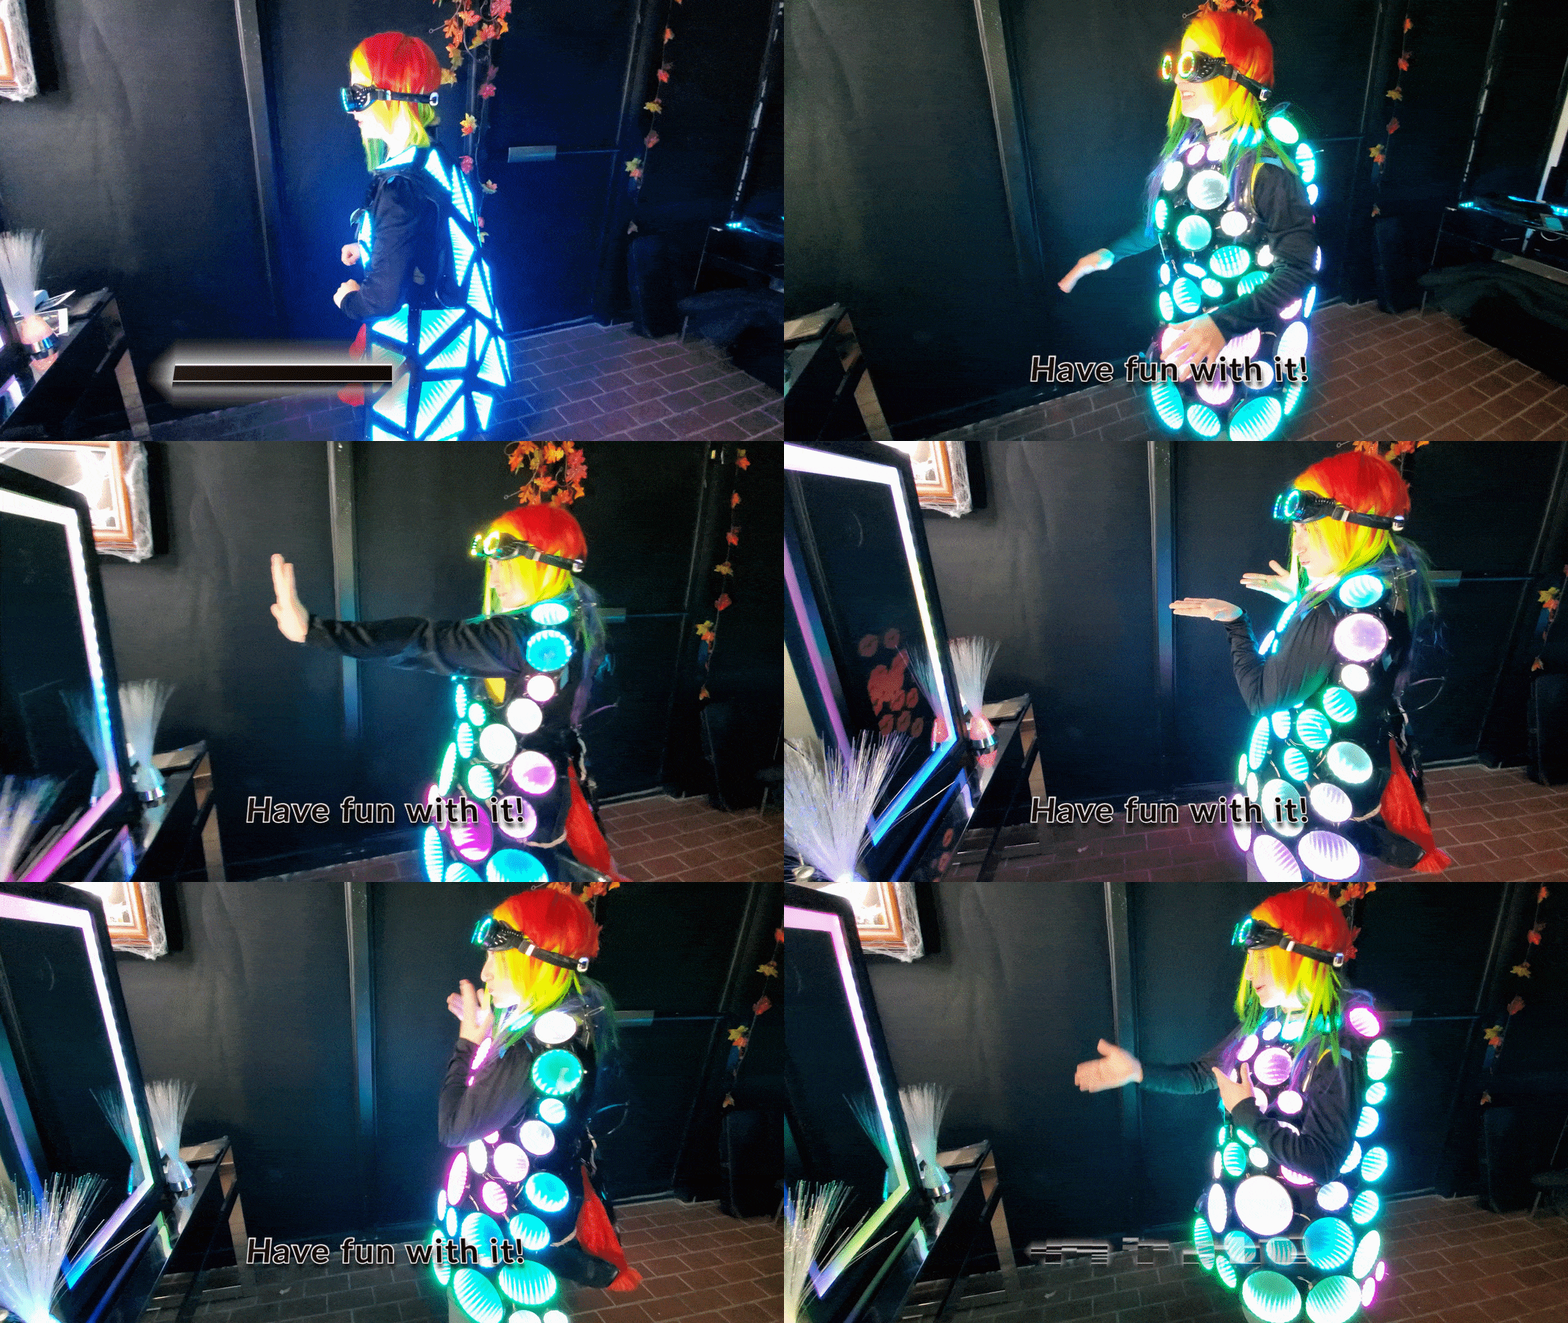
You have made it to the very end of your DIY magic mirror photo booth–now it is time to put it to use! If you have any questions about your project, we’d love to hear from you.

hi, where is the actual guide to how to do this?
Great question! We do have a PDF on how to do an IR Touch Overlay Smart Mirror which can be used for Photo booths as well. We are currently working on another popular photo booth format that will allow the camera to go behind the mirror.
Here is the link to the touch smart mirror instructions.
Do you have that format completed? with the camera behind the display?
It is definitely on our TO DO list but we have not created one yet. As soon as it is ready I will update this page. 🙂
They couldnt make it any bigger if they tried!! Look at the right hand side!
Here you go! https://www.youtube.com/watch?v=yzl7NfU7VZM
Hi!
Thank you for this usefull post!
But why is this smart mirror costs as if if it was made of gold?
I hear you! It is an investment – definitely worth the upgrade. I have seen many people start out with the Glass Two Way Mirror or Acrylic Two Way Mirror and then upgrade once they have made some sales doing events.
which app would be the best to have on an iPad as the social media point to send pics to FB, Insta, emails and phones – while also collecting the date?
Great question! I am really jazzed about the Simple Booth apps because you can do the social share, phone, email and have the option to do a paid plan to collect everyone’s phone/email that uses the booth.
Thoughts on how to create a 3D video recorder booth . Content to be used in VR
If the camera is in a black box/shroud, which one (glass smart mirror or dielectric mirror) is able to completely hide the camera?
They will both hide the camera completely if shrouded from the back.
May I ask what is the best pricing you think it would cost to build my own mirror boot? Just the mirror itself. I already have the camera, computer, printer, and software.
It depends on the size! What size display do you have and do you have a frame built for it yet?
Hello, I don’t understand how u integrate the camera in the booth. Is it behind the mirror? Does this effect the quality of pictures?
And is it higher than the LCD and touch screen overlay?
Thanks
Generally people put the camera behind the mirror above the display. That is why most people use a DSLR camera to increase the ISO to compensate.
Hi, we are building a mini magic mirror 24×18. How is yours not falling over? Is there a something holding it up? If so what is it and where can I get one? I would hate for my canon to fall and break along with the display.
Thanks!!
Nice question! We simply had a separate tripod holding the camera behind it. The mirror itself is supported by a couple simple supports. I’d hate to see the camera tip with the glass if someone bumps it!
I wondered the same as Marina, I recently was at a wedding with a selfie mirror and saw some of the resultant photos later. The photos looked fine, but if I were to build my own I am sure the photo quality may not be as good as is behind a two-way mirror. How would you overcome this?
Great question! I recommend steering away from a standard two way mirror or mirror film and invest in the real deal: https://www.twowaymirrors.com/mirror-photo-booth/ It’s currently discounted due to the cornavirus impacting event businesses.
Very smart! I never would have thought about doing this on my own. Thanks for this article!
Thanks so much! Would love to see how your mirror photo booth turns out!
Do you have any package bundles that includes everything you need?
We’ll have them soon! At the moment, our specialty is the mirror by itself so we can help keep these affordable.
How much is it for everything? Don’t where to start.
Hi! Thank you for your interest in our company! We do custom orders, so the price depends on the size you need. The best way to start is decide on what device you want for your smart mirror display! Then, decide how large you would like the glass and frame to be. Once you have the measurements, you can place an order with us for the glass and frame!
[…] (48)Mirror Photo Booth – Complete Step-By-Step Instructions […]
What type of two way mirror works best on Capacitive touch foil? Ive tried mirror film and two way glass mirrors and it both did not work on touch foils