
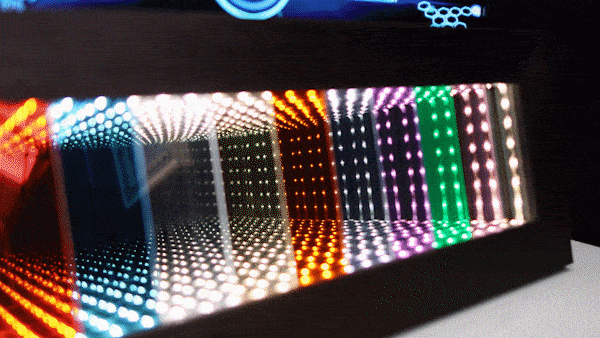
An infinity mirror is a mirror illusion that creates the illusion of infinite depth and space.
It consists of a series of mirrors and lights arranged in a way that creates a tunnel or a seemingly endless repetition of reflections.
The concept of an infinity mirror has been widely used in art installations, interior design, and even as decorative pieces.
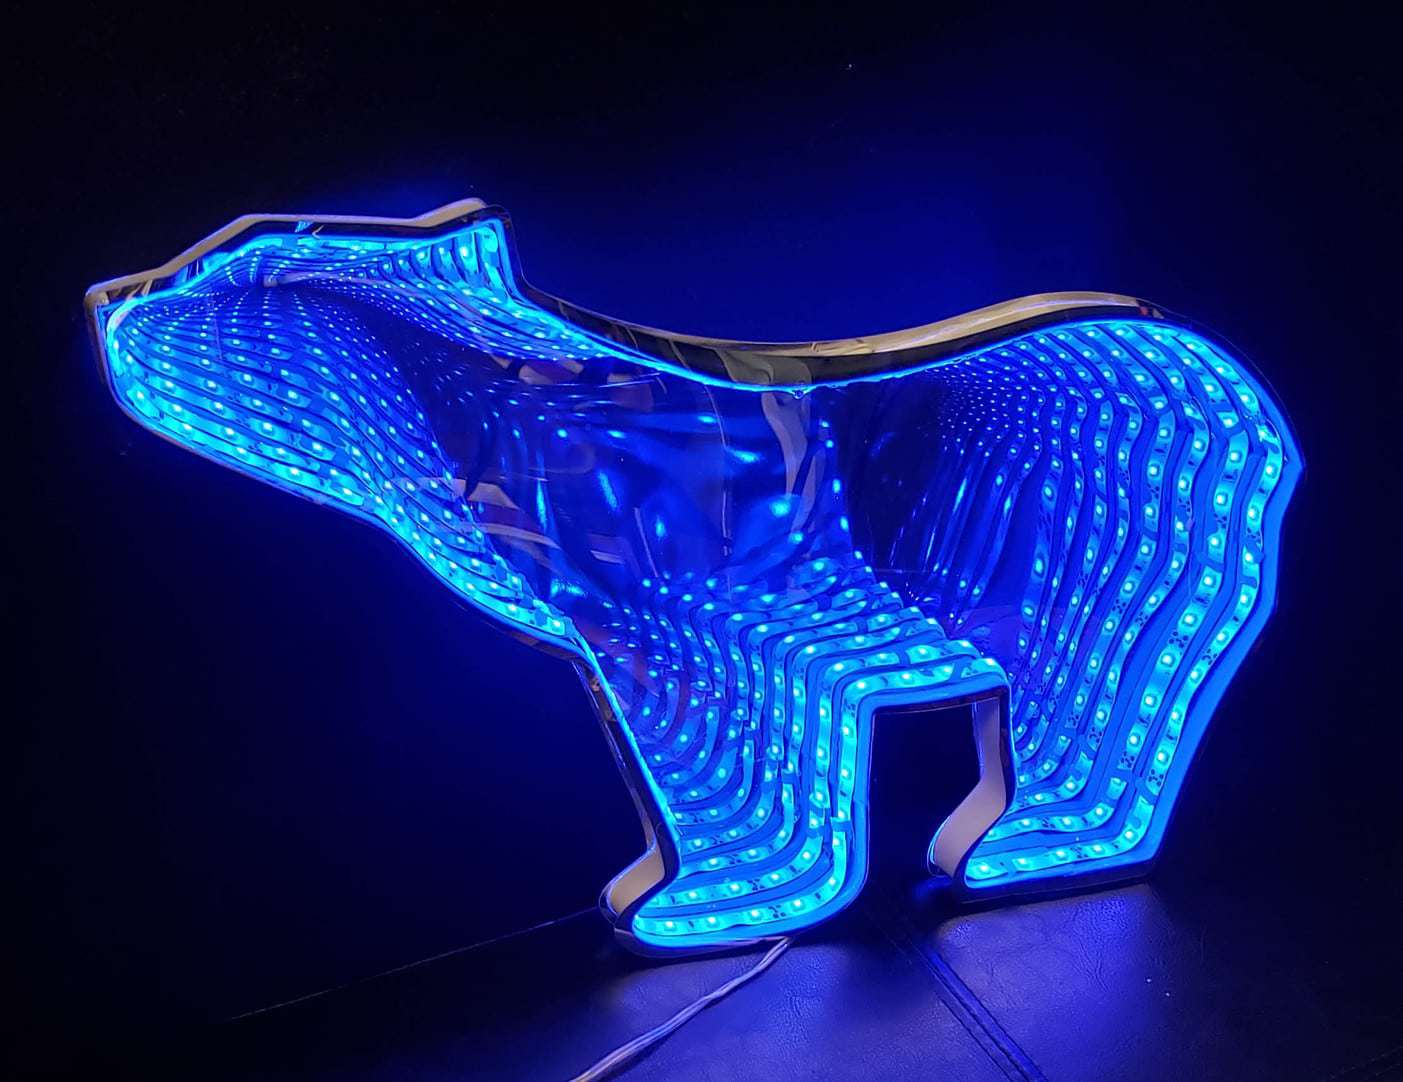
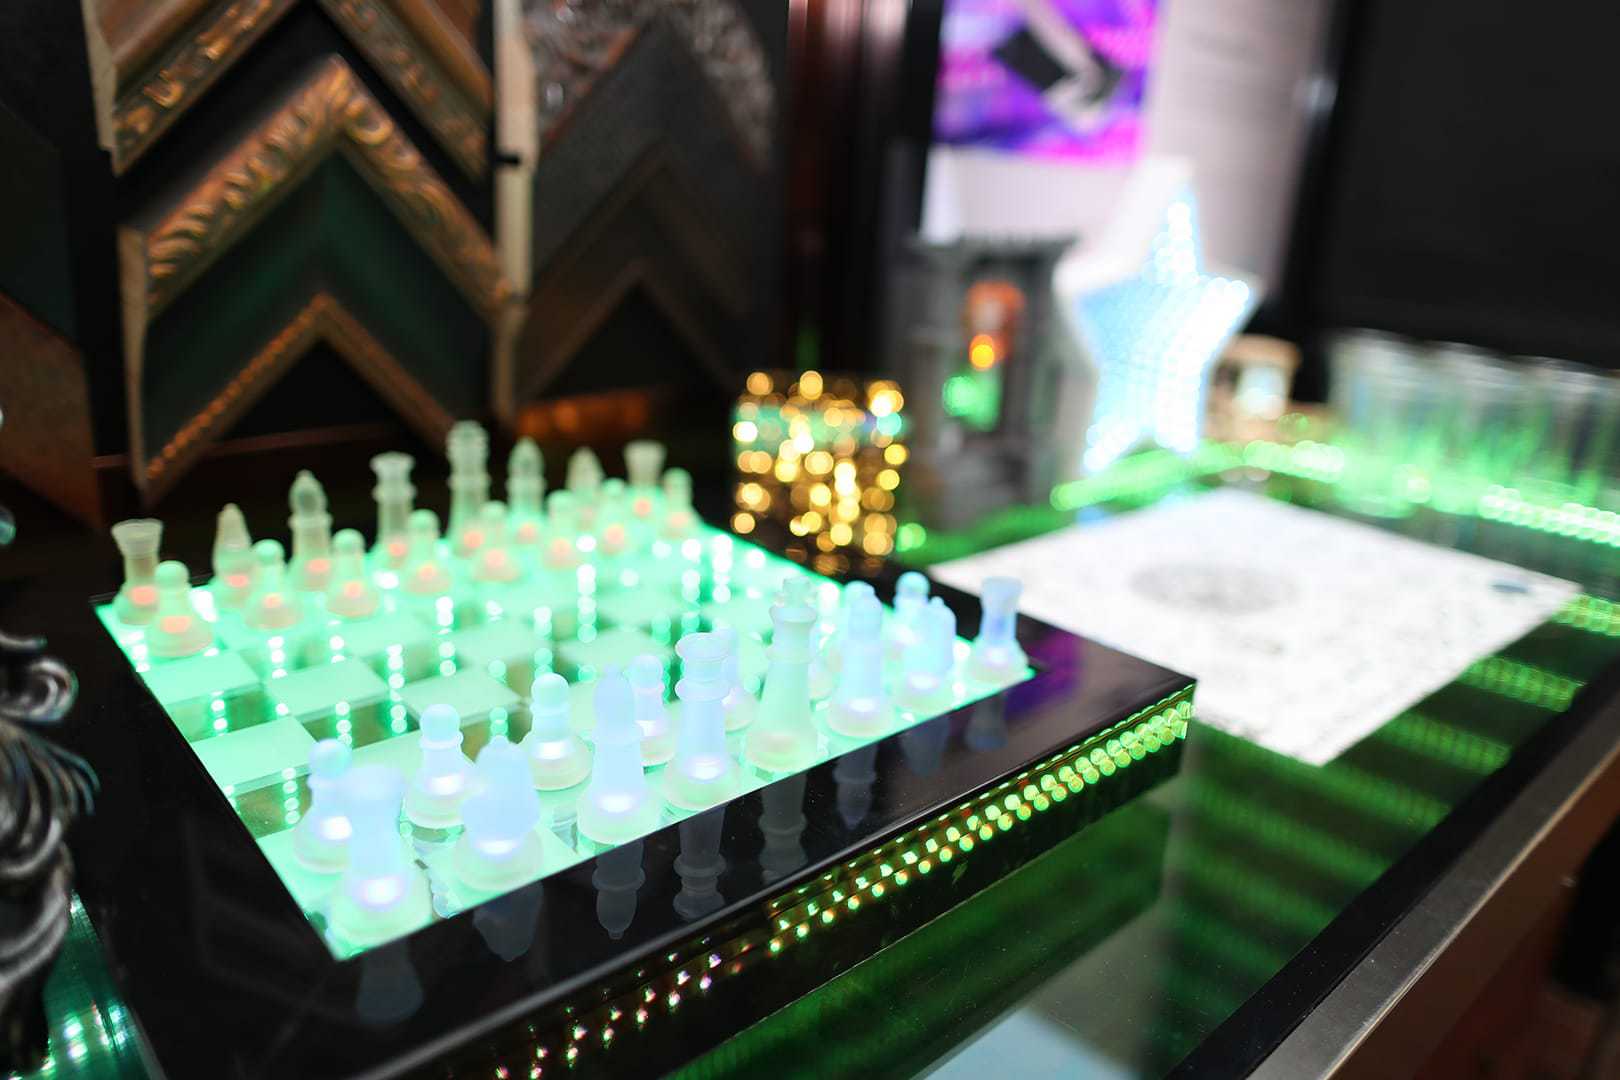
Infinity Mirrors are used for Art Installations, Home Decoration, Lobbies, Vacation Home Decor, Photography, Science, Education, and they make AMAZING DIY projects!
The mesmerizing effect of an infinity mirror is created by the reflection and repetition of light within the structure. When the LED lights placed inside the frame illuminate, the light bounces back and forth between the two-way mirror and the standard mirror. This continuous reflection creates the illusion of depth and gives the impression of an endless tunnel of lights.

Materials:
To create an infinity mirror, several key components are required:
- Glass Two Way Mirror: A two-way mirror is an essential element as it creates the illusion by reflecting light back and forth between the mirrors. It is made of glass with a special coating that allows it to be both reflective and transparent.
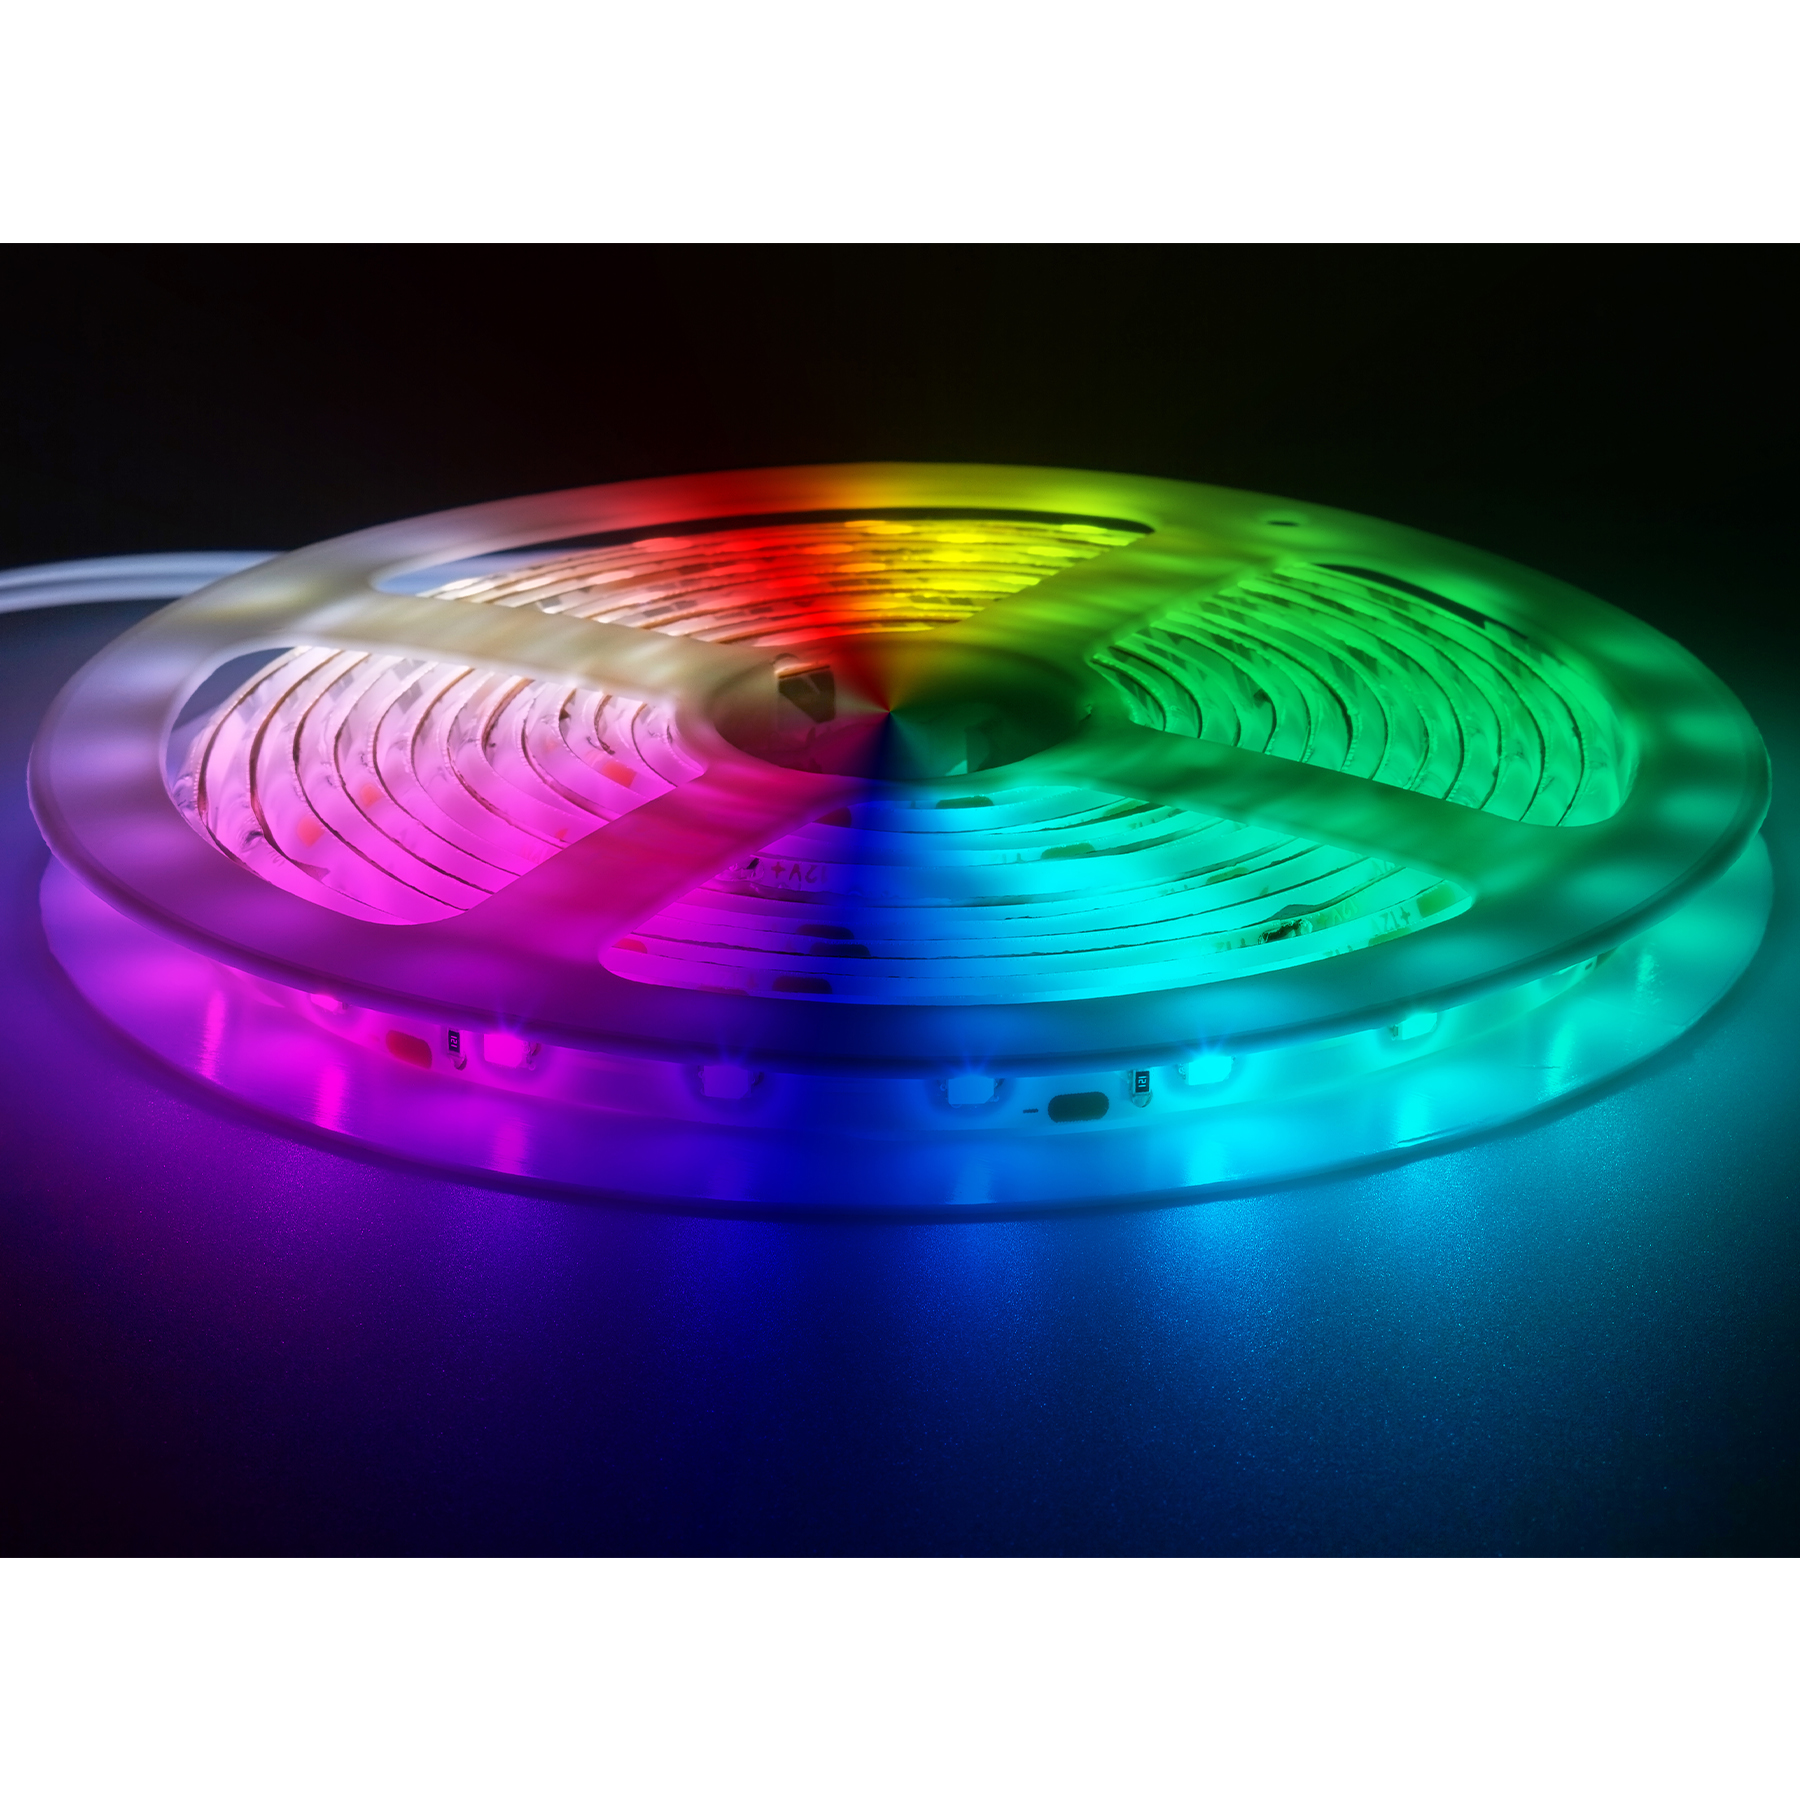
- LED Lights: LED lights play a crucial role in an infinity mirror, providing the necessary illumination for the illusion to come to life. These lights are typically placed behind the two-way mirror, creating a stunning visual effect.
- Standard Mirror: A standard mirror, placed behind the two-way mirror, helps to amplify the illusion by reflecting the lights and creating the appearance of infinite depth.

From left to right: Two Way Mirror; LED Lights; First Surface Mirror (First Surface Mirrors can be replaced with Standard Mirrors for lower quality, but a cheaper alternative)
- Frame: The frame holds all the components together and adds an aesthetic touch to the infinity mirror. The frame can be made of various materials, such as wood, metal, or plastic, depending on personal preference and the desired look.
Video Reference:
Putting an infinity mirror together might seem like a complex task, but it’s actually really easy! with a little patience and some basic tools, it can be a rewarding DIY project for any enthusiast.
Step One: Measure the size of Two Way Mirror glass. Our glass was 48” x 66”. We will be referencing to our project throughout this guide to demonstrate how we got each measurement.
Step Two: Measure the thickness of the frame, and then multiply it by two. Then, add that measurment to your overall glass size.
Our frame thickness was 2.25″. So 2.25″ x 2 = 4.5″.
48″ + 4.5″ = 42.5″
66″ + 4.5″ = 70.5″
Our overall frame size was 70.5” x 52.5”.

Step Three: Cut the frame to size to 70.5” x 52.5”
Step Four: Glue the frame together. We used a total of 8 clamps and used Titebond III glue. The frame should dry for 24 hours.
Step Five: Fill in the corners if needed. Use a wax filler that is the same color as the frame.
Step Six: Place in the Two Way Glass FIRST. We used hand held suction cups with handles since our glass was so large. This is recommended for heavy sheets of glass. Don’t forget to always wear safety protection when handling glass!
When placing in the Two Way Mirror (a.k.a. a One Way Mirror) make sure the REFLECTIVE side is facing the inside of the frame, and the transparent side is on the outside. You will be looking at the transparent side when it is finished, and the reflective side will be reflecting the LED lights.

Demonstrating the Reflective side facing the inside of the frame. facing upwards.
Video showing Two Way Mirror Glass being placed into the frame.
Step Seven: Clean the glass. You can use any ammonia free glass cleaner and microfiber cloths.
Step Eight: Add corner brackets to the frame to strengthen the corners.

Step nine: Since the glass is so large, we created a “border” to hold the two way mirror in place.
This step is slightly tricky. The purpose of this step is because since our frame is more thin and not very thick (2.25″ deep) it does not have enough room for the Two Way Mirror, the LED lights, and the First Surface Mirror.
If your frame is deeper and can hold all the materials, you will not need to do this step!
We took a framestick, and trimmed it down to ¾” wide and ½” tall. It was trimmed to these sizes because we felt ¾” was enough material to hold in the glass, and the rest of the height from the two way to the top of the frame was ½”.
We measured the area that they were going to be placed, along the inside of the frame, and cut them to size. We made sure to cut out an outlet for the wires of the lights to hang out of, and routed part of the frame by hand.
Video showing and explaining Step Nine.
Step Ten: We painted the border sides black to match the color of the frame.

Step Eleven: Once dried, we nailed the borders into the frame with a nail gun. Then, we hammered out and flattened the nails to make sure they weren’t sticking out.

Step Twelve: Do a mockup of lighting beforehand. We used tape to place the lights along the inside of the frame wall to make sure they would fit and look good.
The length of the lights were too short, so we soldered the lights to get the desired length.
Video demonstrating how we used masking tape to hold the lights in place for the mockup.

Soldering the LED strip.
Once the mock up meets approval, we added drops of superglue to finalize the light placement.
Step Thirteen: Cut the First Surface Glass. We cut the glass larger than the two way glass, since there was not enough room for the first surface to fit inside the frame with the two way glass and lighting.
The first surface was cut to the size 68” x 50”. It laid on top of the back of the frame, rather than fitting into it like the Two Way glass did.
Or, OF COURSE you can order your glass cut to size with us!
Glass Two Way Mirror: The glass in front of the LED Lights.
Acrylic Two Way Mirror: Cheaper option of the Glass Two Way Mirror, but will cause some distortion in larger sizes.
Glass First Surface Mirror: The mirror placed on the back for the ultimate reflection!
Video demonstrating First Surface Mirror.

First Surface Mirror.
Two Way Mirror and First Surface Mirror:
Two Way Mirror
Two Way Mirrors are both Reflective and Transparent. This allows the lights to bounce back and forth between the Two Way Mirror and First Surface Mirror, but also allows you to see through it. Thus, creating a tunnel of lights.

First Surface Mirror
First Surface Mirrors have an optical coating that removes the standard reflection you would typically see on a standard mirror. Using a First Surface Mirror instead of a standard mirror will give you the best, and most crisp, infinity reflection.

Step Fourteen: Place the glass first surface onto the frame.
Step Fifteen: Measured the frame from corner bracket to corner bracket to create the length needed for the Z-Bars that will hold the FSM in place.
Measuring for the Z-Bars.
Step Sixteen: Cut the Z-Bars to the measurements.
Step Seventeen: Drill holes into the Z-BARS if they do not have any.
Step Eighteen: We spray painted the Z-Bars black to match the frame.
Step Nineteen: Place the Z-bars onto the frame.
Step Twenty: Add rubber spacers to be sandwiched between the First Surface Mirror and the z-bars. This secured the glass down more.
Step Twenty-One: Screw the Z-Bars into the frame. We used 1/2″ panhead screws.
Final Product

Applications of Infinity Mirrors
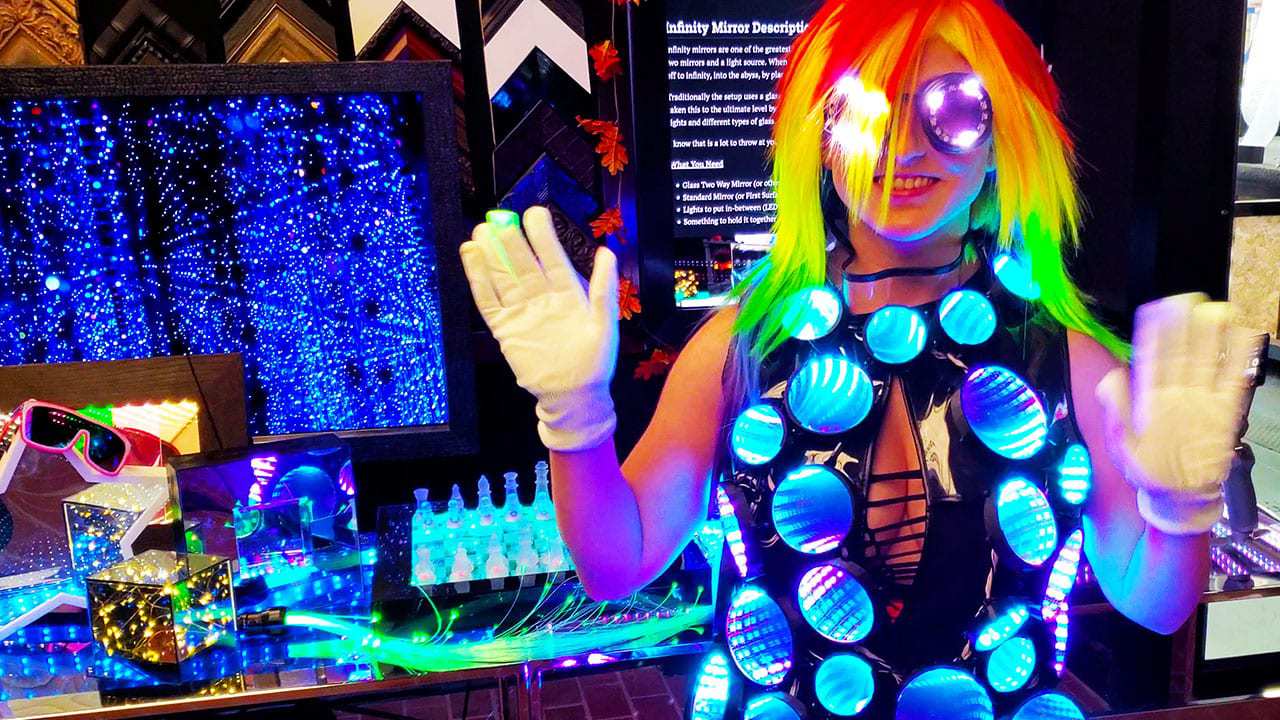
Photography and Self-expression: Infinity mirrors offer photographers a creative way to capture unique and mind-bending images. The infinite reflections and play of light can result in stunning and abstract photographs. Additionally, individuals can use infinity mirrors as self-expression, decorating their living spaces with a personalized touch.

Interior Design: Infinity mirrors can be incorporated into interior design to add a unique and mesmerizing element to a space. They can be used as decorative pieces in homes, restaurants, hotels, or even as focal points in galleries and museums.

Art Installations: Many artists and designers have used infinity mirrors in their installations to create captivating visual experiences. The illusion of endless space and lights can evoke a sense of wonder and intrigue.
A popular Infinity Mirror artist is Yayoi Kusama! Check out some of her work here!
Our team was able to visit one of her installations Fireflies on the Water. You can read about our experiences here!

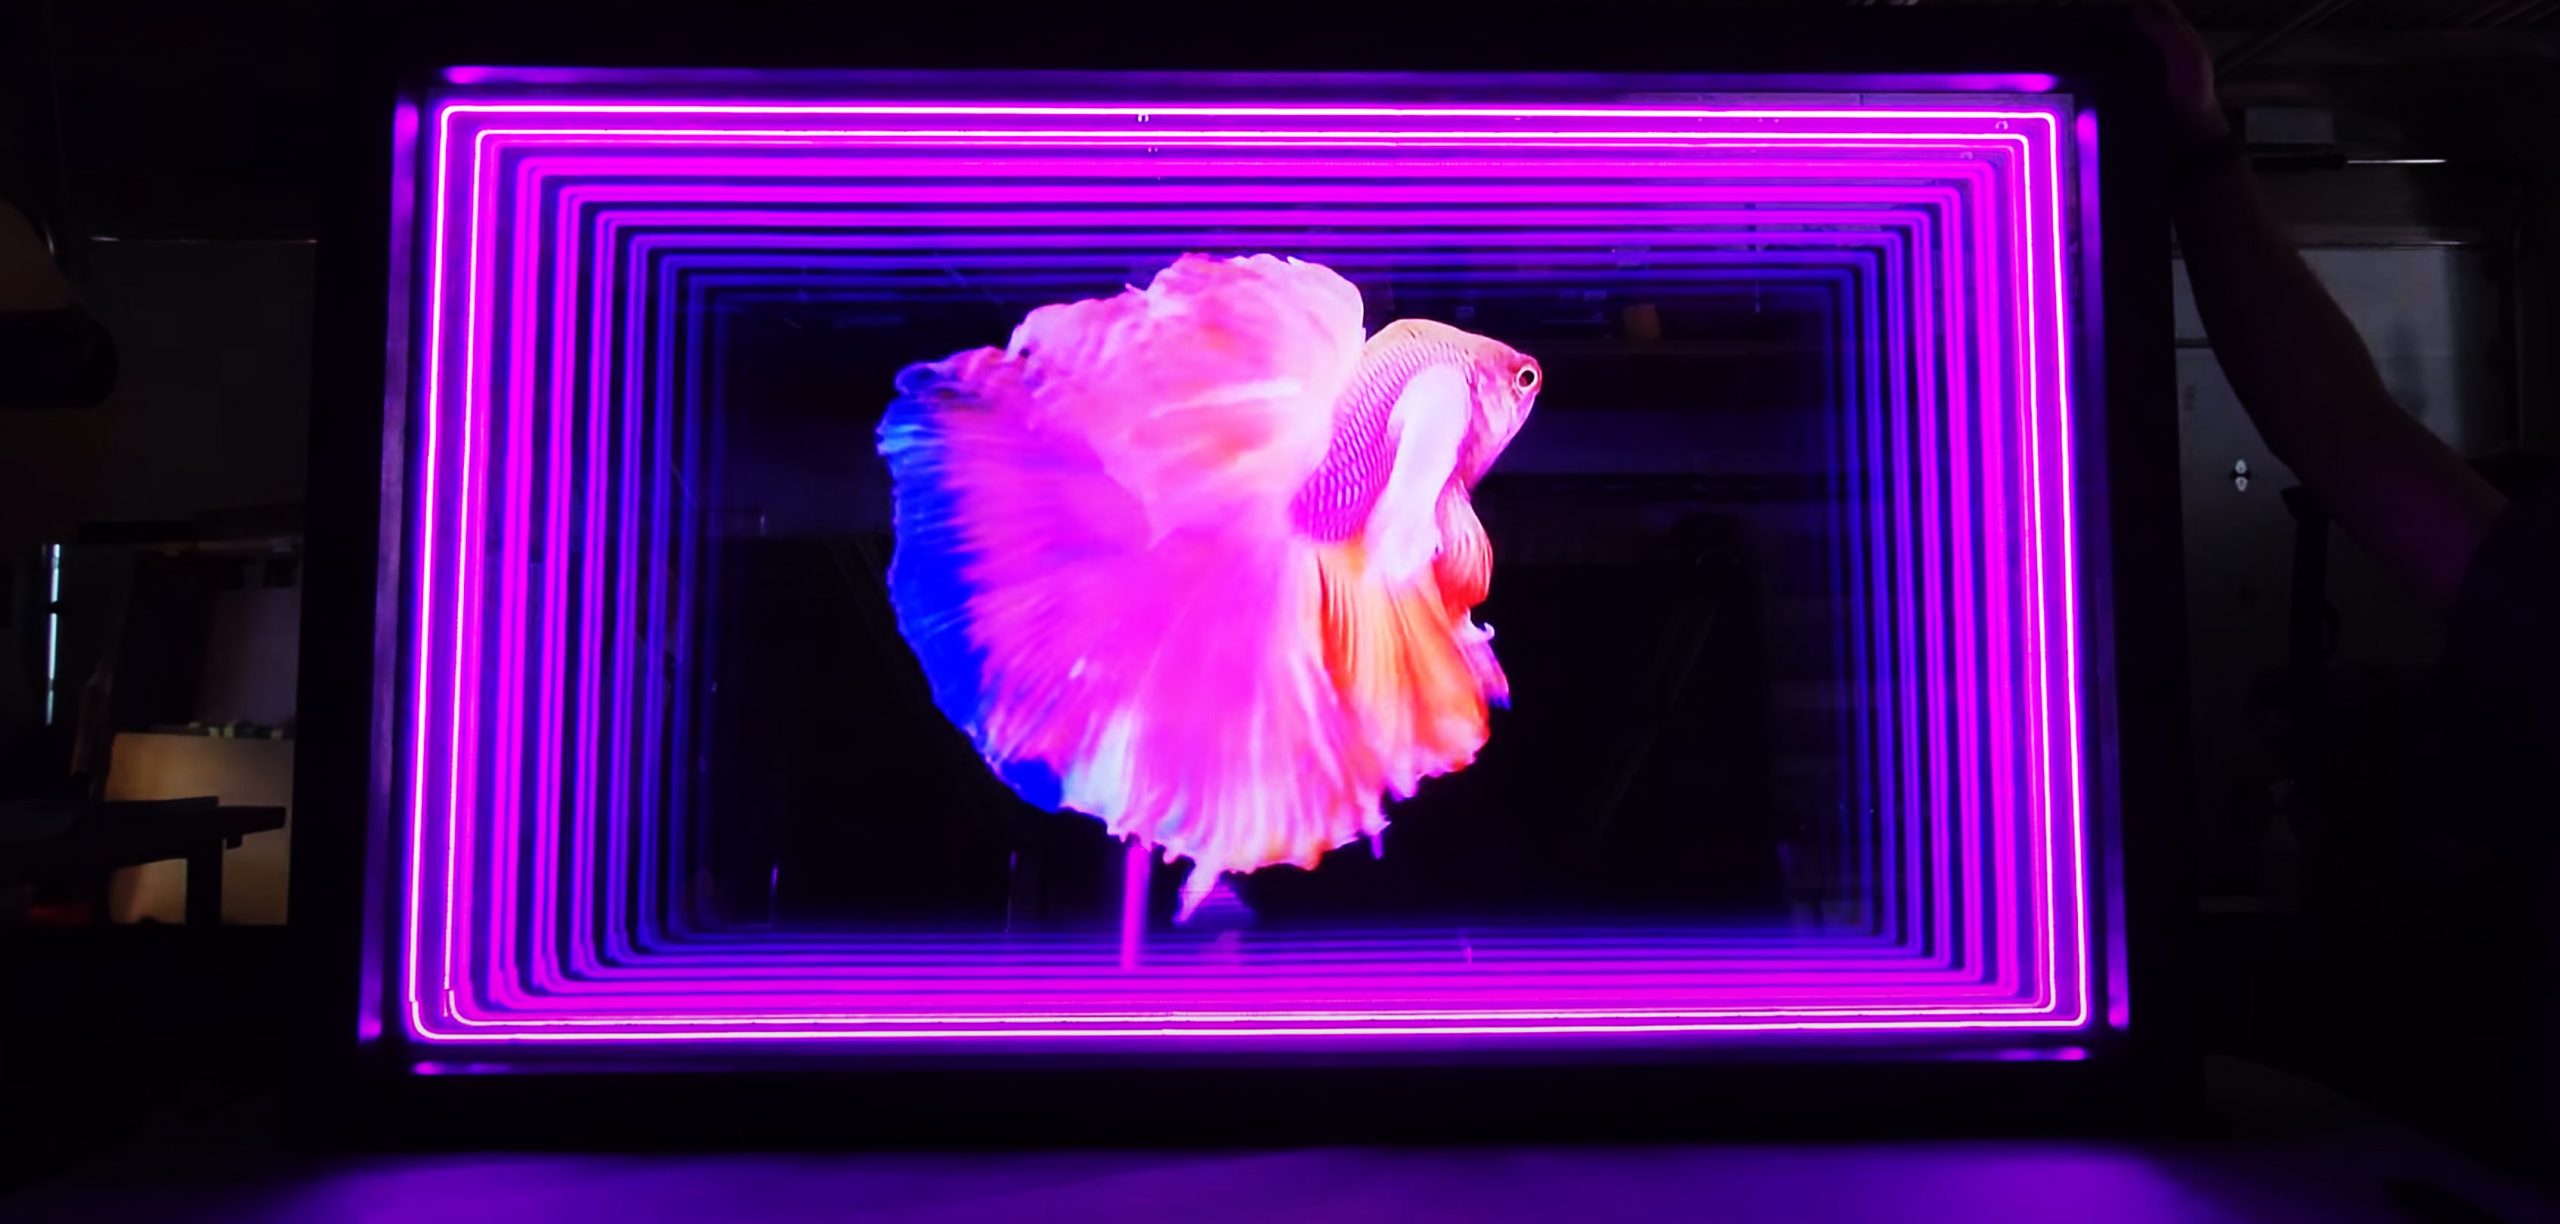
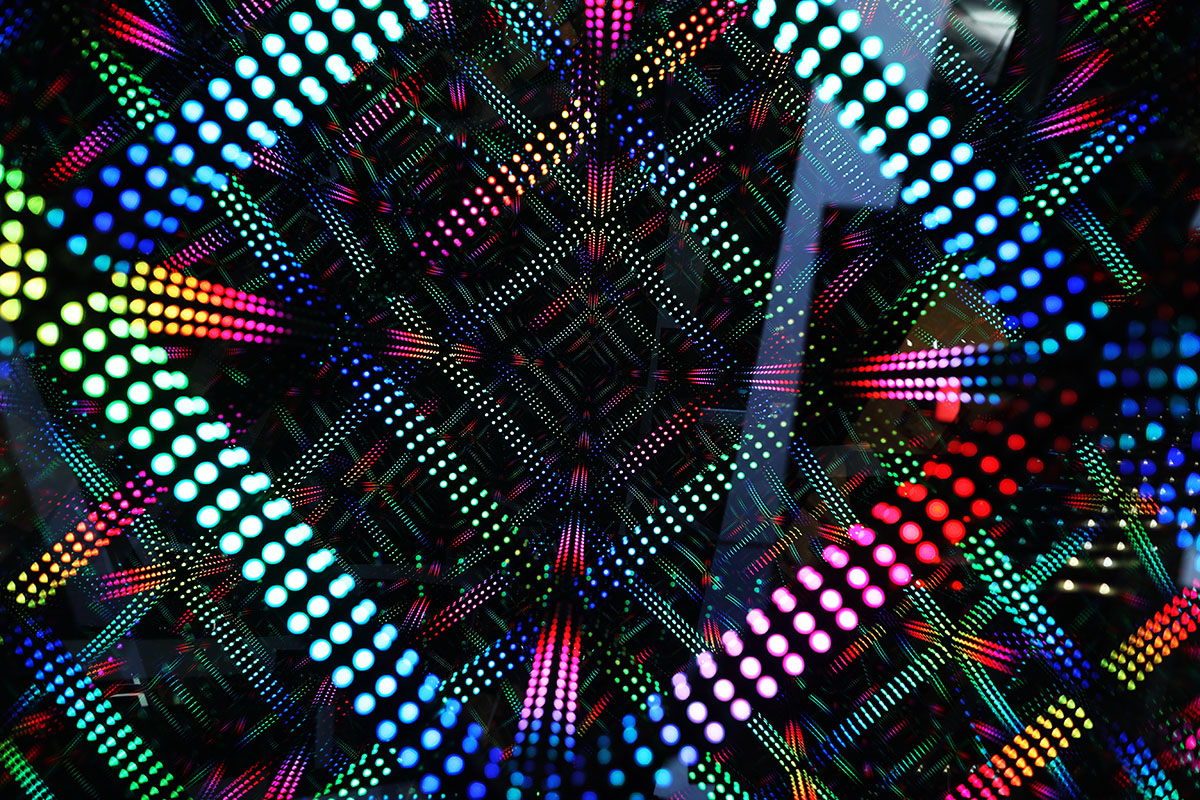
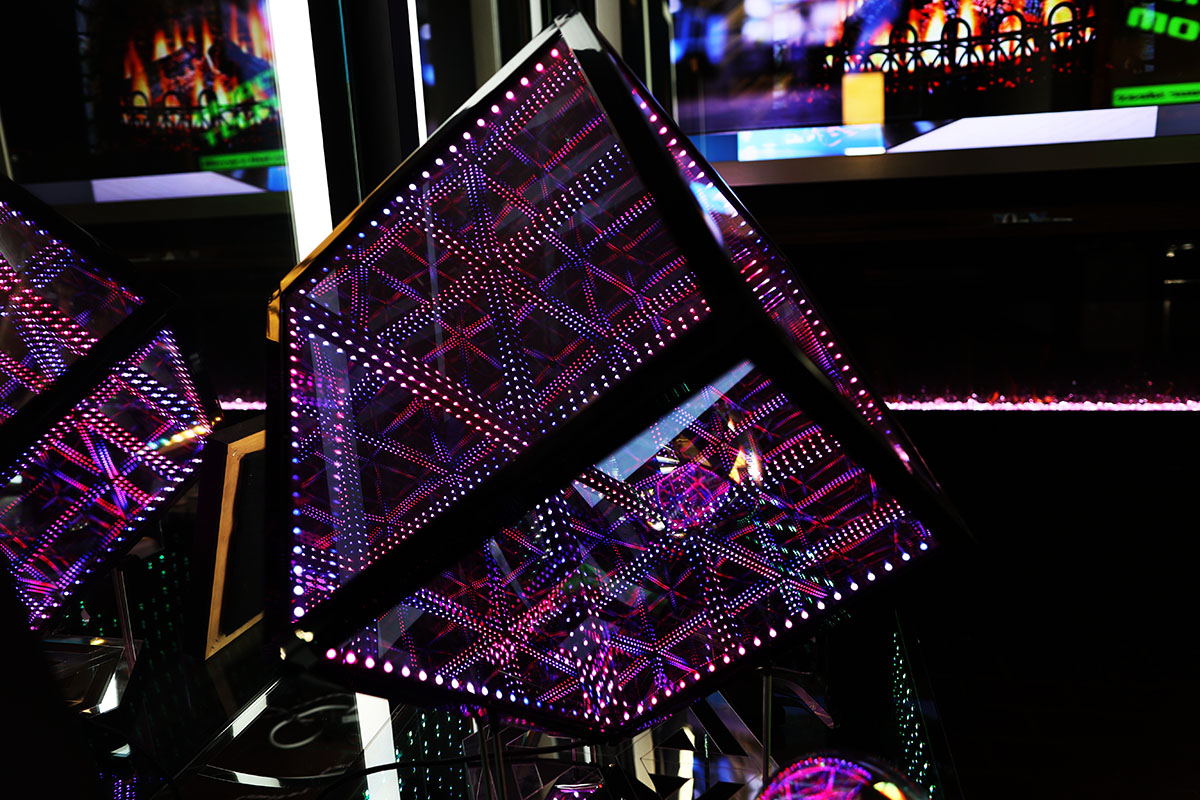
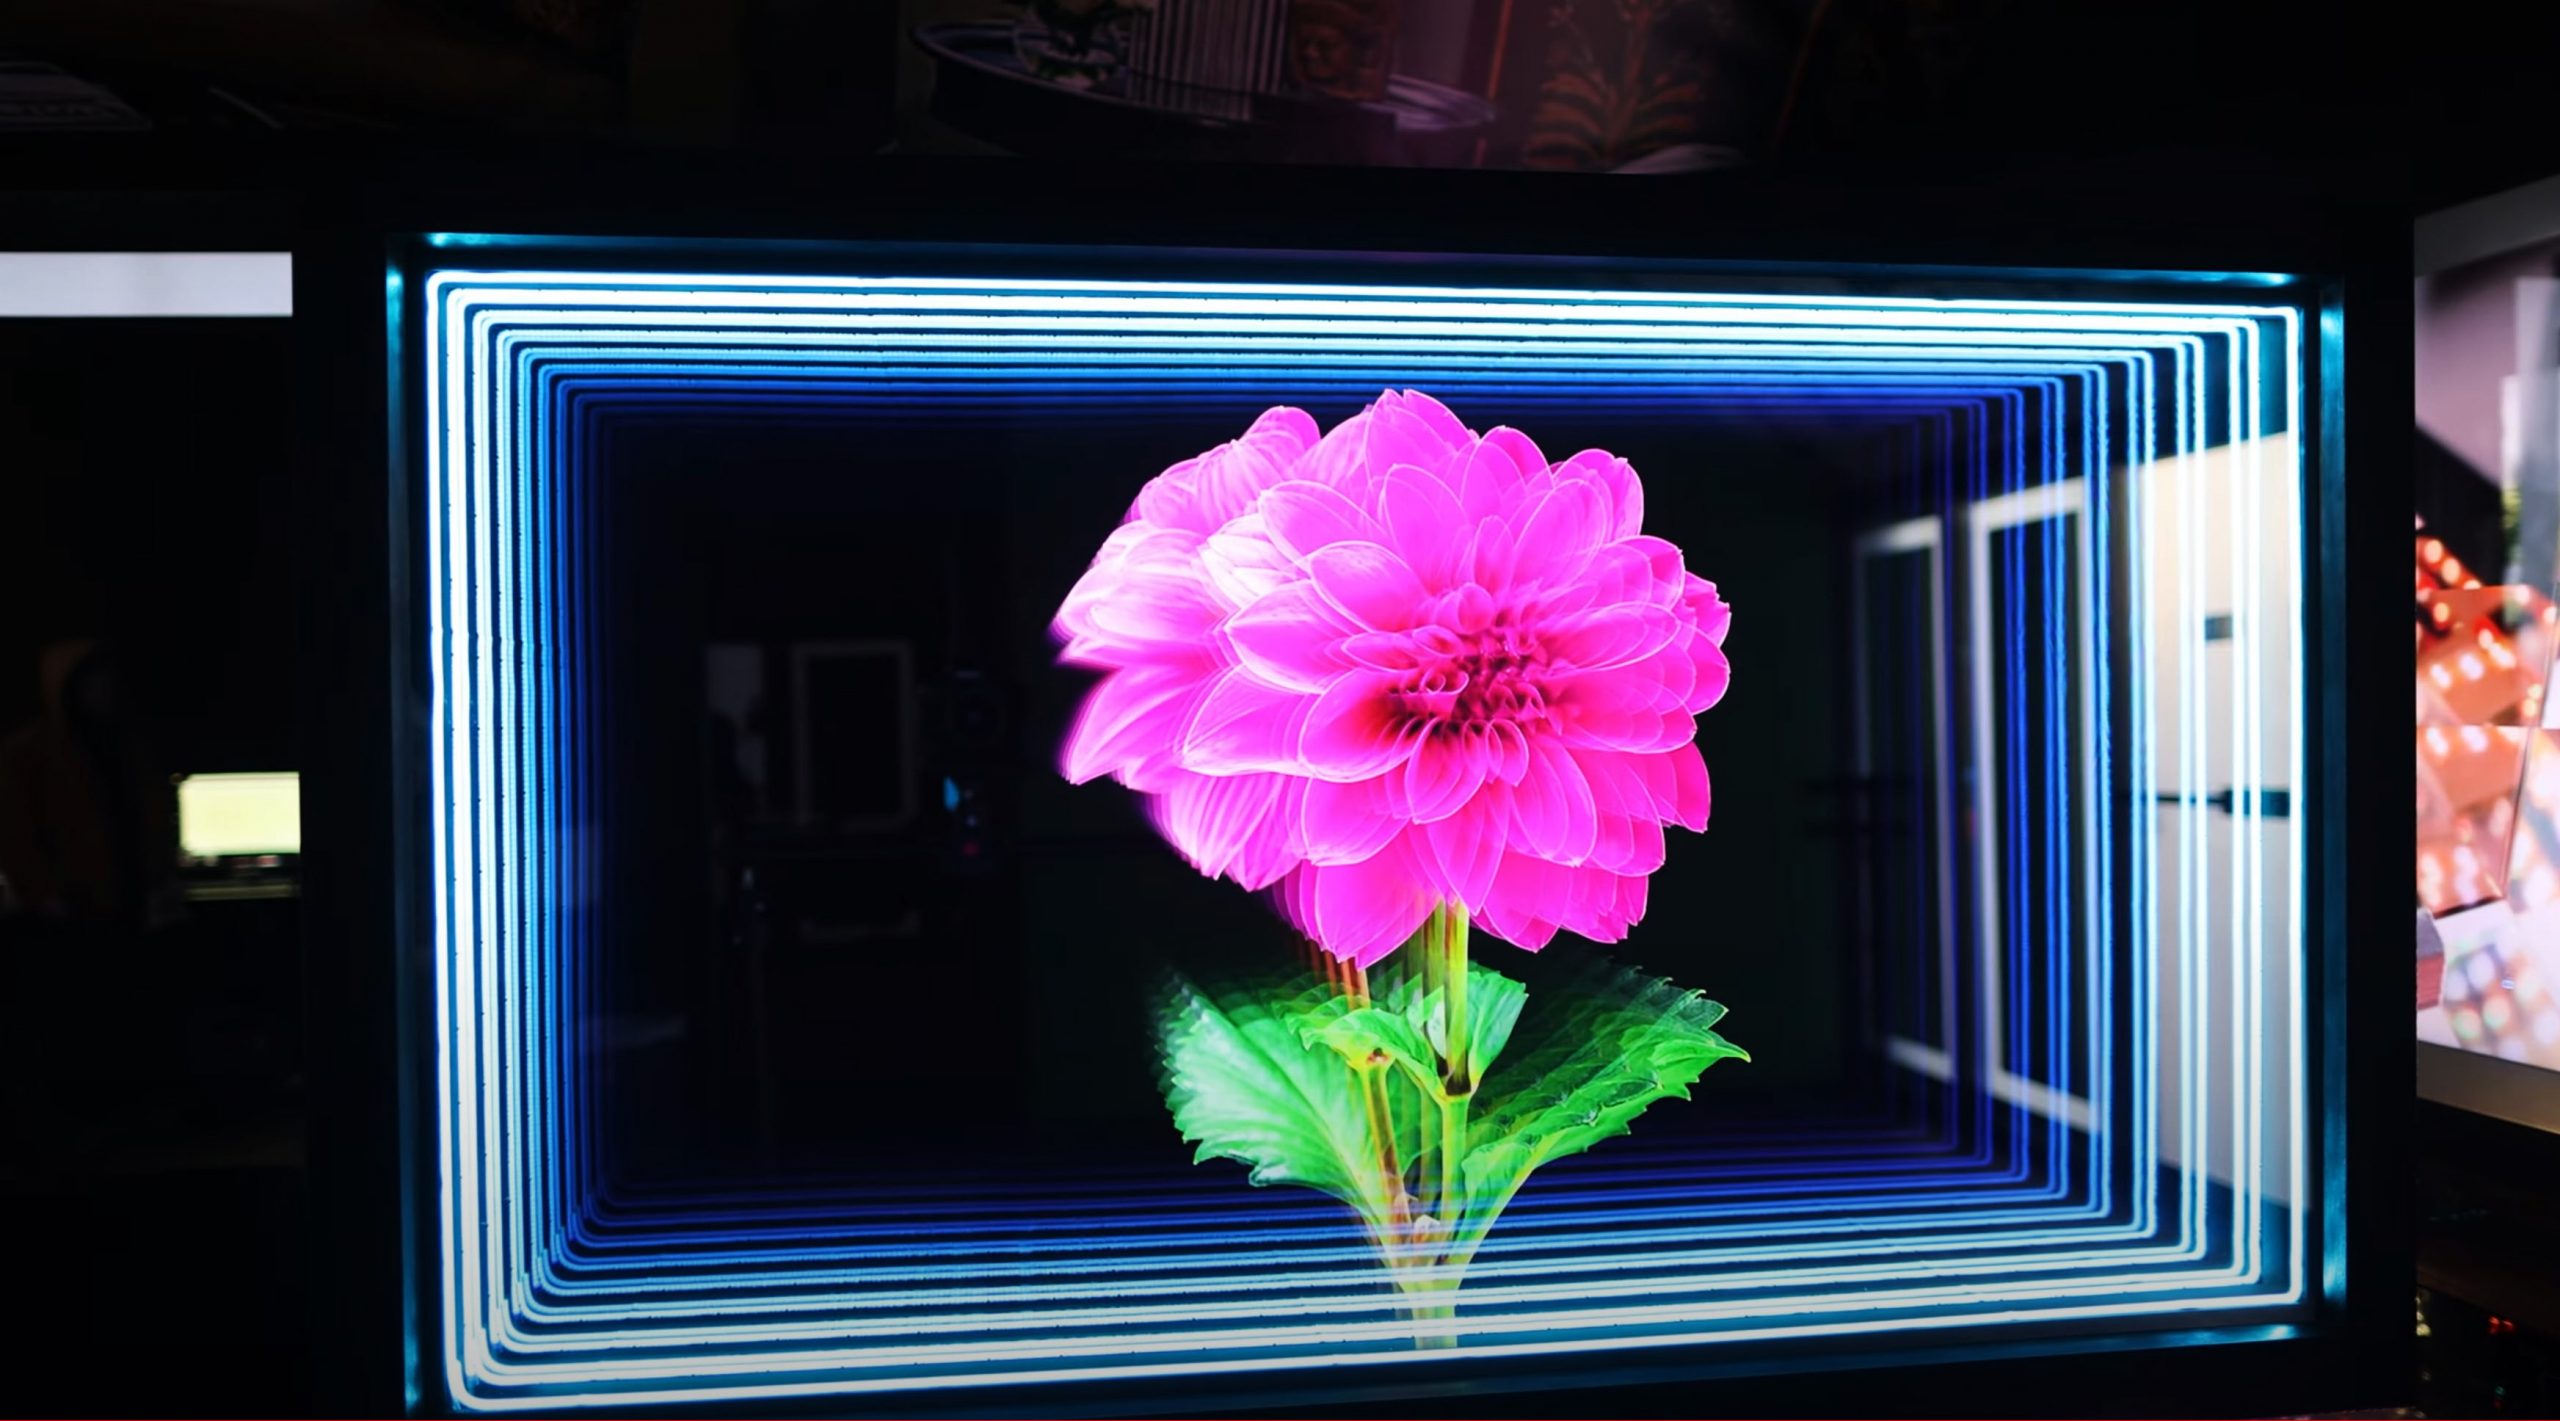
Photo Gallery
Check out some of our Infinity Mirror creations!

Video Gallery
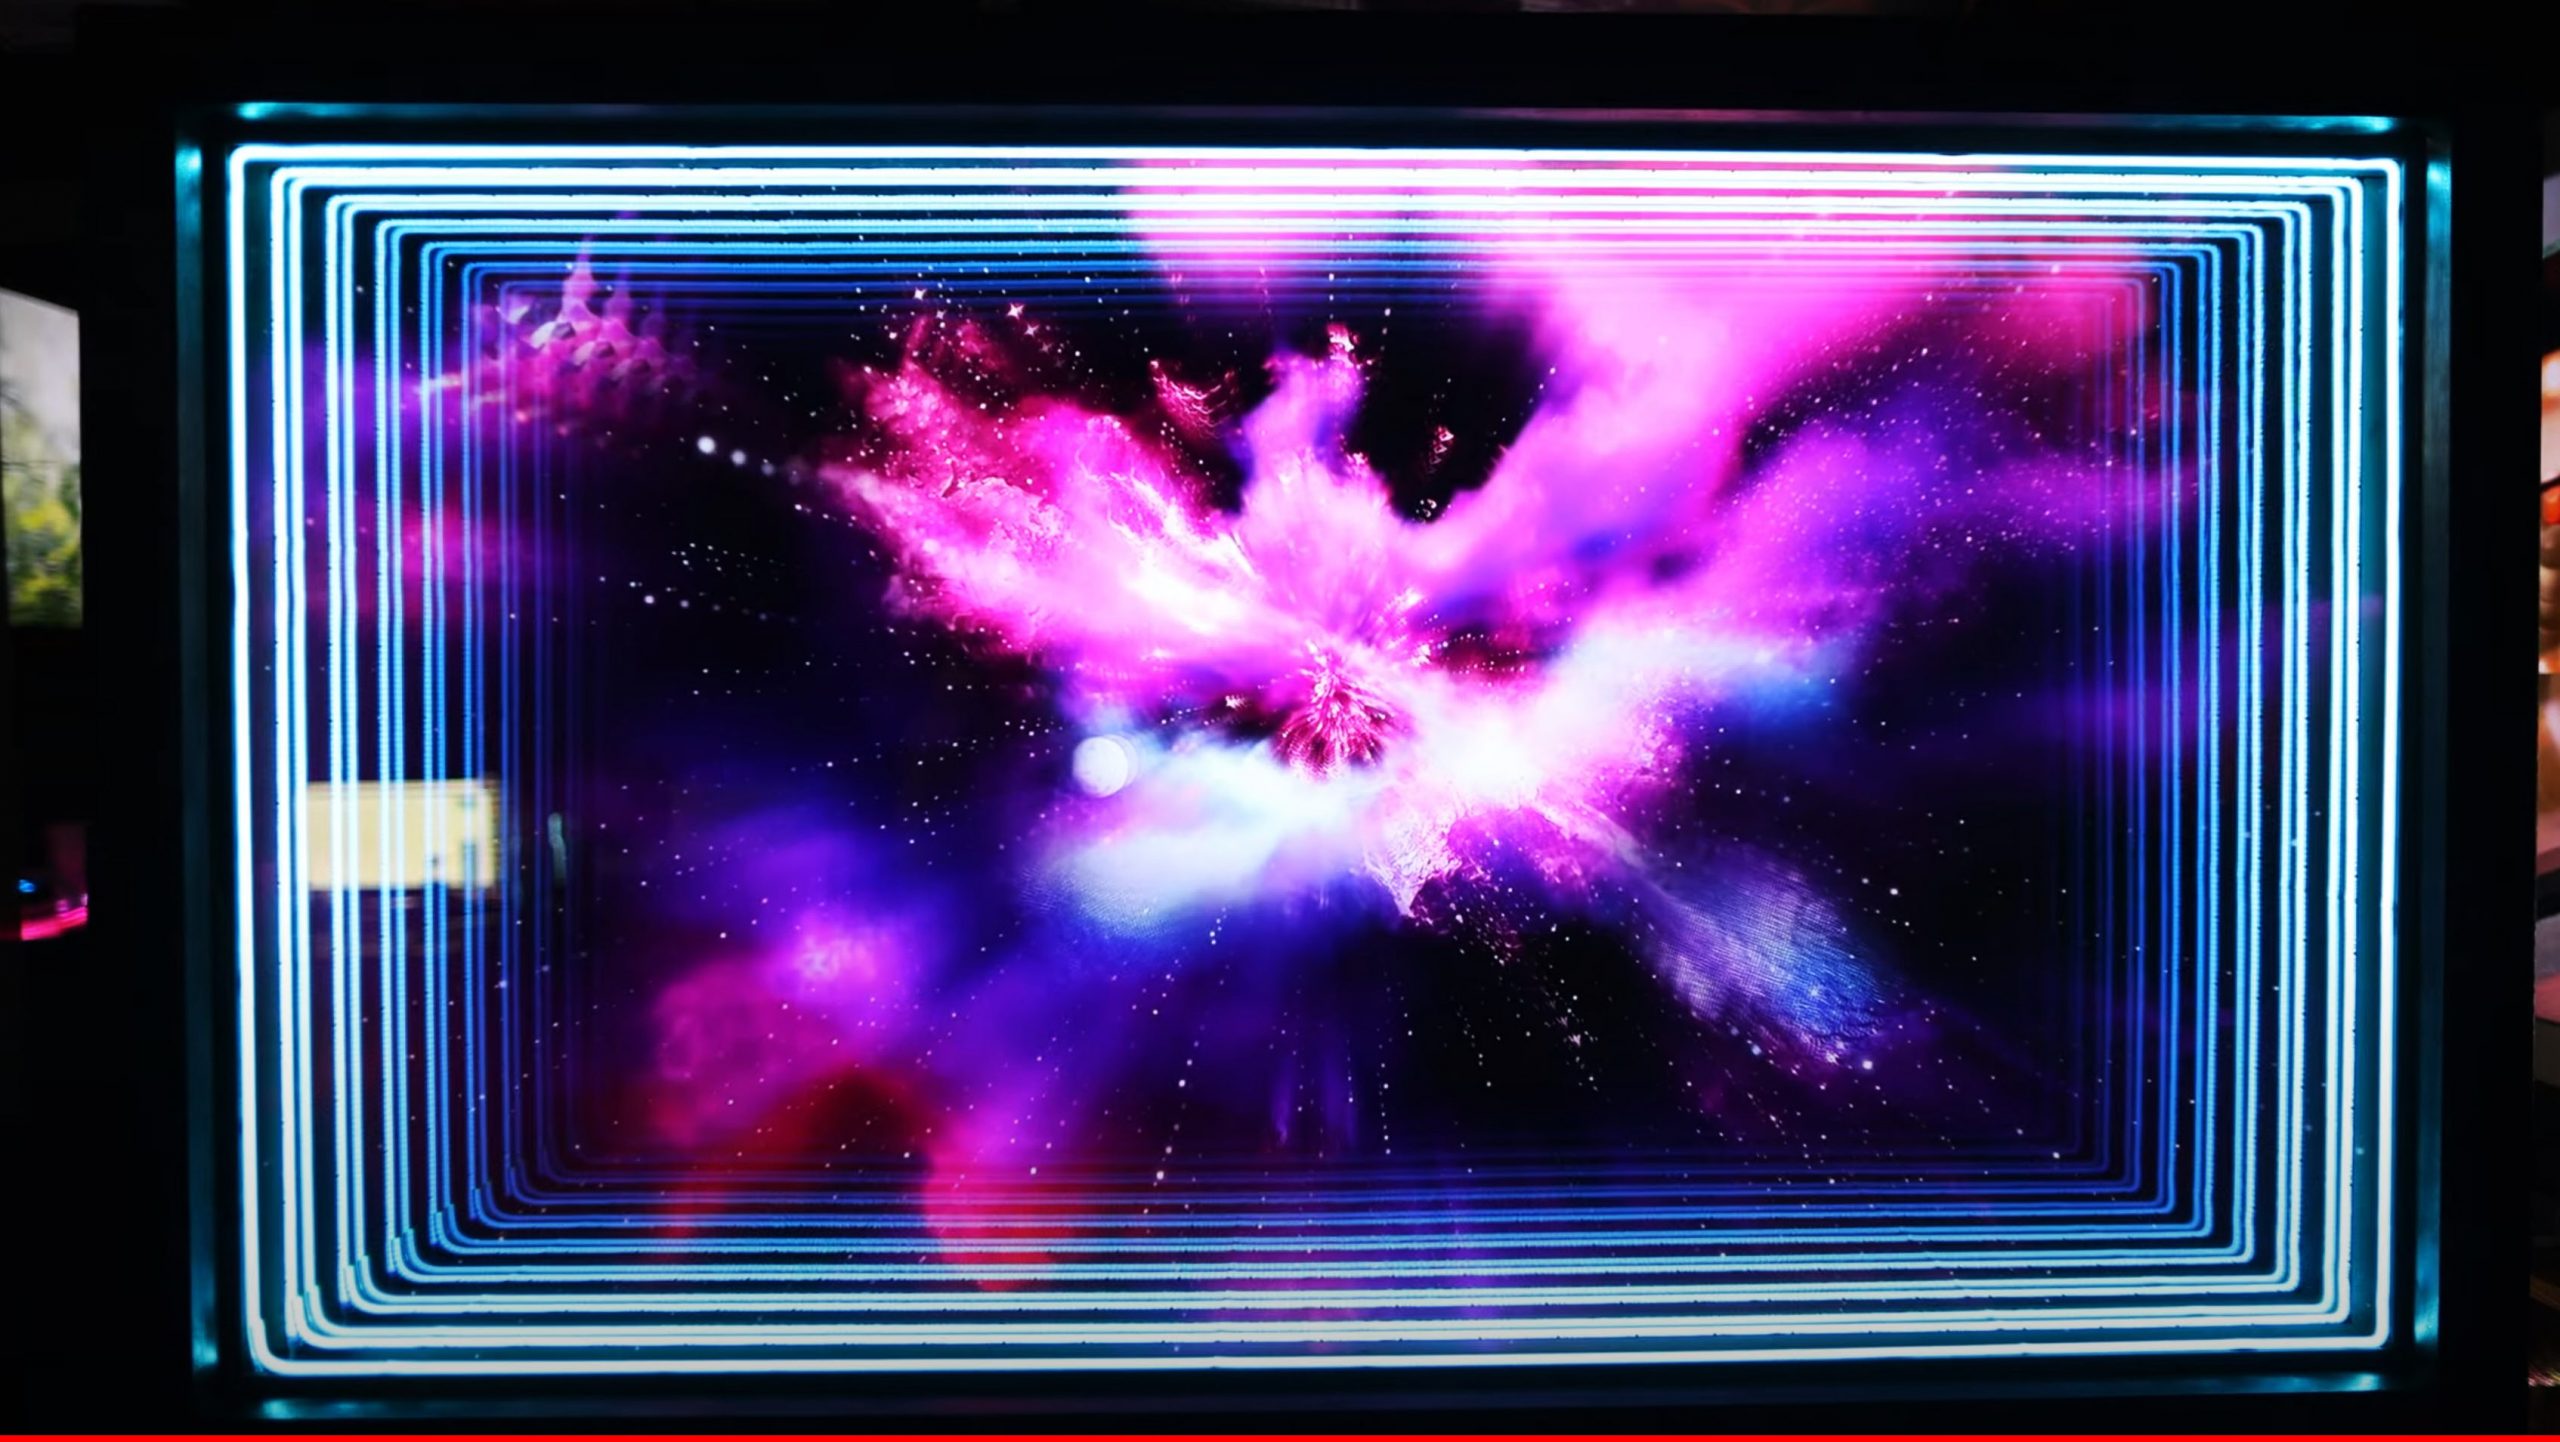
Infinity Mirror TV – How to Make a Holographic 3D Display Using a Pepper’s Ghost Illusion
Infinity Mirror – Custom Manufactured For Commercial & Architectural Projects
HyperCube Infinity Mirror DIY Project
Yayoi Kusama – Fireflies on the Water Infinity Mirror [Walkthrough]
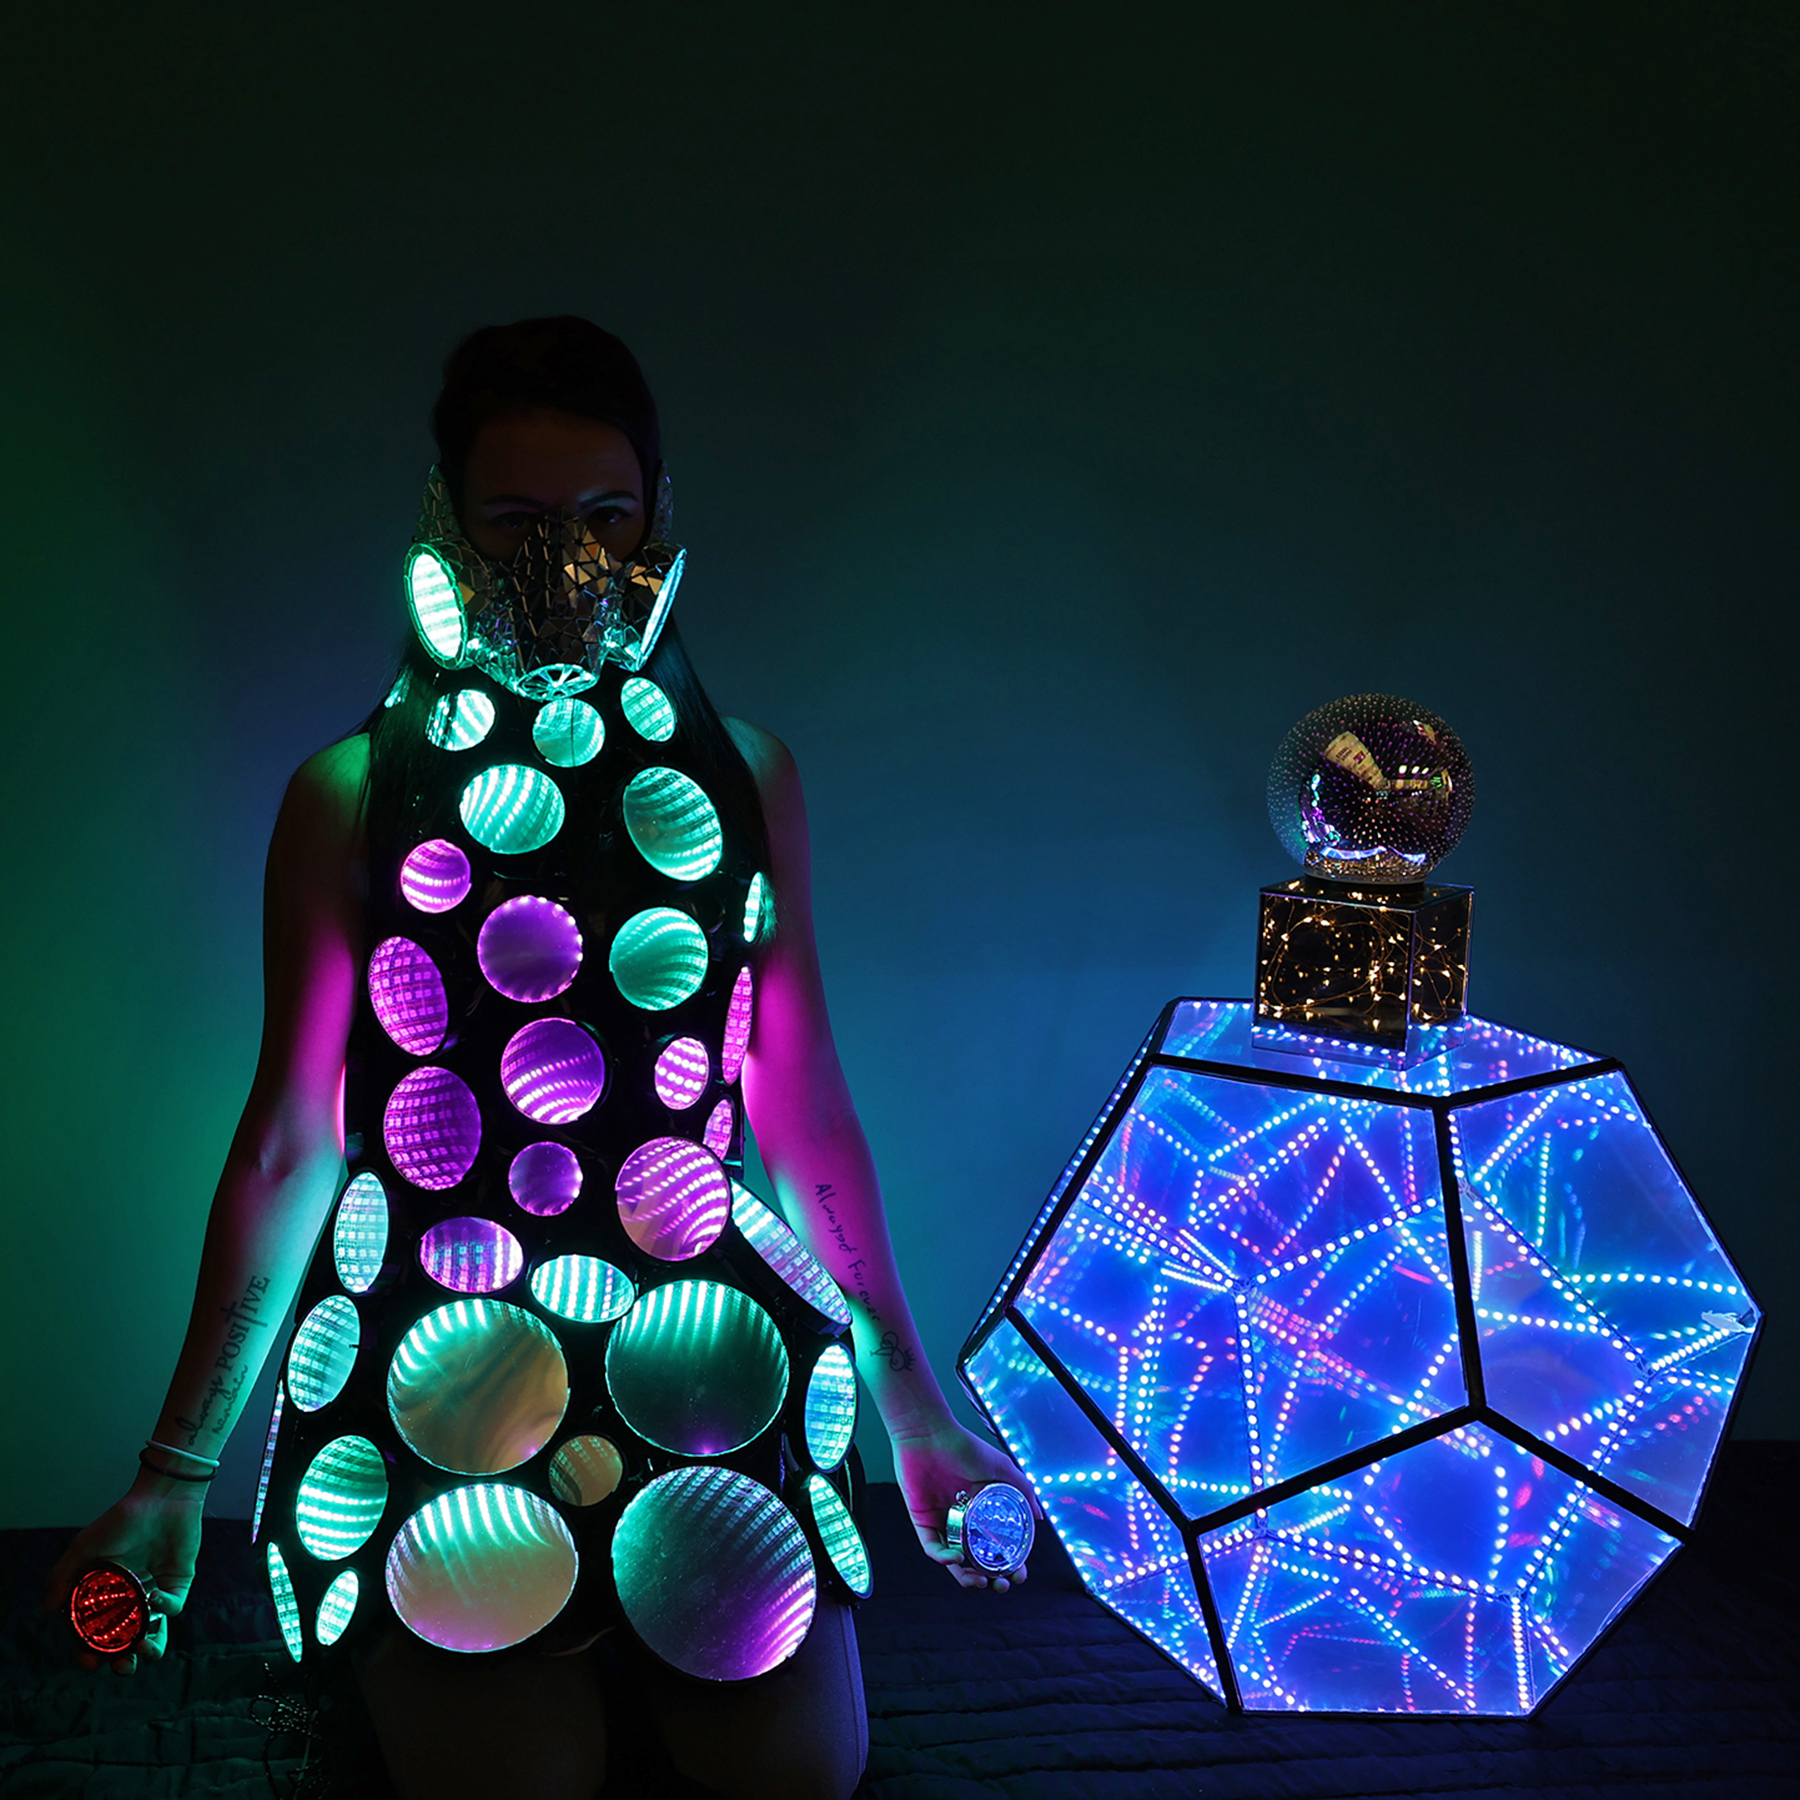
Infinity Mirror Dress
Infinity Mirror Guide: How to Choose The Perfect Glass